 AFI
AFI
Pabbly
Pabbly Connect is a popular automation platform: an alternative to Zapier with cheaper pricing. Advanced Form Integration sends form submissions to Pabbly via webhook URL, letting you trigger any of Pabbly’s 1,000+ app integrations from a WordPress form.
What you’ll need
- An active Pabbly Connect account.
- A workflow built in Pabbly with a Webhook trigger.
- The Advanced Form Integration plugin installed and activated.
Get a Pabbly webhook URL
- Log in to Pabbly Connect.
- Click Create Workflow.
- For the trigger app, search and select Webhook.
- Choose Catch Webhook.
- Pabbly shows the unique webhook URL. Copy it.
Create the integration
The Pabbly webhook URL is entered per-integration, not in global settings.
- Go to WP Admin → AFI → Add New.
- Configure the trigger.
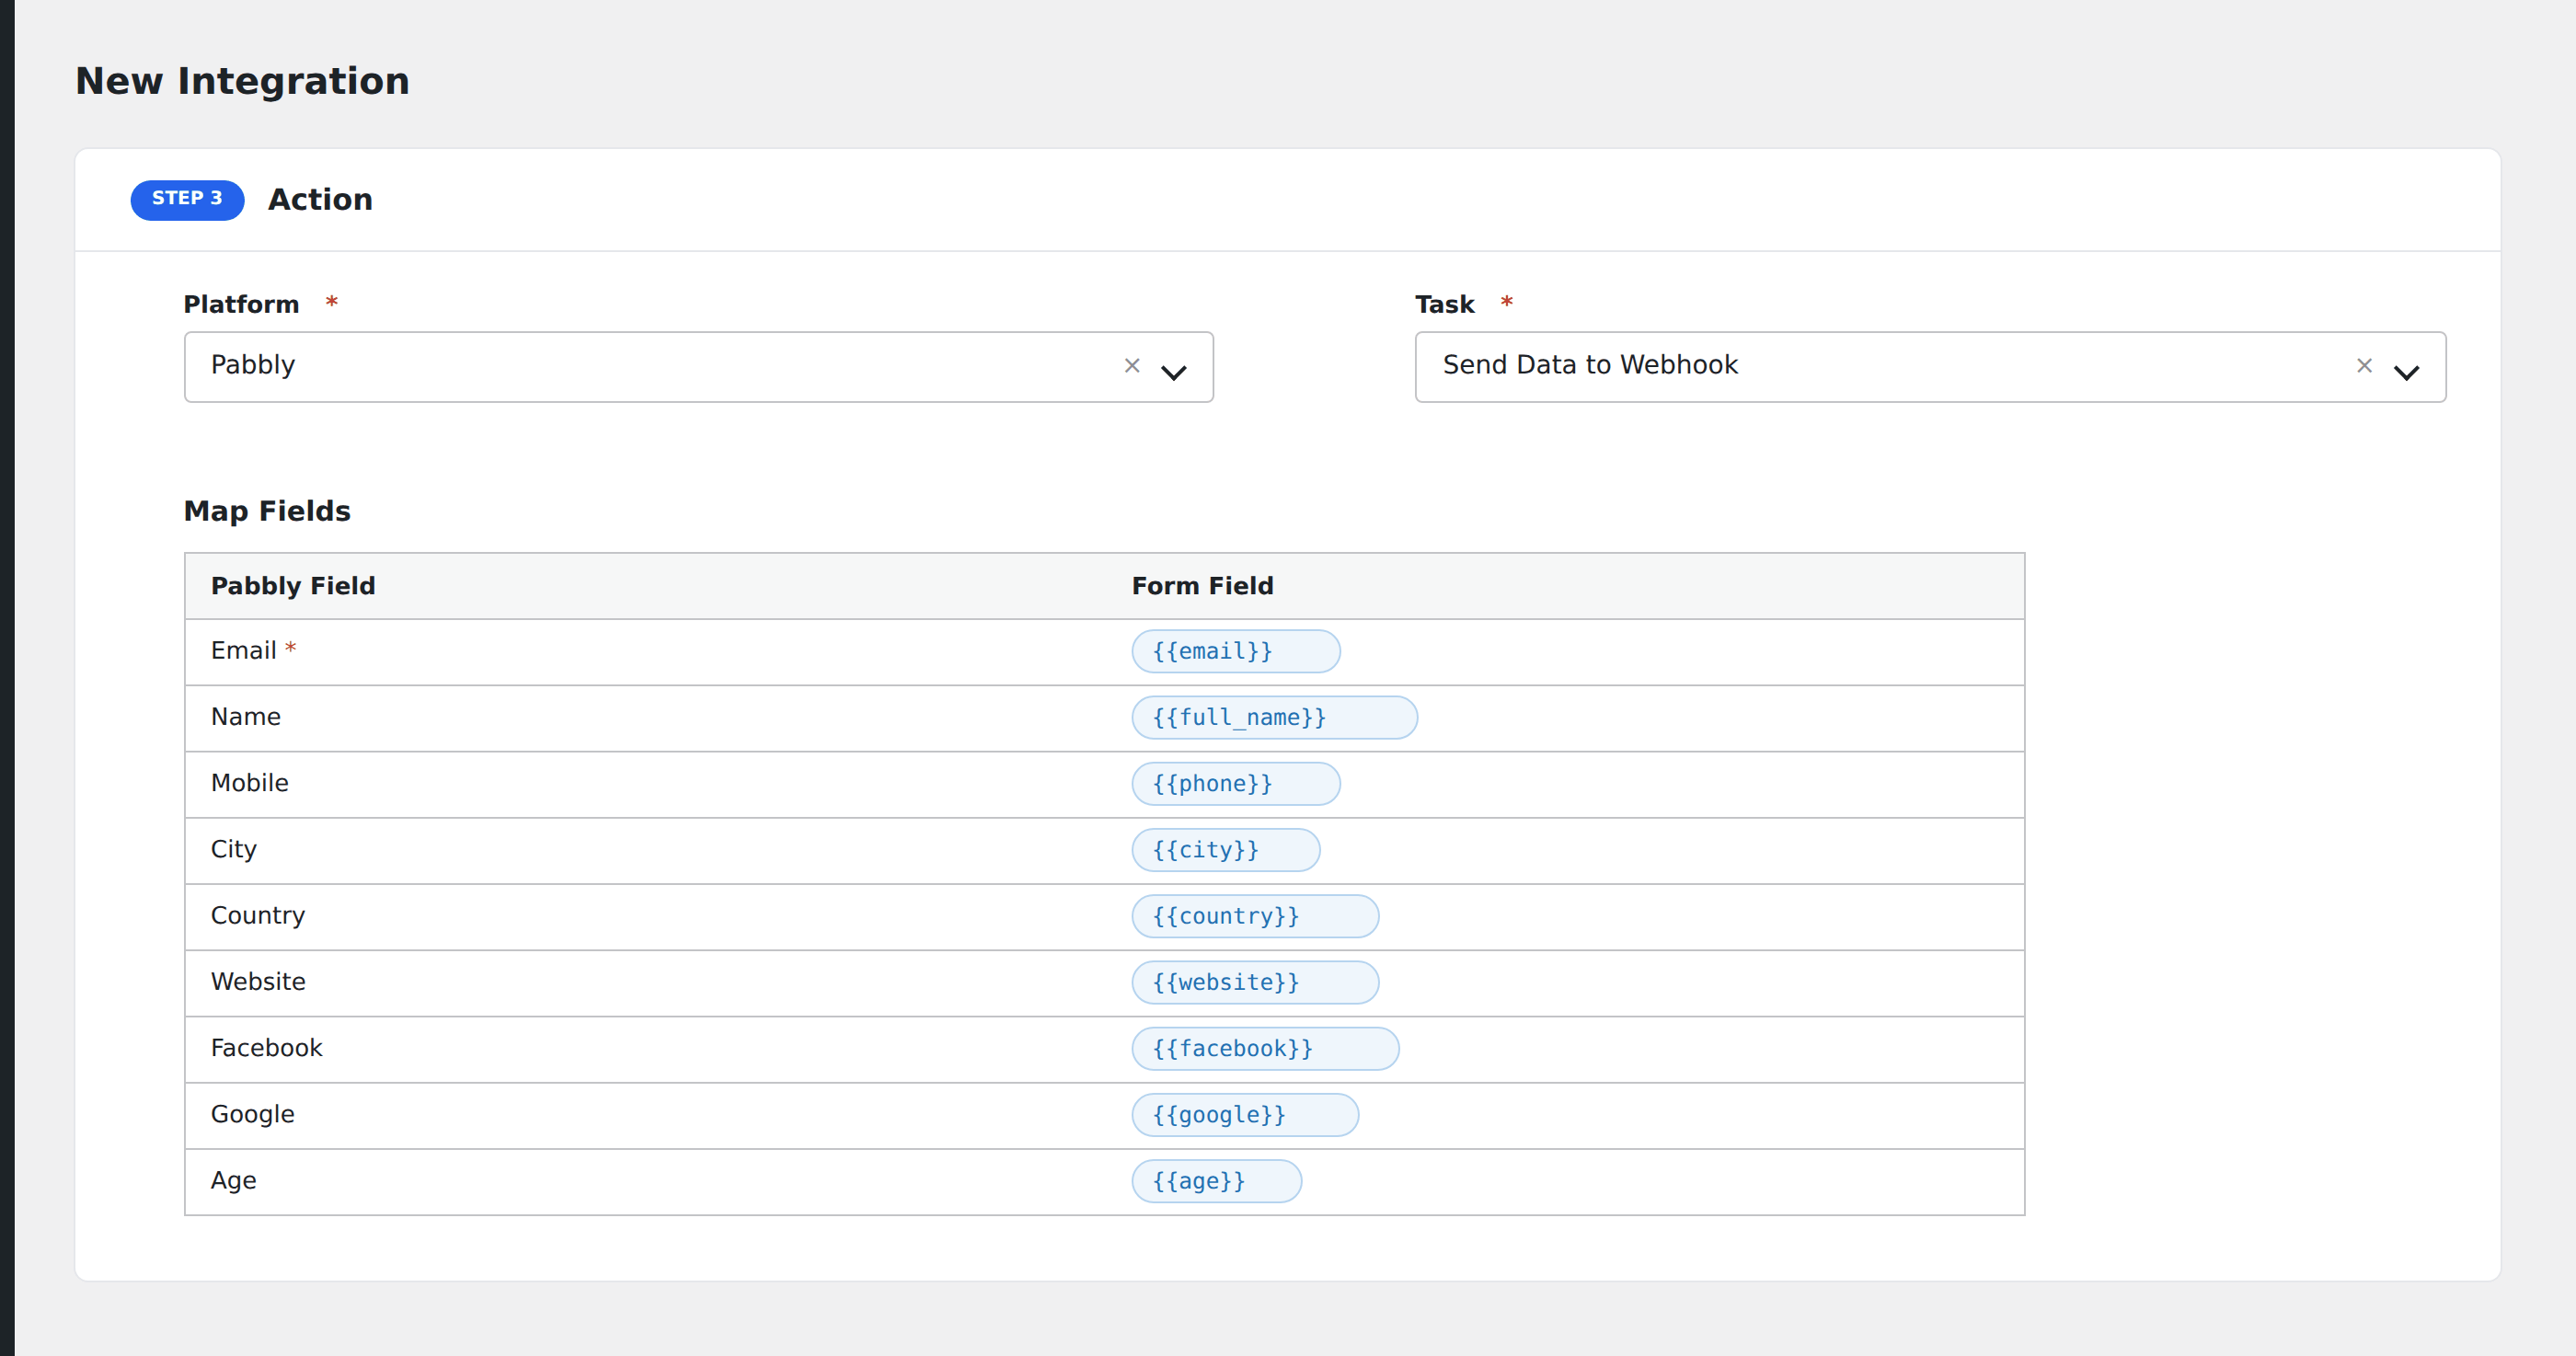
- In Action → Platform, select Pabbly.
- In Task, choose Send Data to Webhook.
- Paste the Pabbly webhook URL.
- Map the form fields you want to send.
- Optional: configure Conditional Logic.
- Click Save Integration.
Test the connection from Pabbly’s side
After saving the AFI integration, submit a test entry through your form. In Pabbly, click Test Webhook. Your test submission appears with all the mapped fields. Add action steps in Pabbly to route the data wherever you want.
Conditional logic example
Goal: only fire Pabbly for paid orders to avoid wasting Pabbly task quota on free signups.
Open the Conditional Logic panel, add a condition with the order total field, Greater Than, value 0.
Related docs
- Zapier: competing automation hub
- Webhook: for any custom webhook destination
- Send Contact Form 7 to Pabbly
- Conditional Logic