 AFI
AFI
WP Simple Pay
WP Simple Pay is a popular WordPress Stripe payments plugin from Sandhills Development. Advanced Form Integration captures payment events (new payments, subscriptions, refunds) and routes the data to any of 200+ destinations.
What you’ll need
- The WP Simple Pay plugin (Lite or Pro) installed and activated.
- A Stripe account connected.
- The Advanced Form Integration plugin installed and activated.
Payment data captured
| Field | Format |
|---|---|
| Customer name | First and last separately |
| Customer email | Same as input |
| Customer phone | Same as input |
| Billing address | Each sub-field separately |
| Payment amount | Numeric, in your default currency |
| Currency | 3-letter code |
| Stripe customer ID | The Stripe cus_ ID |
| Stripe charge ID | The ch_ or pi_ ID |
| Payment status | succeeded / pending / failed |
| Payment form | The form name that captured the payment |
Custom payment form fields also flow through with their field name.
Create the integration
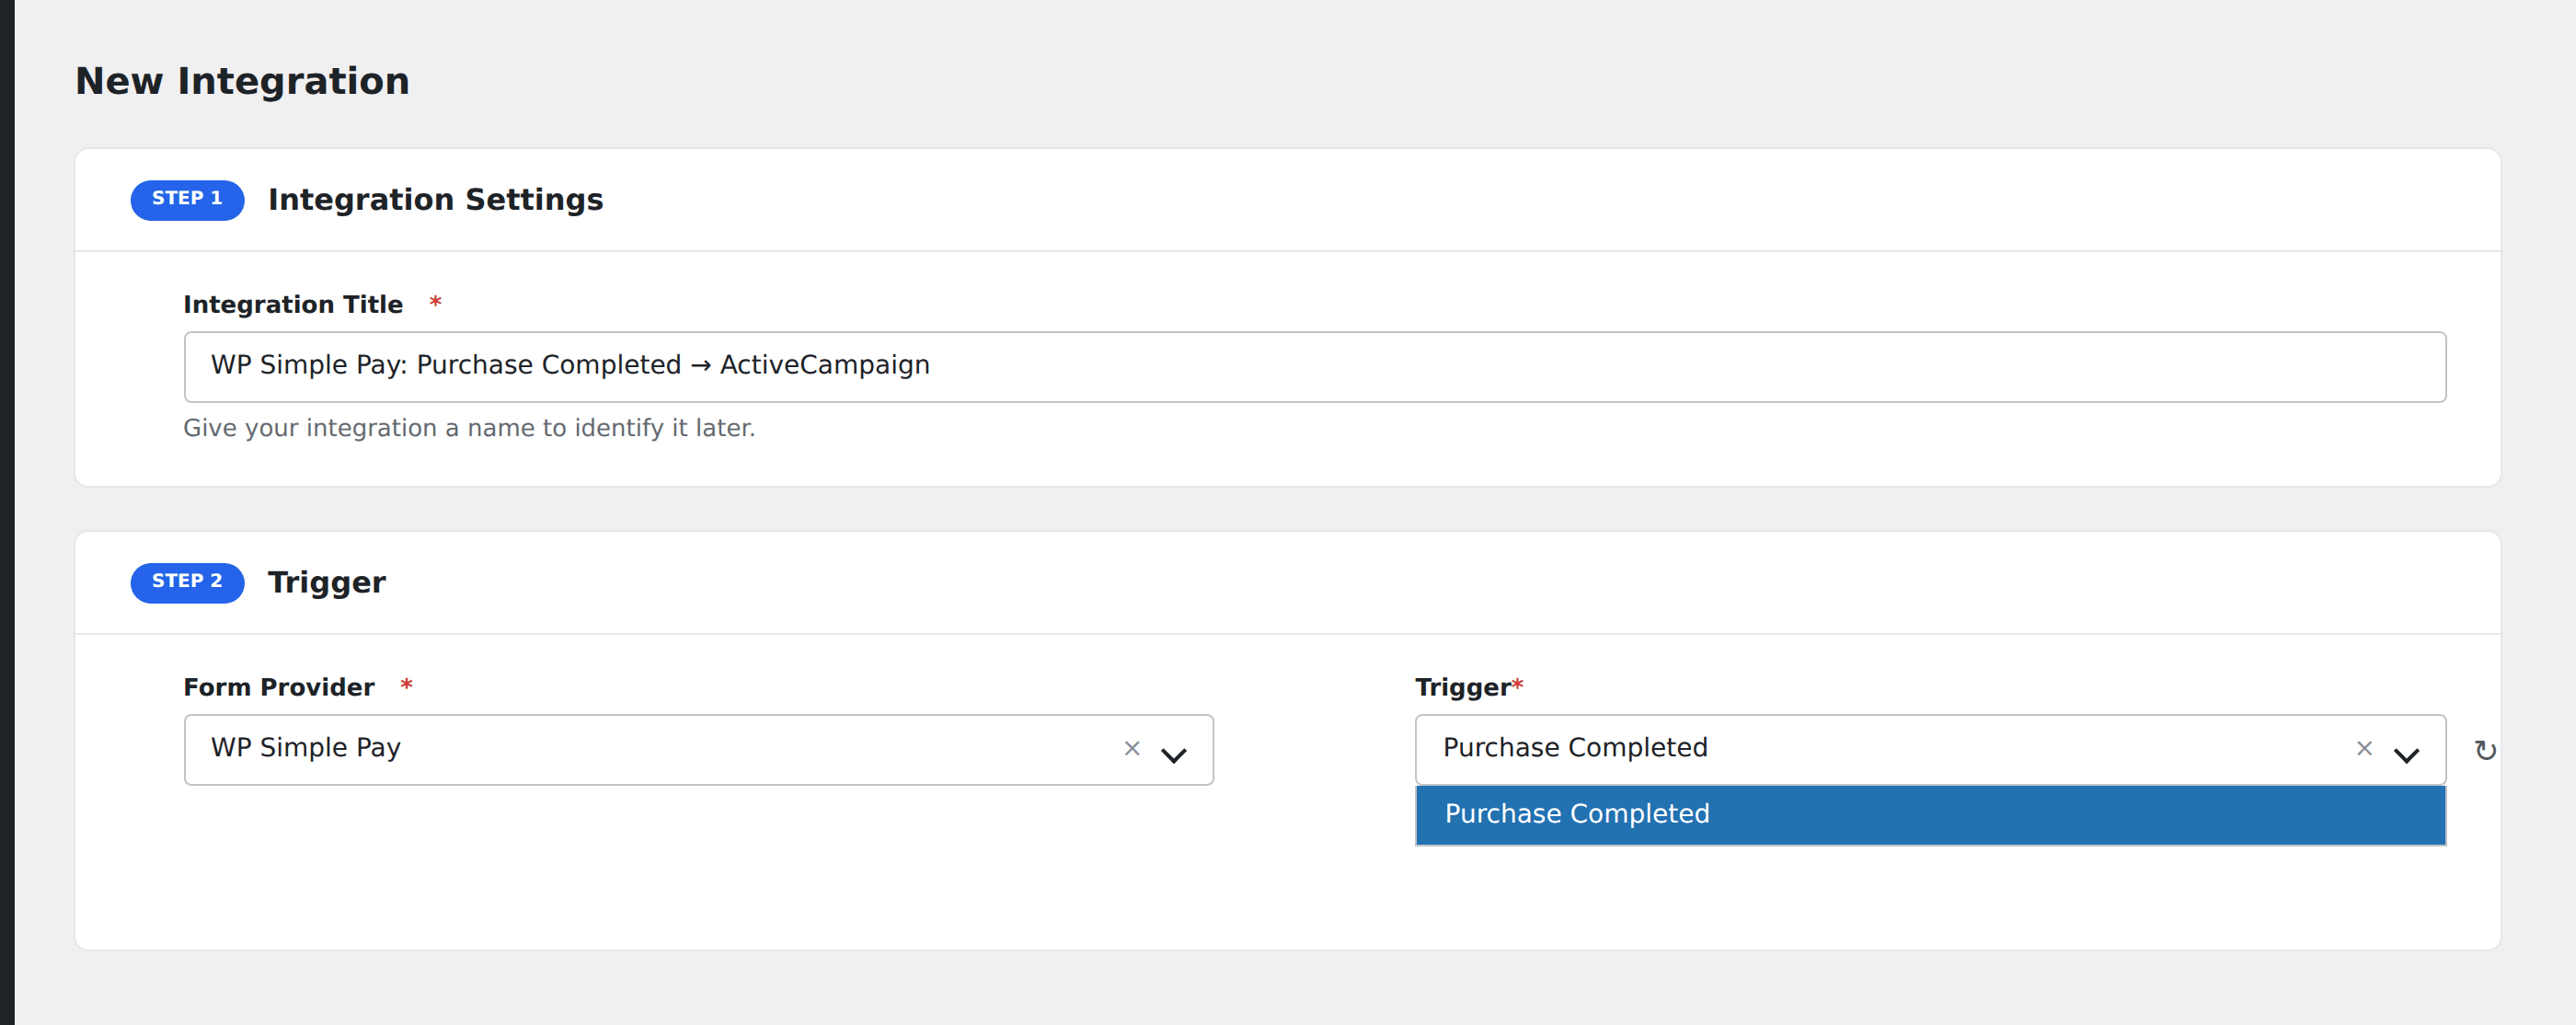
- Go to WP Admin → AFI → Add New.
- Enter an Integration Title, e.g.
WP Simple Pay → ActiveCampaign. - In Trigger → Form/Data Provider, select WP Simple Pay.
- In Form/Task Name, choose the event (Payment Succeeded, Subscription Created, etc.).
- In Action → Platform, pick the destination and complete the field mapping.
- Optional: configure Conditional Logic.
- Click Save Integration.
Conditional logic example
Goal: when a payment over $100 succeeds, also notify the founder’s Slack DM.
Create a Slack integration on the Payment Succeeded event. Open the Conditional Logic panel, add a condition with the amount field, Greater Than, value 100.