 AFI
AFI
beehiiv
beehiiv is a newsletter and publishing platform. Advanced Form Integration subscribes form submitters to your beehiiv publications from your WordPress form submissions, so every newsletter signup grows your audience automatically.
What you’ll need
- An active beehiiv account.
- A beehiiv API Key (see below).
- The Advanced Form Integration plugin installed and activated.
Get your beehiiv API key
beehiiv authenticates API requests with a bearer token.
- Sign in to your beehiiv dashboard.
- Go to Settings → API.
- Copy your API Key.
- In WordPress, go to AFI → Settings → beehiiv.
- Click Add Account, paste the key, and give the account a name.
- Click Save.
Create the integration
- Go to AFI → Add New.
- Give the integration a name, for example
Newsletter signup to beehiiv. - Under Trigger, pick the form plugin and the specific form you want to listen on.
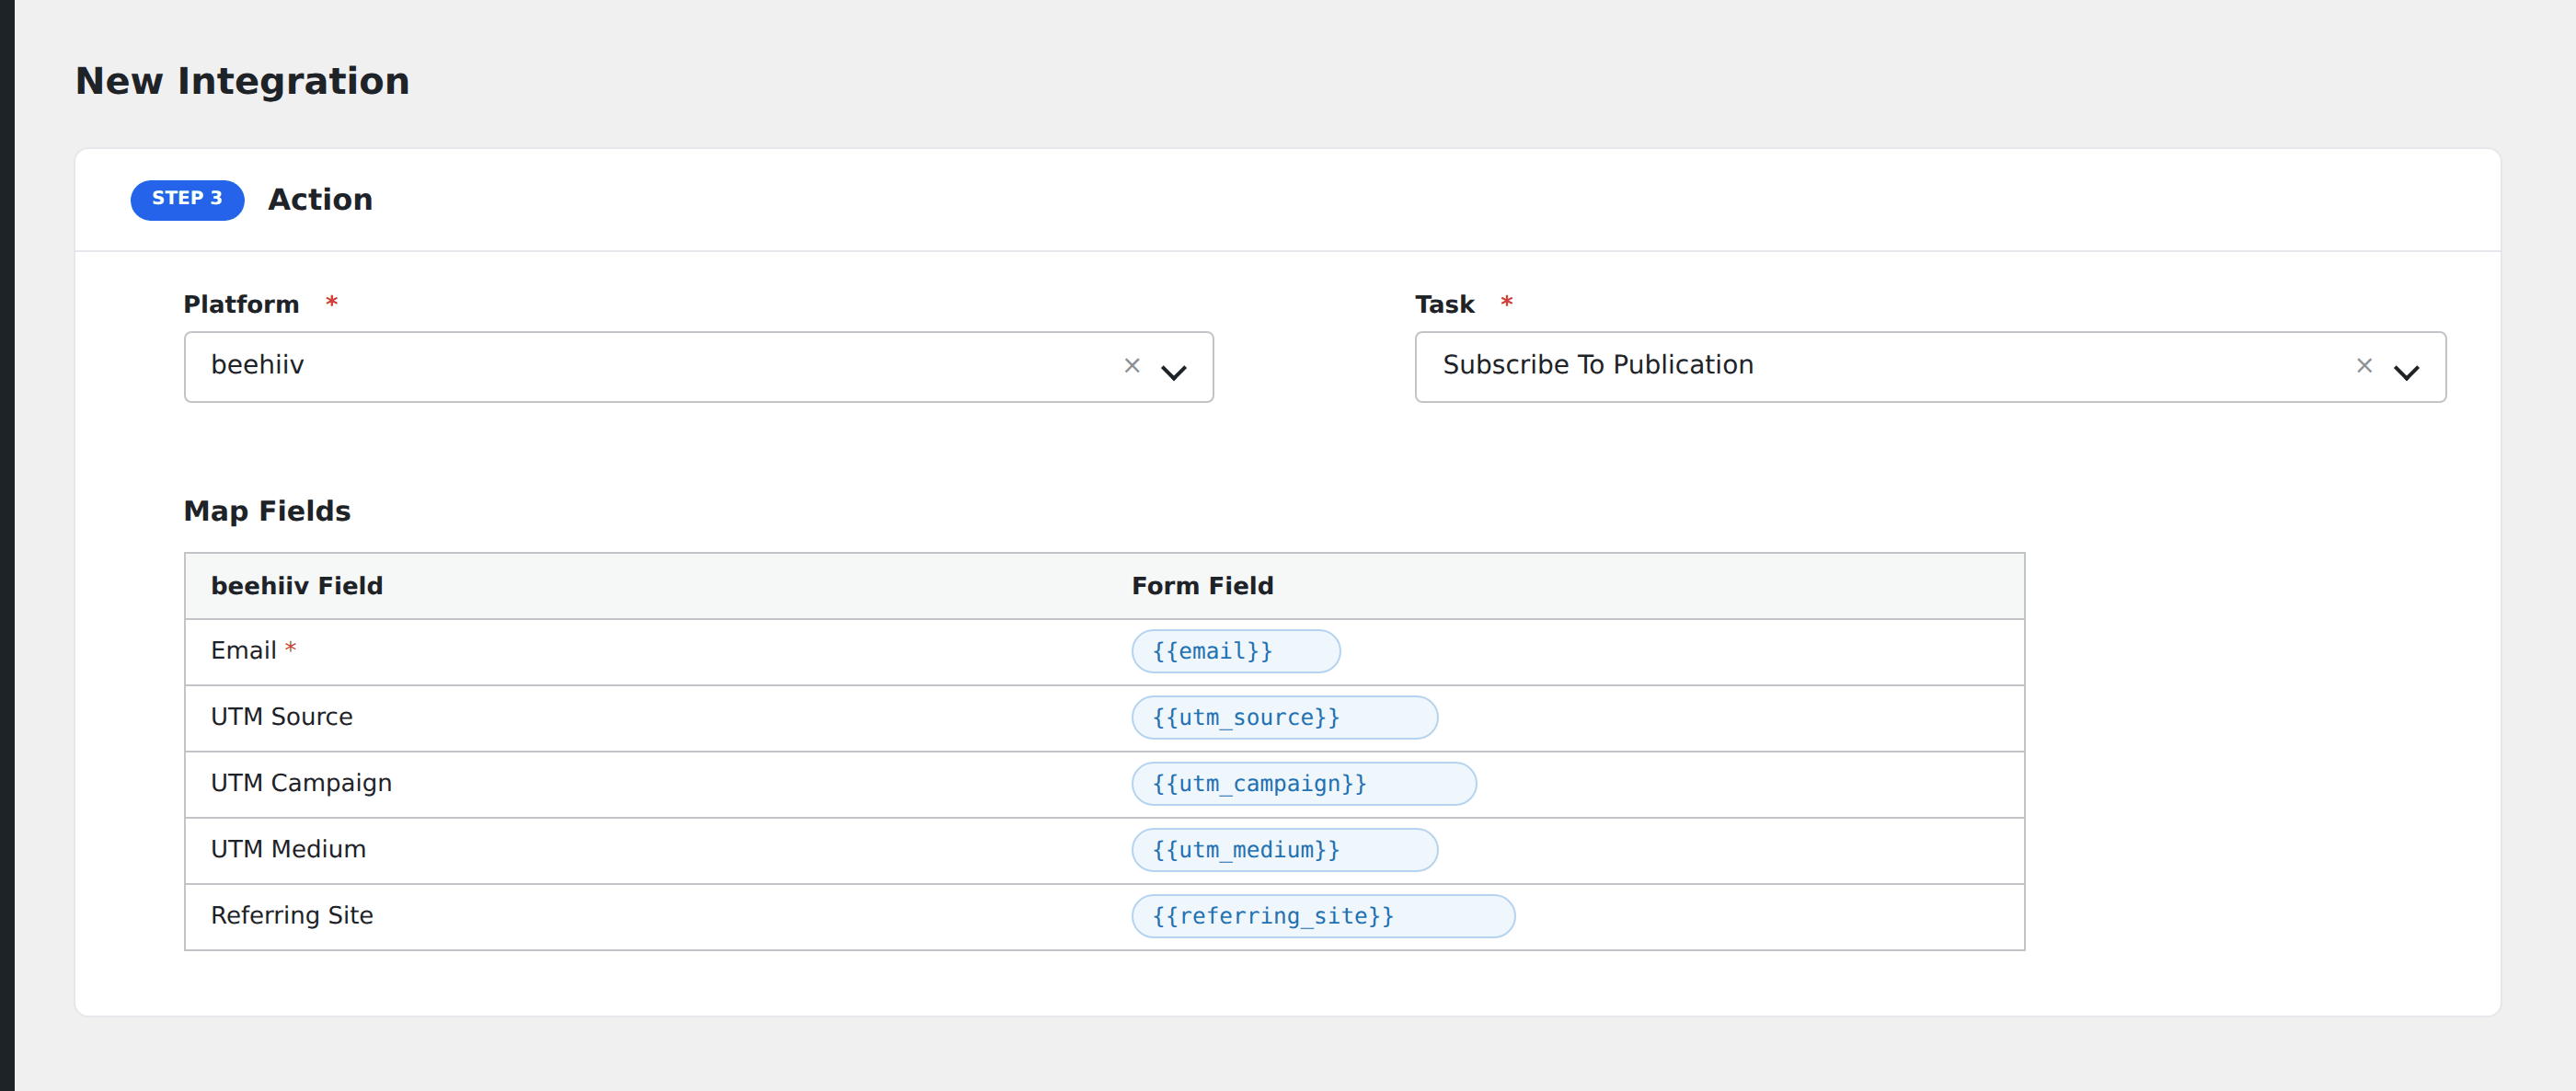
- Under Action → Platform, select beehiiv.
- In Task, choose Subscribe To Publication.
- Pick the saved account in the beehiiv Account dropdown.
- Select a Publication. AFI loads your publications from the API.
- Map your form fields onto the beehiiv fields listed below.
- Optional: open Conditional Logic to limit which submissions are sent.
- Click Save Integration.
Tasks supported
Subscribe To Publication
Subscribes the form submitter to the selected publication via POST /v2/publications/{id}/subscriptions. A welcome email is sent by default. The subscriber appears in your beehiiv dashboard immediately.
| Field | Field key | Required | Notes |
|---|---|---|---|
email |
Yes | Subscriber email address | |
| UTM Source | utm_source |
No | UTM tracking parameter |
| UTM Campaign | utm_campaign |
No | UTM tracking parameter |
| UTM Medium | utm_medium |
No | UTM tracking parameter |
| Referring Site | referring_site |
No | Referring site URL |
Pro features
The Pro integration extends the free version with custom field support, subscriber tags, subscription tier control, welcome email control, and reactivation options. Pro uses the same beehiiv API key connection and the same task.
Custom fields
Pro auto-loads custom fields from your beehiiv publication via GET /publications/{id}/custom_fields. Each field appears in the mapper by name. You can also enter custom fields manually using the pipe-separated format field_name=value|field_name2=value2.
Tags
Pro applies tags to subscribers after creation. Enter tag names separated by commas. Each tag is added individually via POST /publications/{id}/subscriptions/{sub_id}/tags.
Additional Pro fields
| Field | Field key | Notes |
|---|---|---|
| Send Welcome Email | sendWelcomeEmail |
Boolean. Override the default true. |
| Reactivate Existing | reactivateExisting |
Boolean. Reactivate cancelled subscribers. Defaults to false. |
| Subscription Tier | subscriptionTier |
Paid tier ID if using premium subscriptions |
| Stripe Customer ID | stripeCustomerId |
Link to Stripe customer for paid subscriptions |
Feature comparison
| Feature | Free | Pro |
|---|---|---|
| Subscribe to publication | ✅ | ✅ |
| Email + UTM fields | ✅ | ✅ |
| Custom fields (auto-loaded) | No | ✅ |
| Tags | No | ✅ |
| Subscription tier / Stripe | No | ✅ |
| Welcome email control | No | ✅ |
| Reactivate existing | No | ✅ |
Conditional logic example
Only subscribe contacts to your premium publication when the form’s subscription_type field is “premium”. Free subscribers go to a standard publication via a separate integration.
Troubleshooting
Nothing arrives in beehiiv
Open AFI → Log and find the most recent entry. AFI stores the request and response. If there is no log entry, the trigger never fired: submit a real test entry from the front end.
API key rejected
Copy the key from Settings → API in your beehiiv dashboard. If regenerated, update it in AFI → Settings → beehiiv.