 AFI
AFI
Calendly
Calendly is one of the most widely used scheduling tools. With Advanced Form Integration (AFI), a form submission on your WordPress site can generate a single-use Calendly scheduling link on the fly. For example, a lead qualification form can produce a one-time booking link that only that lead can use, or a paid application form can hand out a private scheduling link after checkout. AFI Pro adds contact creation, organization invites, and event cancellation.
Supported Features
- Create Single-Use Scheduling Link: generate a one-time (or limited-use) scheduling link for a chosen event type.
- Add Contact (AFI Pro): add a contact to your Calendly organization’s contact list. Requires a paid Calendly plan.
- Invite User to Organization (AFI Pro): send an organization invitation to an email address.
- Cancel Scheduled Event (AFI Pro): cancel an existing scheduled event by its UUID or URI.
What You’ll Need
- A Calendly account with at least one active event type.
- A Calendly Personal Access Token.
- AFI free for scheduling links. AFI Pro for contacts, invitations, and cancellations.
- Note: the Add Contact and Invite User tasks also require a paid Calendly plan on Calendly’s side.
Connecting Calendly to AFI
AFI authenticates with a Personal Access Token sent as a Bearer token to api.calendly.com. On first use, AFI looks up your user and organization automatically, so you only need the token.
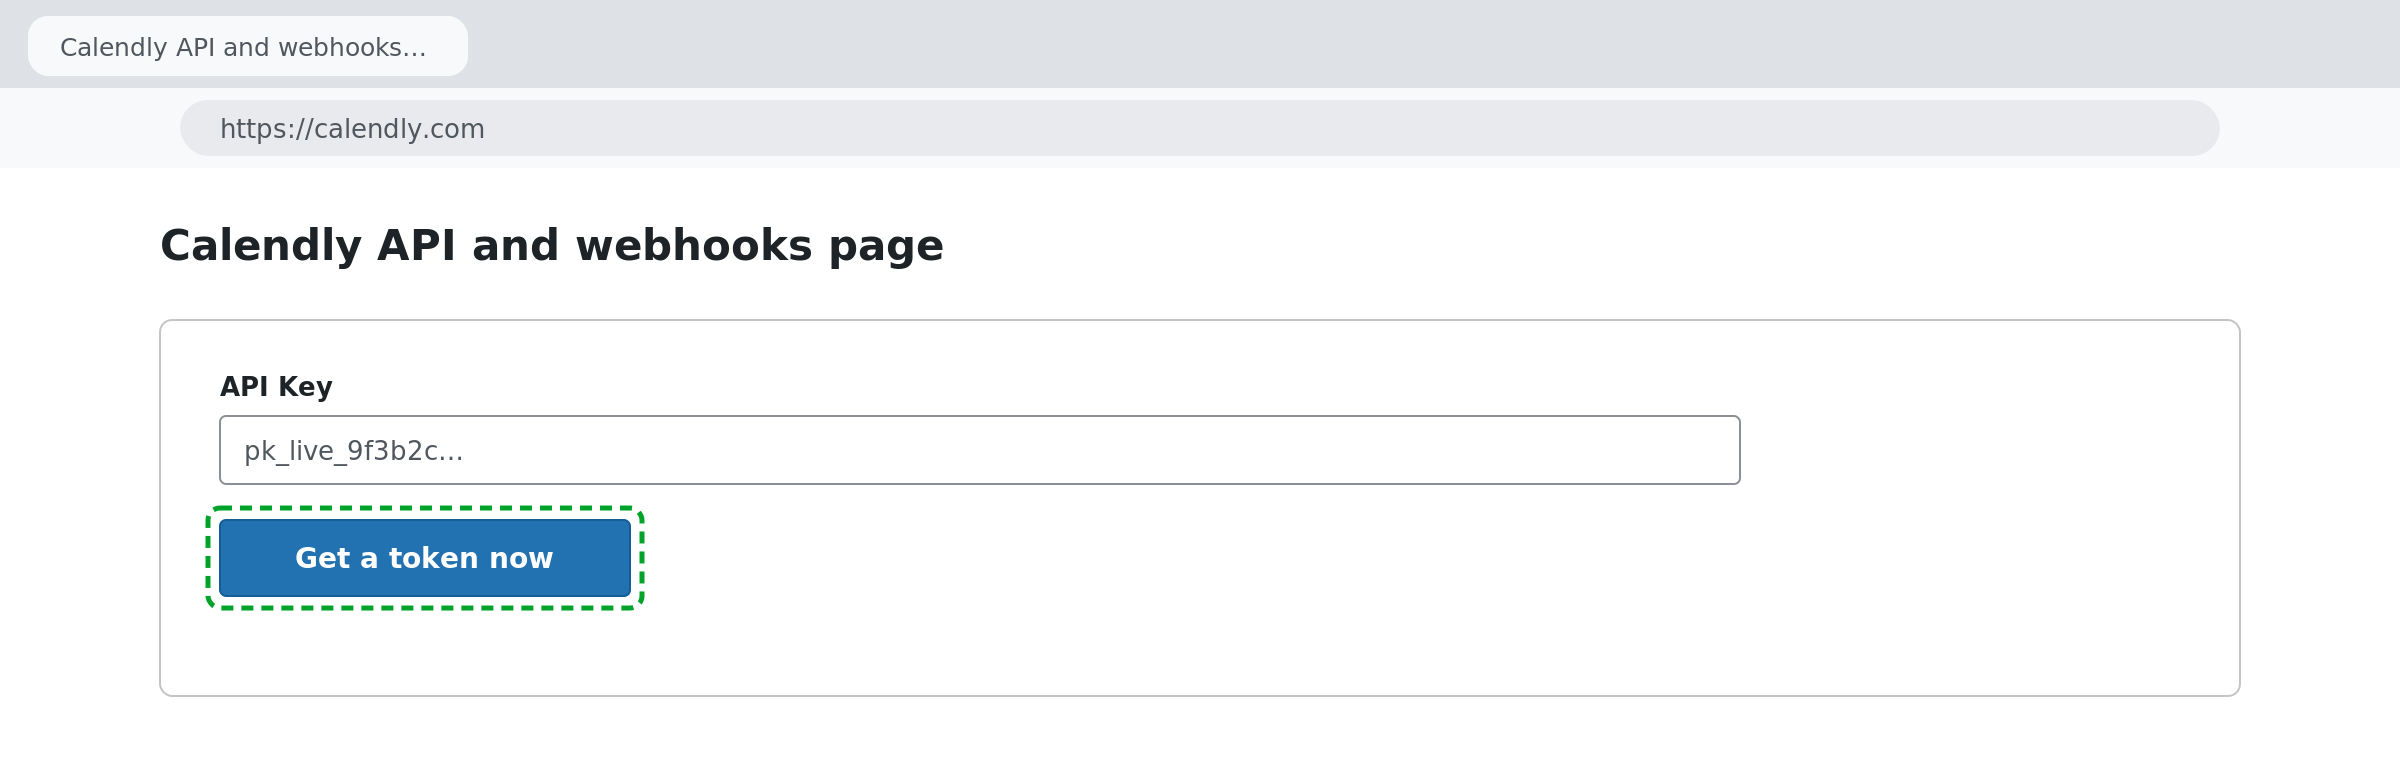
- Sign in to Calendly and go to Integrations & apps > Manage > API and webhooks.
- Under Personal Access Tokens, click Get a token now and give it a descriptive name, such as WordPress.
- Select all scopes, then copy the token immediately. Calendly only shows it once.
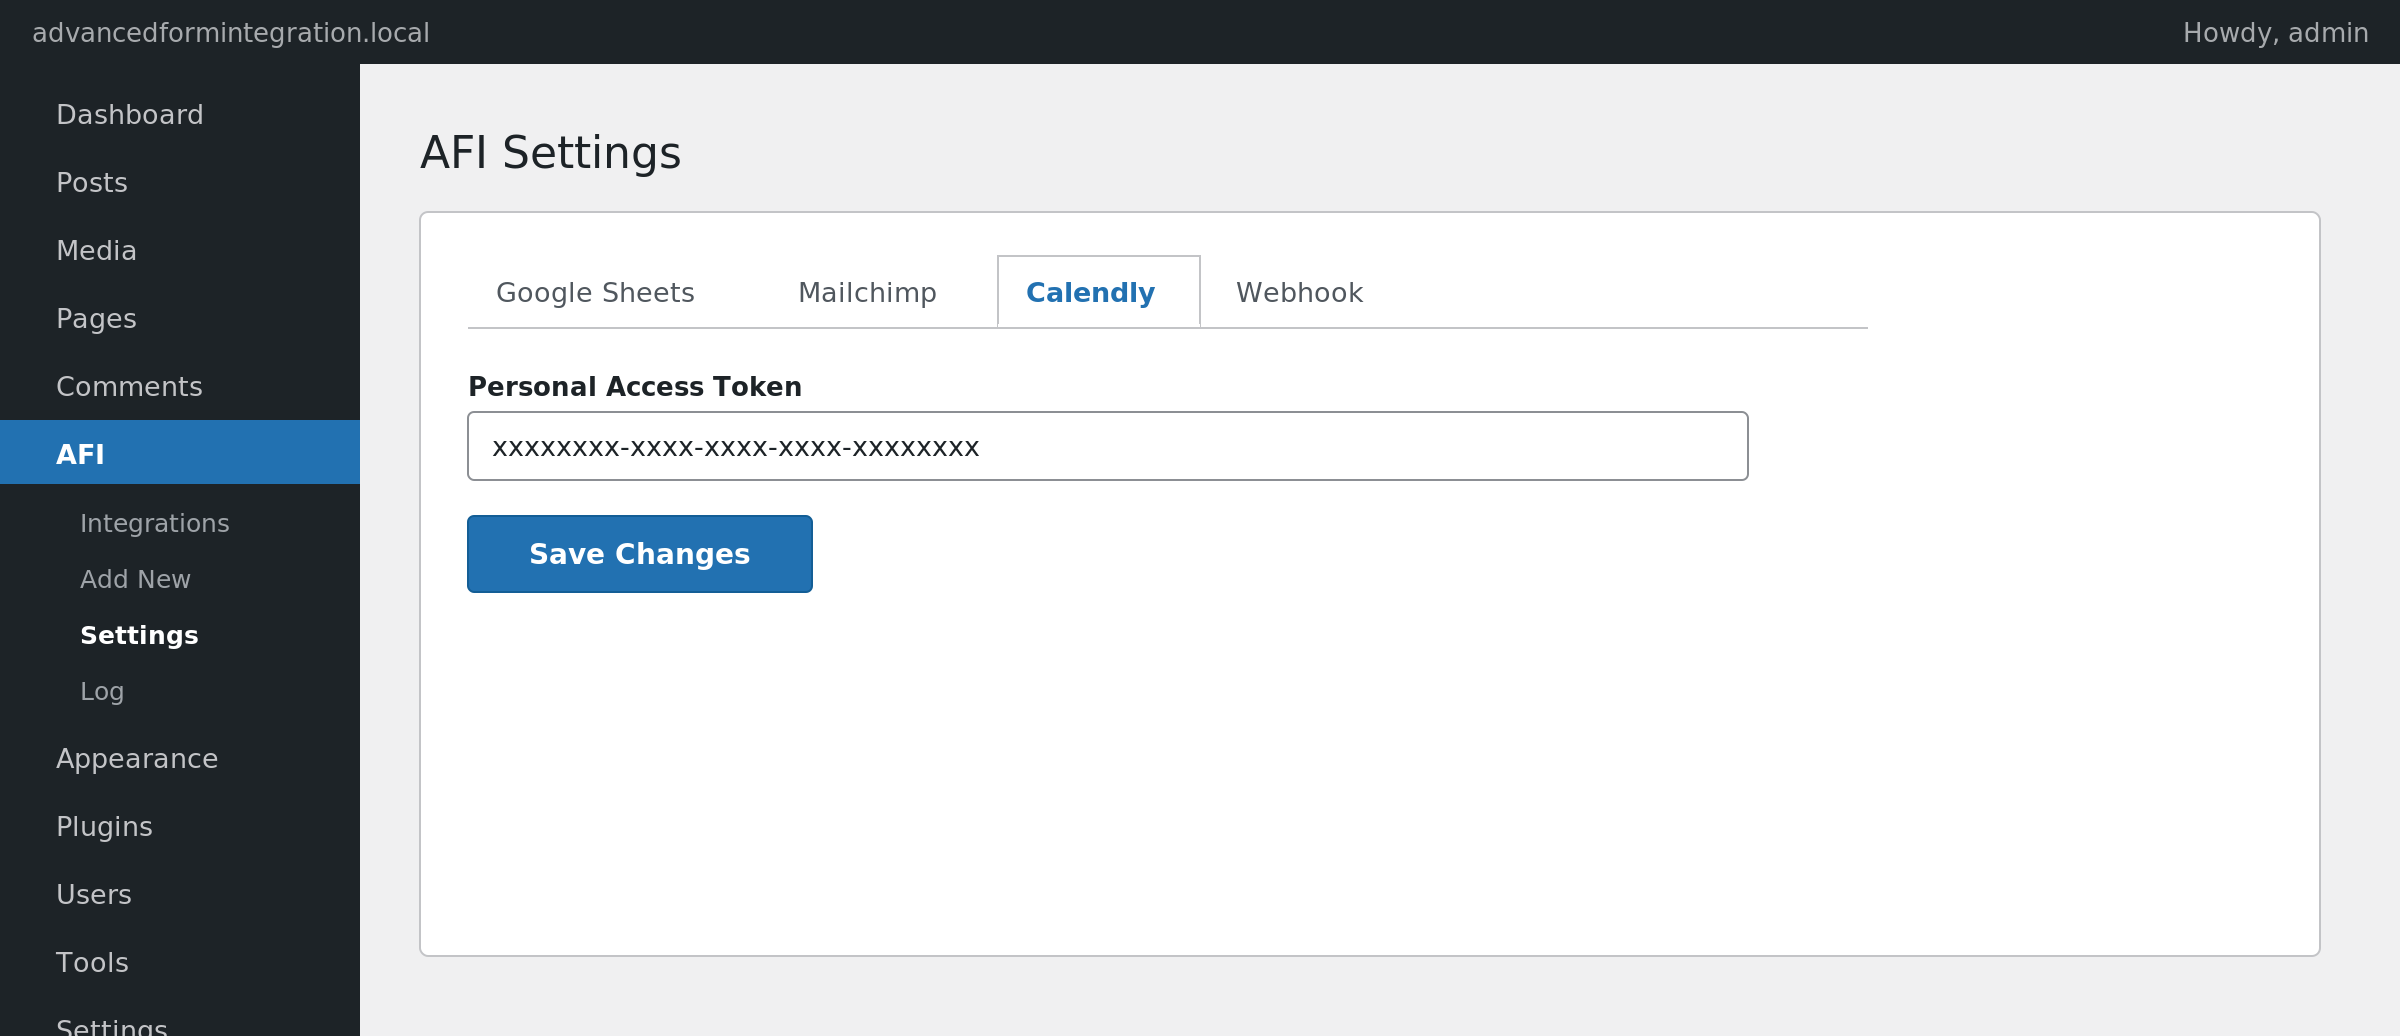
- In WordPress, go to AFI > Settings and open the Calendly tab.
- Add a new account, paste the token into the Personal Access Token field, and save.
How to Create the Integration
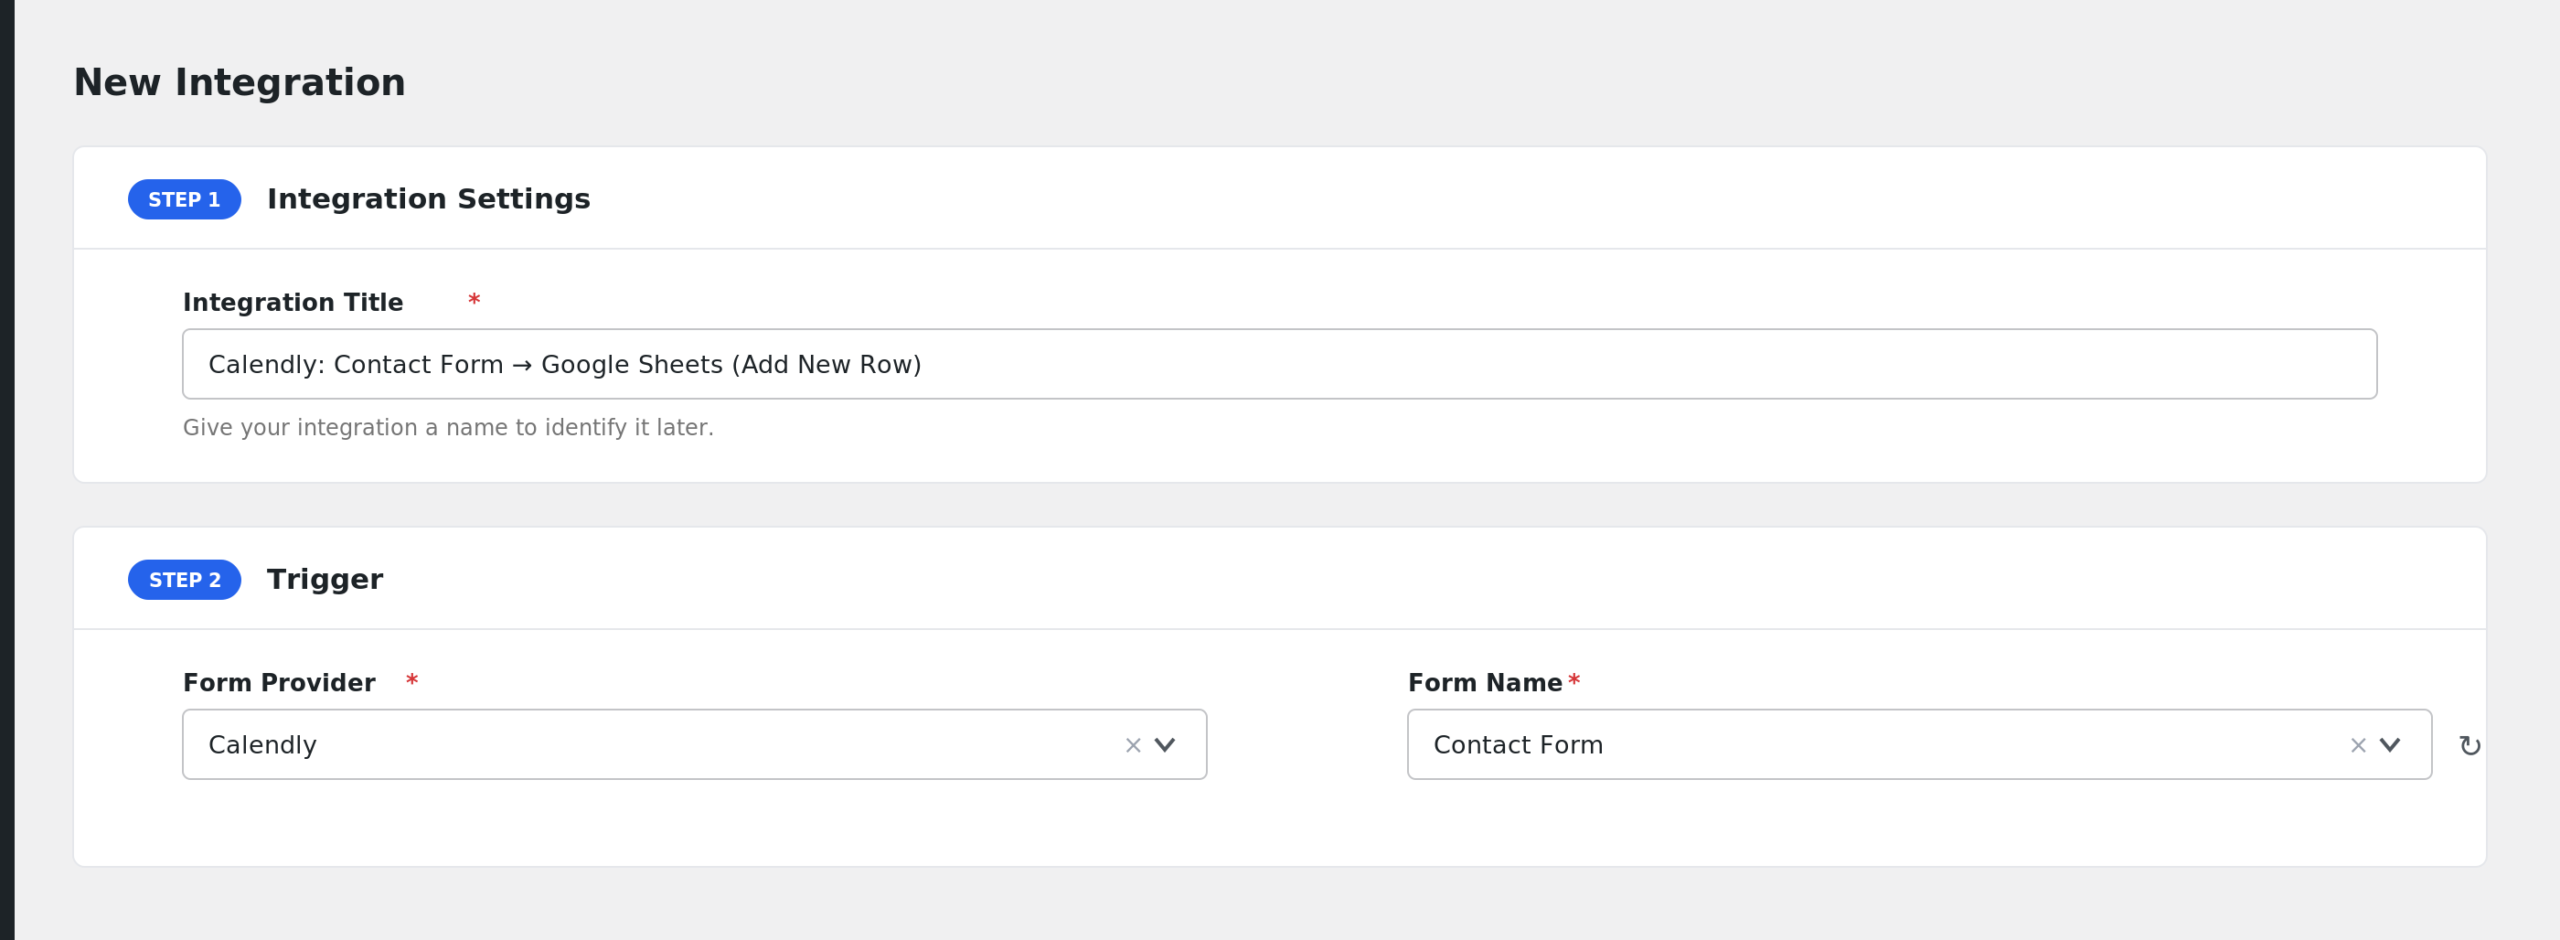
- Go to AFI > Add New.
- Rename the auto-filled Integration Title.
- Under Trigger, select your form plugin and the specific form.
- Under Action, select Calendly in the Platform dropdown. Pro users can select Calendly [PRO].
- Choose the Task, for example Create Single-Use Scheduling Link.
- Select your Calendly Account.
- For scheduling links, pick the Event Type the link will book against, and set Max Event Count (how many times the link can be used, default 1).
- Map any remaining fields for Pro tasks.
- Click Save Integration.
Field Mapping
Create Single-Use Scheduling Link
This task uses settings rather than mapped fields.
| Setting | Description |
|---|---|
| Event Type | The active event type the generated link books against. Required. |
| Max Event Count | How many bookings the link allows. Defaults to 1 (single-use). |
Add Contact (AFI Pro)
| Field | Description |
|---|---|
| The contact’s email address. Required. | |
| Full Name | The contact’s full name. |
| First Name | First name. |
| Last Name | Last name. |
| Phone Number | Saved as a work phone number. |
| Job Title | The contact’s job title. |
| Company | Company name. |
Invite User to Organization (AFI Pro)
| Field | Description |
|---|---|
| Email to invite | The email address that receives the organization invitation. Required. |
Cancel Scheduled Event (AFI Pro)
| Field | Description |
|---|---|
| Scheduled Event UUID or URI | The event to cancel. You can pass a bare UUID or the full Calendly event URI, for example from a booking webhook. Required. |
| Cancellation Reason | Optional reason text. |
Troubleshooting
“Could not resolve Calendly user” or 401 errors
The Personal Access Token is missing, expired, or was created without the needed scopes. Create a new token with all scopes and update it in AFI > Settings > Calendly.
Nothing happens after form submission
Open AFI > Log and check the entry for your submission. For scheduling links, the most common cause is a missing Event Type: the task is skipped entirely if no event type is selected. Reopen the integration and confirm one is chosen.
Add Contact or Invite User fails
Both tasks require a paid Calendly plan. Check the response in AFI > Log; a permissions message from Calendly usually means the account plan does not include the contacts or invitations API.