 AFI
AFI
Divi Form
The Divi Builder by Elegant Themes ships with a built-in Contact Form module. Advanced Form Integration captures every Divi contact form submission and routes the data to any of 200+ destinations: CRMs, spreadsheets, email tools, chat apps.
What you’ll need
- The Divi theme or Divi Builder plugin installed and activated.
- The Advanced Form Integration plugin installed and activated.
- A Contact Form module placed on a Divi page or template.
Supported form fields
| Field type | Supported | Output format / notes |
|---|---|---|
| Input (text) | Yes | Same as input |
| Yes | Same as input | |
| Textarea | Yes | Same as input, line breaks preserved |
| Checkbox | Yes | Comma-separated selected option labels |
| Radio | Yes | The selected option’s label |
| Select | Yes | The selected option’s label |
Divi’s Contact Form module is intentionally simple: there’s no built-in date, file upload, or hidden field. For richer field types, use a dedicated form plugin (CF7, WPForms, Gravity Forms) inside Divi instead.
Create the integration
- Go to WP Admin → AFI → Add New.
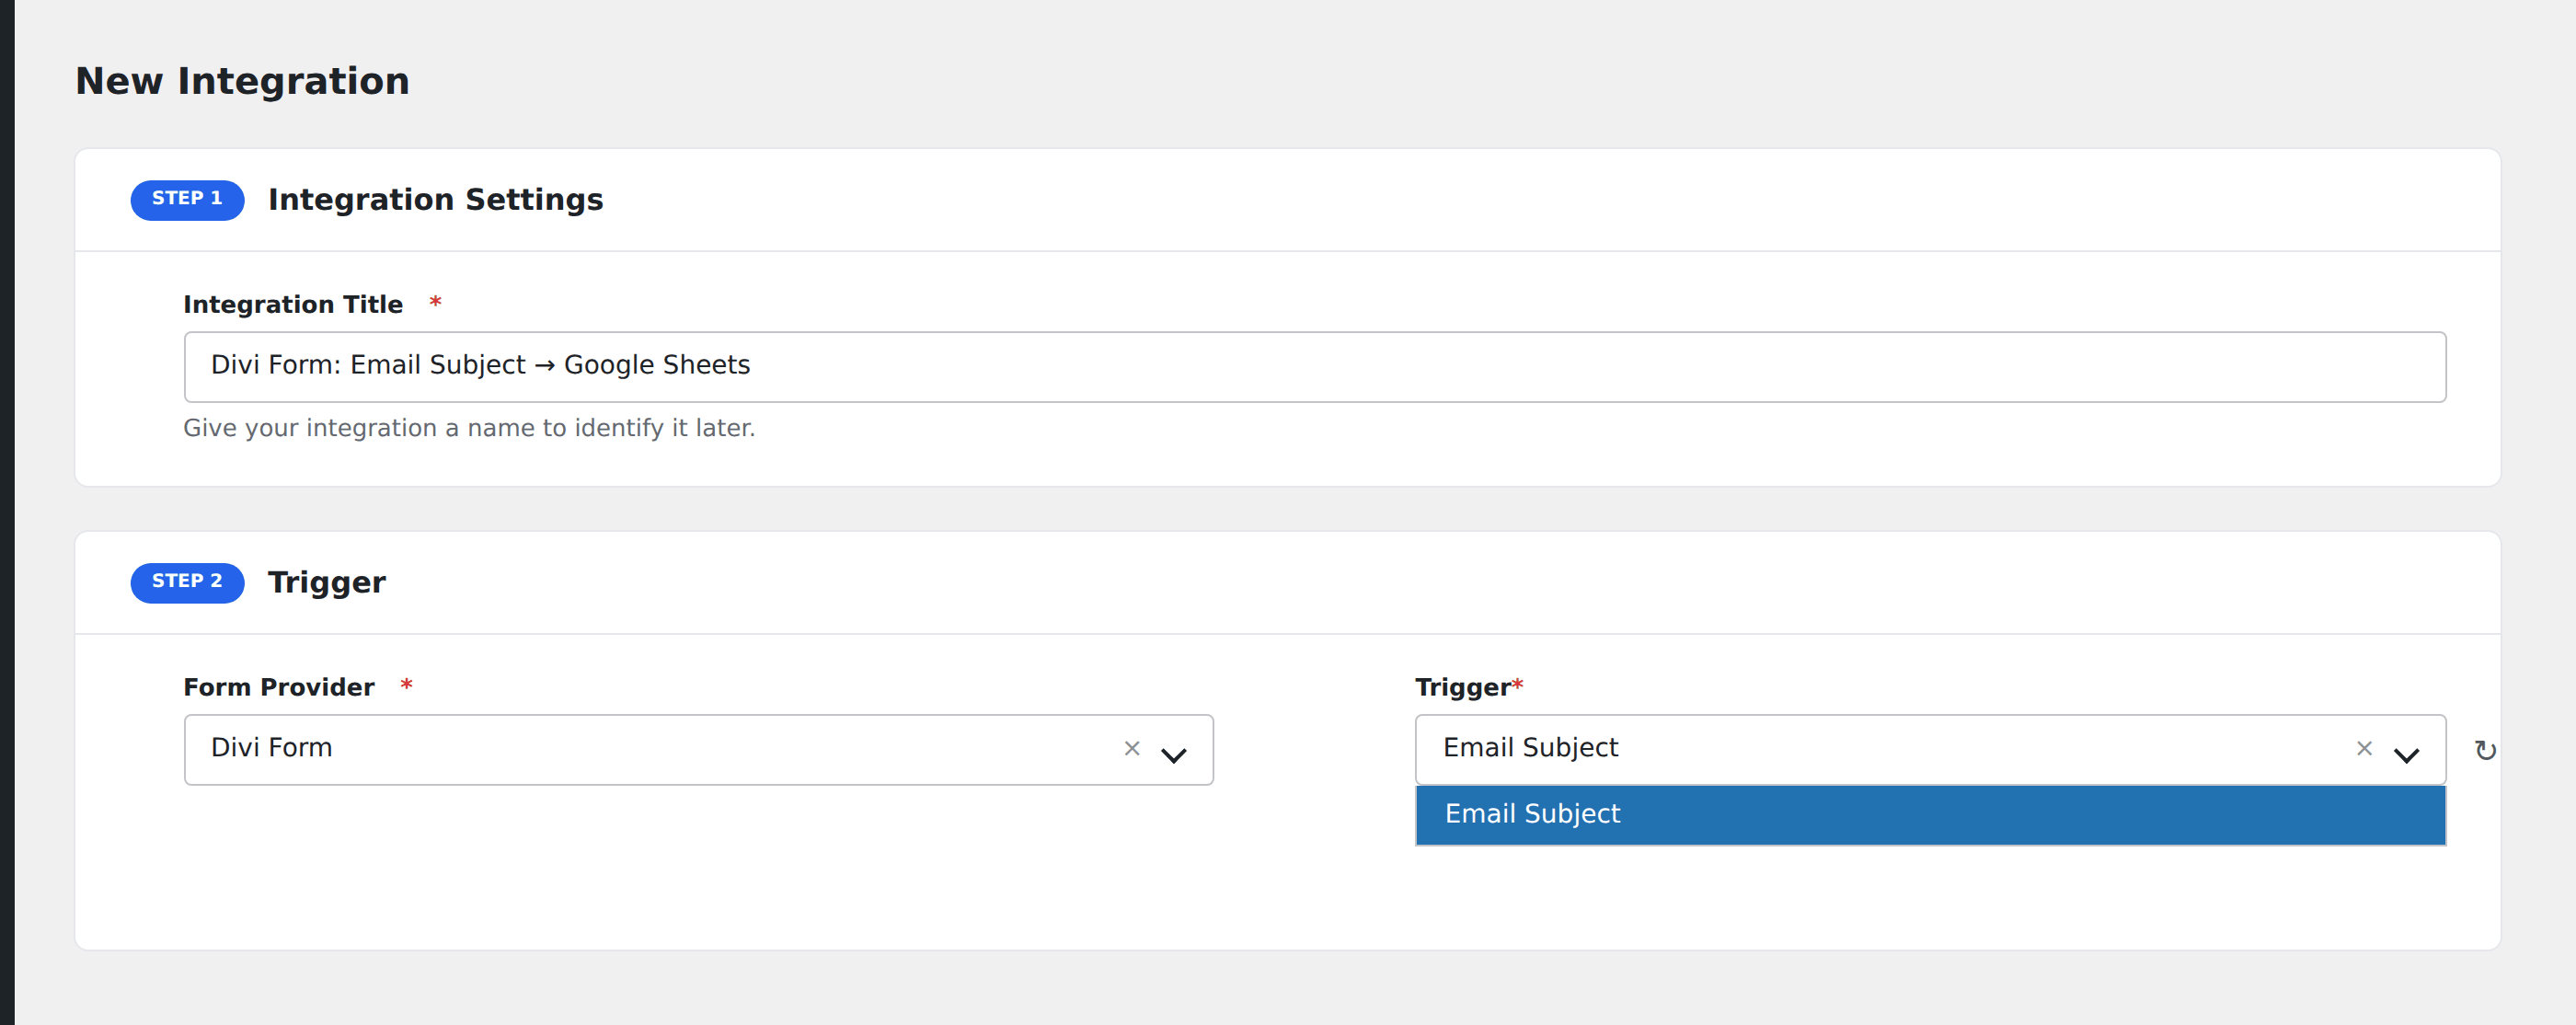
- Enter an Integration Title that names the form and the destination, e.g.
Divi Contact → Mailchimp. - In Trigger → Form/Data Provider, select Divi Form.
- In Form/Task Name, choose the form. Divi forms are identified by the form’s Email Subject (set on the Contact Form module’s settings panel). Give each form a unique subject so it’s easy to find here.
- In Action → Platform, pick where the data should go and complete the field mapping.
- Optional: configure Conditional Logic.
- Click Save Integration.
How AFI listens for submissions
AFI hooks into the et_pb_contact_form_submit action, which Divi fires after a contact form is validated and submitted. AFI runs after Divi’s own email-sending logic, so a submission rejected by Divi’s spam check or required-field validation never reaches AFI.
Naming forms in Divi
Divi doesn’t give contact forms an internal ID or name in the way dedicated form plugins do. AFI matches forms by their Email Subject field instead:
- Edit the Divi page in the Visual Builder.
- Click the gear icon on the Contact Form module to open settings.
- Open the Email tab.
- Set a unique, descriptive Email Subject like
Newsletter SignuporDemo Request. - Save and publish.
The next time you open AFI, the form appears in the dropdown by that subject.
Conditional logic example
Goal: route demo requests to Salesforce, but route every other Divi form submission to a generic Mailchimp list.
Create two integrations on the same form. On the Salesforce integration, open the Conditional Logic panel and add a condition on a hidden Divi field (e.g. form_type = demo). The Mailchimp integration stays unconditional.
Troubleshooting
Form not appearing in the Form/Task Name dropdown
Divi only registers forms after they’ve been viewed at least once. Visit the page on the front-end with the form, then reload the AFI integration screen.
If multiple forms share the same Email Subject, they’ll appear as a single entry in the dropdown. Give each form a unique subject.
Submissions reach Divi’s email but not the destination
Open AFI → Log for the most recent entry. The log shows the exact payload AFI sent and the destination’s response. The most common cause is a misconfigured field map. Divi’s field IDs are based on the field labels you set, so renaming a label in Divi requires re-mapping in AFI.