 AFI
AFI
Salesforce
Salesforce is the dominant enterprise CRM platform. Advanced Form Integration sends form submissions straight into Salesforce as a new Lead, Contact, Account, Opportunity, or Case, with field mapping to standard and custom Salesforce fields.
What you’ll need
- An active Salesforce account (any edition that supports API access, Professional, Enterprise, Performance, Unlimited, or Developer).
- Permission to create a Connected App in your Salesforce org.
- The Advanced Form Integration plugin installed and activated.
Create a Salesforce Connected App
Salesforce uses Connected Apps for OAuth integrations. You’ll create one specifically for AFI.
- Log in to Salesforce.
- Click the gear icon (top right) → Setup.
- In Quick Find, search for App Manager and open it.
- Click New Connected App.
- Fill in:
- Connected App Name:
Advanced Form Integration - API Name: auto-fills
- Contact Email: your email
- Tick Enable OAuth Settings.
- Callback URL: paste the redirect URI shown in AFI → Settings → Salesforce.
- Selected OAuth Scopes: add
Manage user data via APIs (api)andPerform requests at any time (refresh_token, offline_access). - Click Save, then Continue.
- After saving, click Manage Consumer Details to view the Consumer Key and Consumer Secret. Copy both.
Connect Salesforce to AFI
- In WordPress, go to AFI → Settings → Salesforce.
- Paste the Consumer Key and Consumer Secret.
- Click Save & Authorize.
- Salesforce opens its login screen. Log in and authorize the app.
- After authorization, Salesforce redirects back to AFI showing Connected.
Create the integration
- Go to AFI → Add New.
- Configure the trigger.
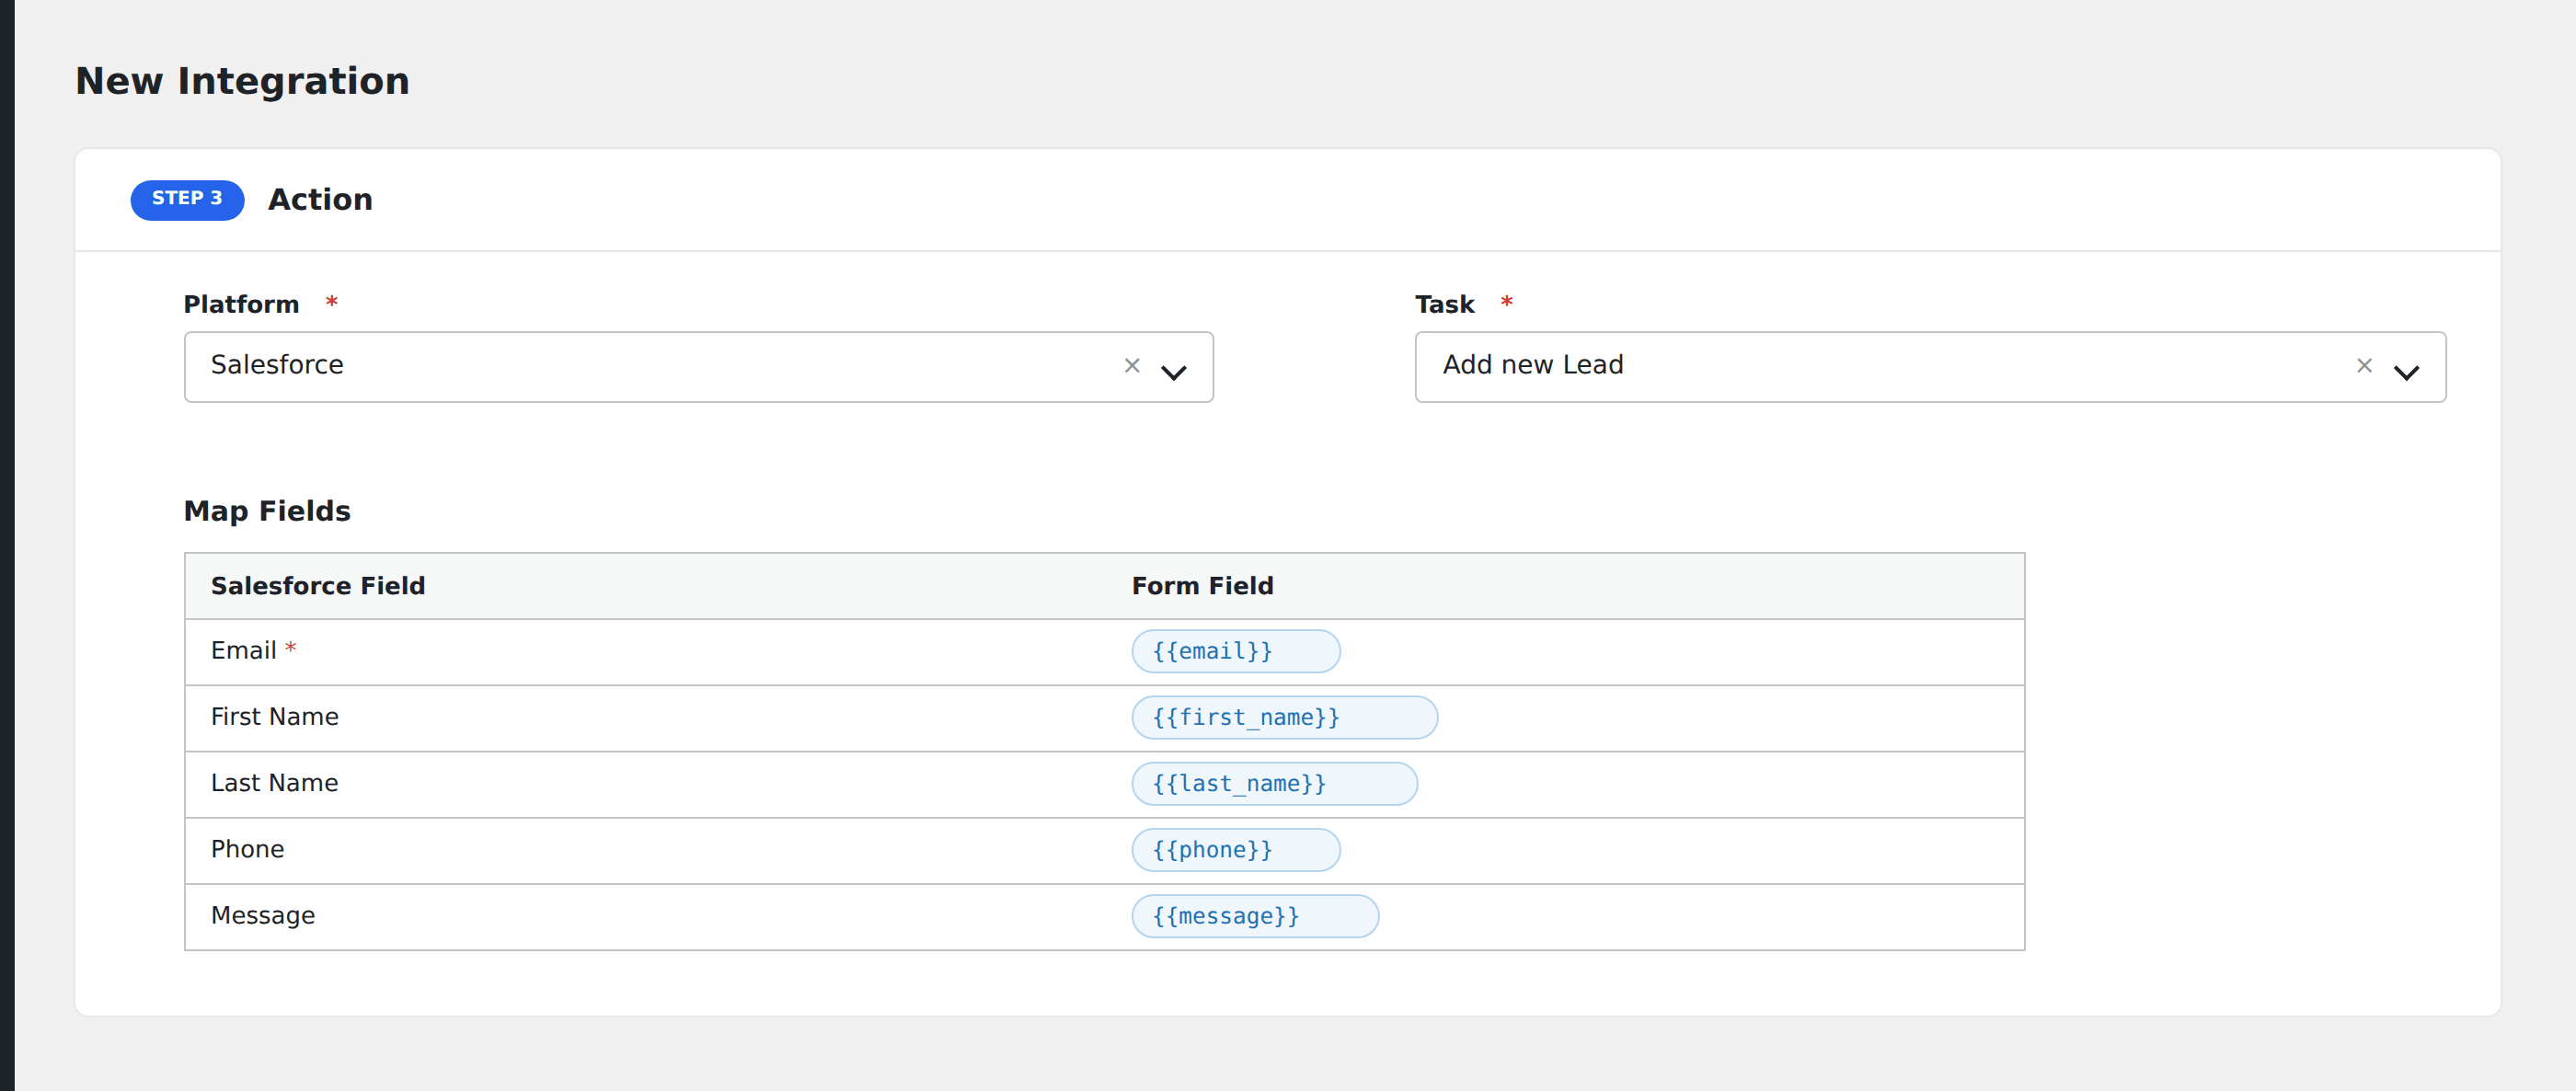
- In Action → Platform, select Salesforce.
- In Task, choose what to create: Lead, Contact, Account, Opportunity, Case, or Custom Object.
- Map the form fields to Salesforce fields.
- Optional: configure Conditional Logic.
- Click Save Integration.
Tasks supported
Create Lead
Adds a new Lead to Salesforce. Most common task for marketing forms. Required: First Name, Last Name, Company.
Create Contact
Adds a new Contact tied to an Account. Required: Last Name. Account ID can be looked up by name (Pro).
Create Account
Adds a new Account (company). Required: Account Name.
Create Opportunity
Creates a new Opportunity in a sales pipeline. Required: Name, Stage, Close Date.
Create Case
Creates a support Case. Useful for support / contact-us forms feeding the Service Cloud.
Create Custom Object record
If you have custom objects defined in Salesforce, AFI can write to them too. Pick the object and map fields like a standard task.
Pro features
The Pro version adds:
- Bulk custom field mapping.
- Lookup-by-email/name to update existing records instead of duplicating.
- Multi-select picklist support.
- Account assignment by lookup.
Conditional logic example
Goal: when a quote-request form’s Company Size is Enterprise, create a high-value Lead in Salesforce assigned to the enterprise sales team.
Create the Lead integration. Open the Conditional Logic panel, add a condition with the company size field, Equal To, value Enterprise. In the Lead mapping, set the Lead Source or Owner ID to route to the enterprise team.
Troubleshooting
“INVALID_SESSION_ID” or “expired access/refresh token”
Salesforce session tokens expire after a period of inactivity. Re-authorize via AFI → Settings → Salesforce → Re-authorize.
“REQUIRED_FIELD_MISSING”
Salesforce reports which field is missing in the log entry. Add it to the mapping (every required Salesforce field for the chosen object must be mapped).
Custom field not appearing
Custom fields use API names (e.g. Industry__c) rather than labels. Go to Salesforce → Setup → Object Manager → your object → Fields & Relationships to find the API name, then re-pick fields in AFI to refresh the dropdown.