 AFI
AFI
WS Form
WS Form is a powerful WordPress form builder by Westgate Software with advanced layout and conditional features. Advanced Form Integration captures every WS Form submission and routes the data to any of 200+ destinations.
What you’ll need
- The WS Form plugin (Lite or Pro) installed and activated.
- The Advanced Form Integration plugin installed and activated.
- A form built in WS Form → Add New.
Supported form fields
WS Form supports a very large catalogue of field types. AFI captures every standard field type:
- Text, Email, Phone, URL, Number, Range
- Textarea, WYSIWYG (rich-text)
- Date, Time, Date/Time
- Select, Radio, Checkboxes, Toggle
- File upload (returns public URL or comma-separated URLs for multi-file)
- Address (each sub-field separately)
- Name (first / last separately)
- Hidden
- Repeater (returns JSON-encoded array)
- Signature (returns image URL)
- Rating
Layout-only fields (Section, Tab, Group) and display-only fields (HTML, Heading) aren’t routed.
Create the integration
- Go to WP Admin → AFI → Add New.
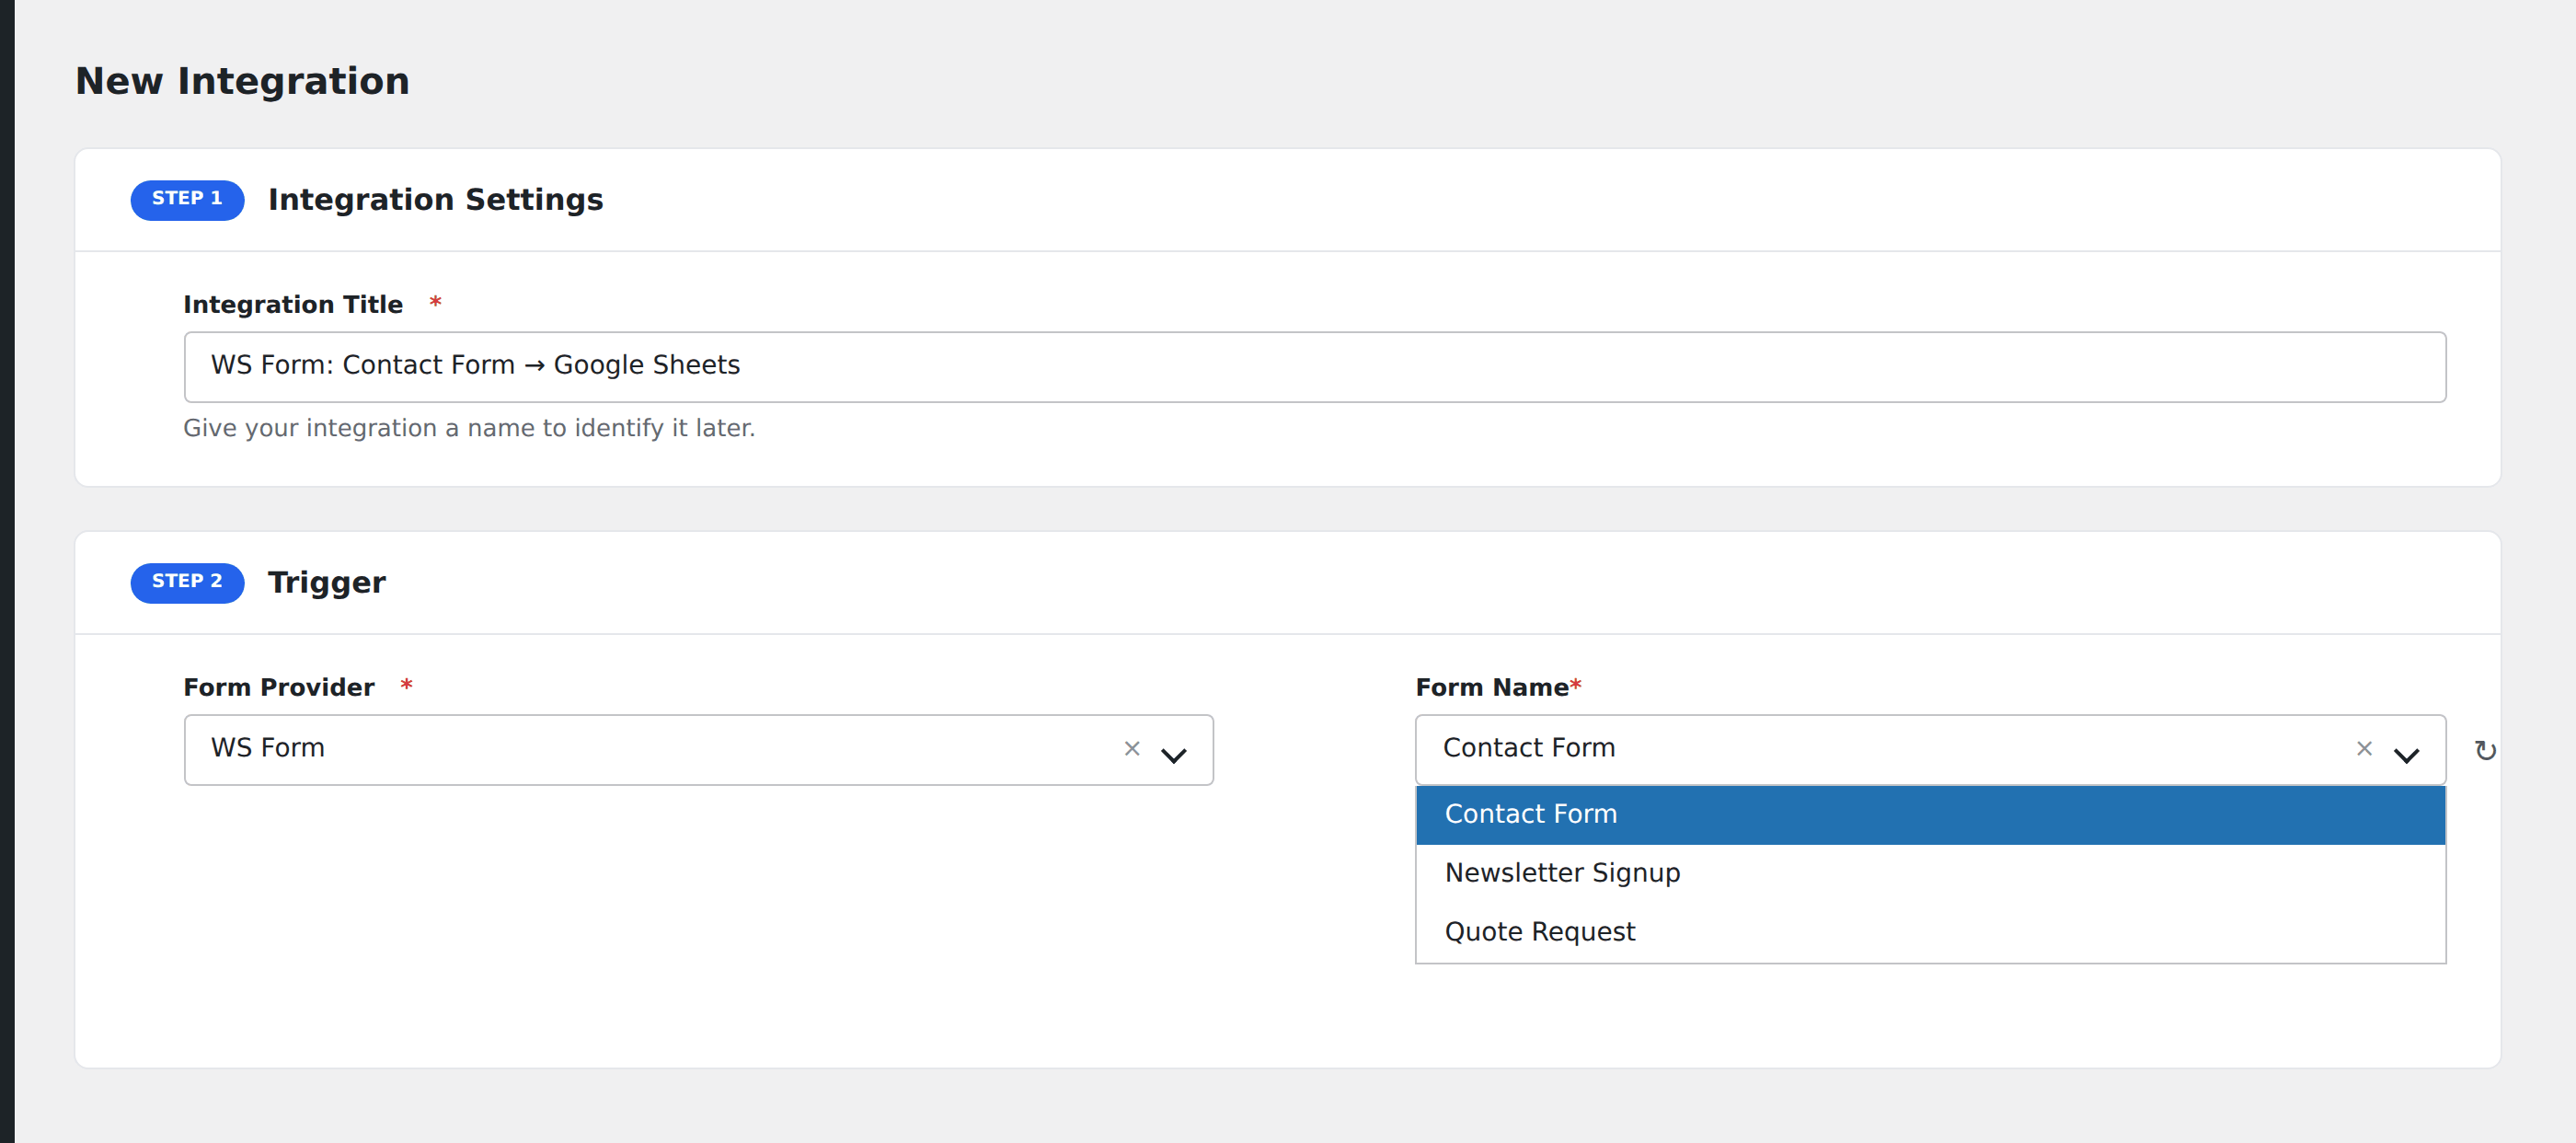
- Enter an Integration Title.
- In Trigger → Form/Data Provider, select WS Form.
- In Form/Task Name, choose the form to listen on.
- In Action → Platform, pick the destination and complete the field mapping.
- Optional: configure Conditional Logic.
- Click Save Integration.
Conditional logic example
Goal: when a WS Form quote-request’s Project Type is Enterprise, route to the senior sales rep’s CRM pipeline.
Create the CRM integration. Open the Conditional Logic panel, add a condition with the project type field, Equal To, value Enterprise.
Troubleshooting
Form not appearing in the Form/Task Name dropdown
Re-save the form in WS Form → All Forms to refresh, then reload the AFI integration screen.
Repeater data needs flattening
Repeater field data arrives as a JSON-encoded array. Most destinations don’t natively understand this. Either pick destinations that handle JSON, or use a webhook intermediary like Zapier to flatten before final delivery.