 AFI
AFI
Zapier
Zapier connects 6,000+ apps via simple “Zaps”: automations that move data from one app to another. Advanced Form Integration sends every WordPress form submission to a Zapier webhook URL, which lets you trigger any Zap that’s listening on it. Use this when the destination you want isn’t a built-in AFI integration: build a Zap with a Webhook trigger, paste the URL into AFI, and your form data flows into Zapier as a Zap-trigger event.
What you’ll need
- An active Zapier account.
- A Webhook URL from a Zap with a Catch Hook trigger (we’ll create one in the next step).
- The Advanced Form Integration plugin installed and activated.
Get a Zapier webhook URL
Zapier’s “Webhooks by Zapier” trigger gives every Zap a unique URL that AFI can post to.
- Log in to your Zapier account.
- Click + Create and pick Zaps.
- For the trigger, search for and select Webhooks by Zapier.
- Choose the Catch Hook event and click Continue.
- Skip the optional “child key” setting (leave it blank) and click Continue.
- Zapier shows your unique webhook URL (it looks like
https://hooks.zapier.com/hooks/catch/123456/abc123/). Copy it.
Zapier’s Webhooks by Zapier feature is included on every paid Zapier plan and on the free plan with limits. Check Zapier’s pricing for the current limits.
Create the integration
Zapier doesn’t need a global setting in AFI. The webhook URL is entered on each integration, since you’ll typically create a different Zap per form.
- Go to WP Admin → AFI → Add New.
- Configure the trigger (see your form plugin’s doc for specifics).
- In Action → Platform, select Zapier.
- In Task, choose Send Data to Webhook.
- Paste the Zapier webhook URL into the URL field.
- Map the form fields you want to send to Zapier. Use a clear key for each field. Zapier shows them by name in the next step.
- Optional: configure Conditional Logic to route only matching submissions.
- Click Save Integration.
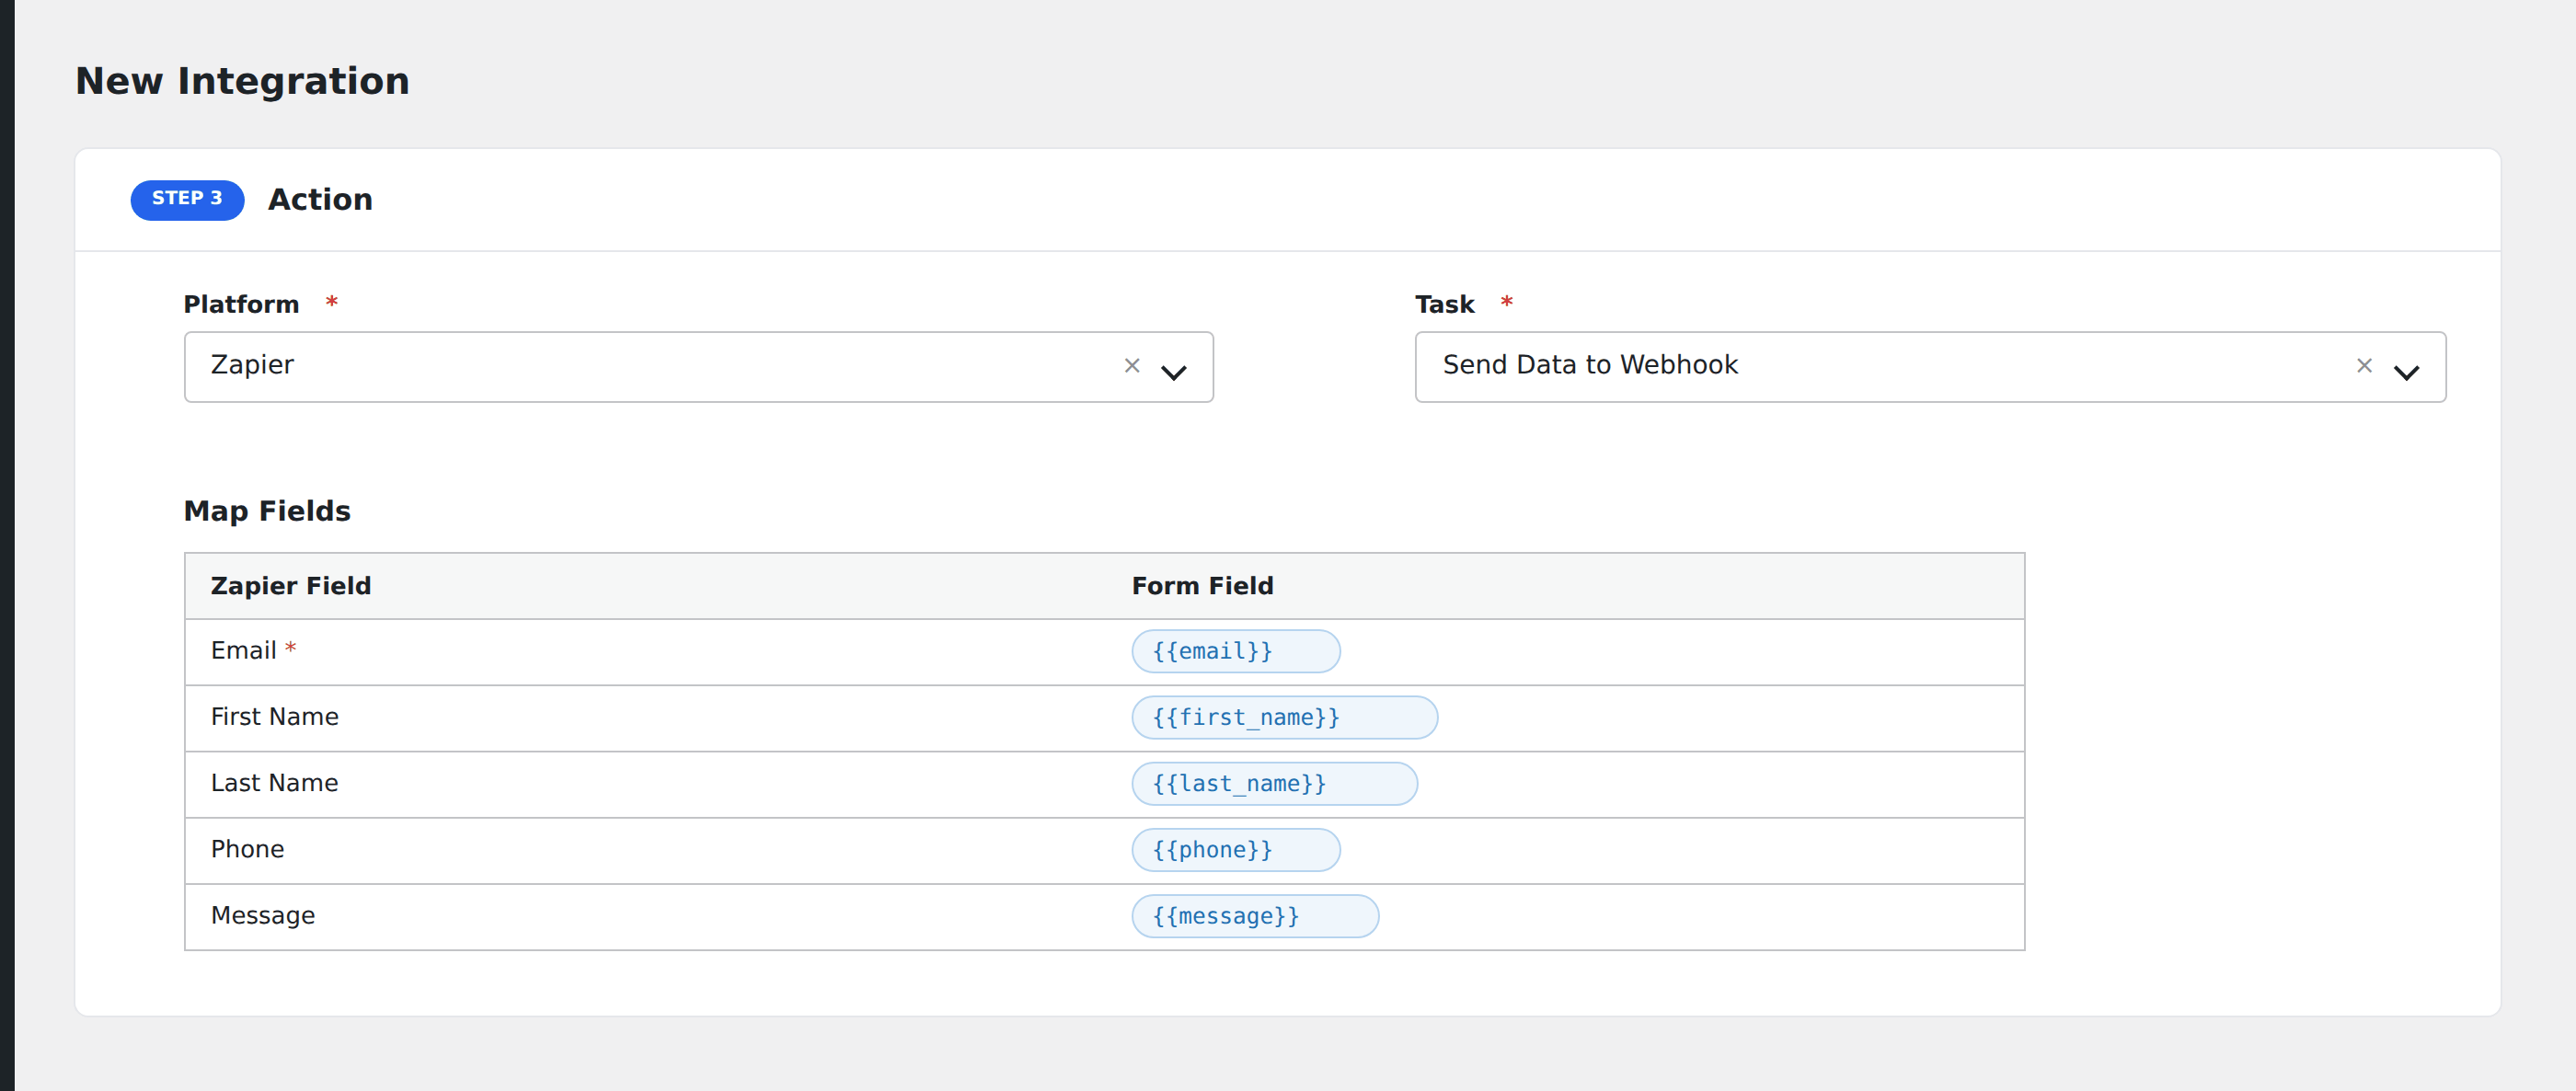
Test the connection from Zapier’s side
Once the AFI integration is saved, go back to your Zap in Zapier and submit a test entry through your WordPress form. In Zapier, click Test trigger. You should see your test submission listed with all the fields you mapped. From there, add an action step to send the data to whatever app you want.
If Zapier doesn’t see the test submission, check AFI → Log in WordPress. The log shows the exact request AFI sent to the Zapier webhook URL plus the response, which usually points at the cause.
Tasks supported
Send Data to Webhook
Posts the mapped form data as a JSON payload to the Zapier webhook URL. Zapier parses the JSON, exposes each top-level key as a separate field in subsequent action steps, and treats every webhook hit as a new Zap trigger.
Required field mapping:
- URL: the Zapier webhook URL.
- At least one mapped form field.
Notes:
- Field keys you set in AFI become the field names Zapier shows. Keep them lowercase, no spaces (
first_name, notFirst Name). Easier to use in downstream Zap steps. - Zapier accepts up to ~5 MB per webhook hit. Submissions with multiple file uploads can hit this limit; send file URLs instead of file contents.
Conditional logic example
Goal: only fire the Zap for premium-plan signups, so you don’t burn Zapier task quota on free signups.
Open the integration’s Conditional Logic panel, add a condition with the Plan form field, the Equal To operator, and the value Premium. AFI evaluates the rule before posting to Zapier, so non-matching submissions never count against your Zapier task quota.
Troubleshooting
Zap doesn’t trigger
- Check AFI → Log for the most recent entry. A
200 OKresponse means AFI delivered the payload successfully. The issue is on Zapier’s side. A non-200 response means Zapier is rejecting the request. - In Zapier, open the Zap and click Test trigger to confirm the webhook is still live. Zaps that have been turned off won’t accept hits.
- Confirm the URL in AFI matches the one shown in Zapier. Webhook URLs are unique per Zap, so a copy/paste error sends data to the wrong Zap (or nowhere).
Field names look wrong in Zapier
Zapier learns field names from the first webhook hit it receives. If you mapped firstName initially and later renamed it to first_name, Zapier might still show the old name. In Zapier, open the trigger step and click Test trigger again to refresh the field schema, then re-map the action steps.
Hit Zapier’s task limit
Each form submission counts as one Zap task. If you’re hitting the monthly limit, use Conditional Logic to filter, only submissions matching the rule will count against your quota.