Overview
Simplify your email marketing with the AFI plugin. AFI lets you effortlessly integrate any sender platform with Brevo, making it easy to collect user data and add contacts to your lists. The free version includes basic contact fields, while a paid license offers access to custom fields and contact updates. Get started with AFI to elevate your email marketing!
Supported Features
- Create a new contact with essential information such as first name, last name, email, and phone number. Plus, you can easily add the contact to your preferred list.
Supports custom fields and updating contacts. So you’ll be able to add a contact to multiple lists. Pro
The AFI plugin works with both free and paid Brevo accounts, allowing you to easily streamline your email marketing efforts regardless of your plan level.
How to Setup
Activate Brevo & Save API Key
Setting up your AFI integration is easy! Simply head to AFI > Settings > General and locate the list of supported platforms. From there, select Brevo and hit the “Save Changes” button at the bottom of the page.
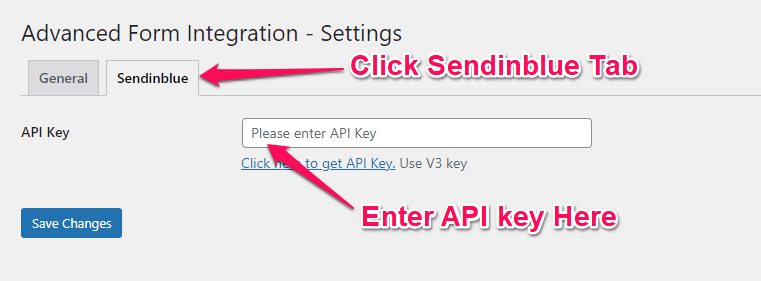
Now find the Brevo tab at the top of the settings page click on it, You will be taken to the Brevo settings page, where you need to provide the API key in the input field.
Create New Integration
Once you’ve saved the API key, simply navigate to the AFI menu and click on “Add New.” This will take you to the New Integration page, where you can easily create and manage an integration.
Title
When you create a new integration, a default title will be automatically generated with an incremental number. However, you can easily rename it to something that relates to the task at hand. This will help you quickly recognize the correct integration when there are multiple setups.
Trigger
Select the correct sender form from the “From Provider” dropdown. Keep in mind that you must have the desired form plugin installed and activated in order for it to be listed. Once you’ve selected the correct form, all forms built under it will be fetched and auto-populated in the “Form/Task Name” dropdown. From there, simply select the form you want to integrate.
Action
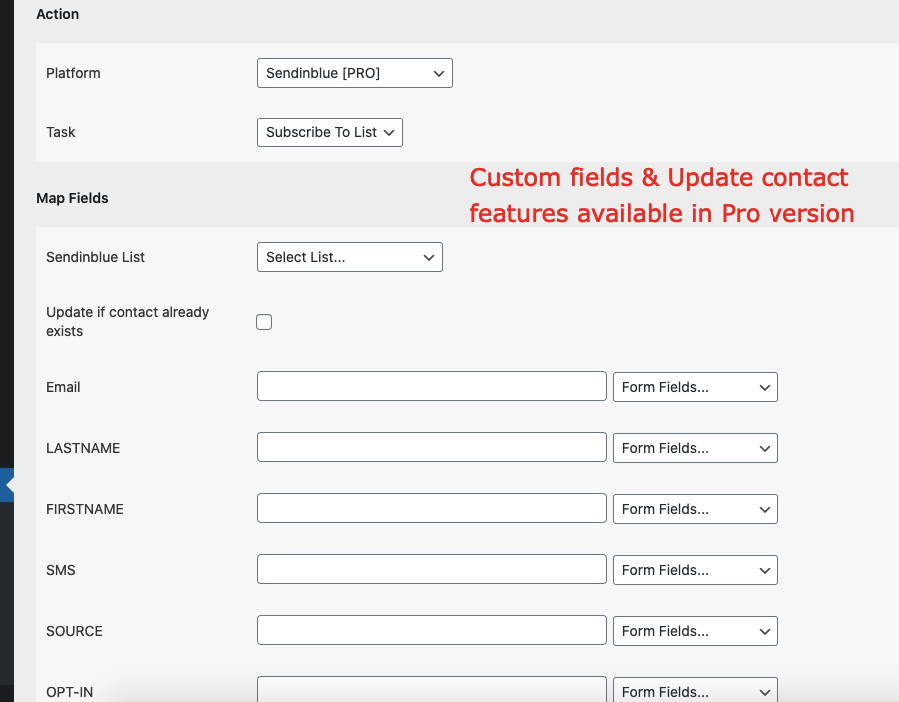
If you’re using the AFI basic plugin, simply select Brevo. However, if you’re using the AFI Pro plugin, select Brevo [PRO]. Keep in mind that [PRO] refers to the Pro features of the AFI plugin, so you don’t need a Pro Brevo subscription to get started.
AFI free features
AFI Pro Features
Map Fields
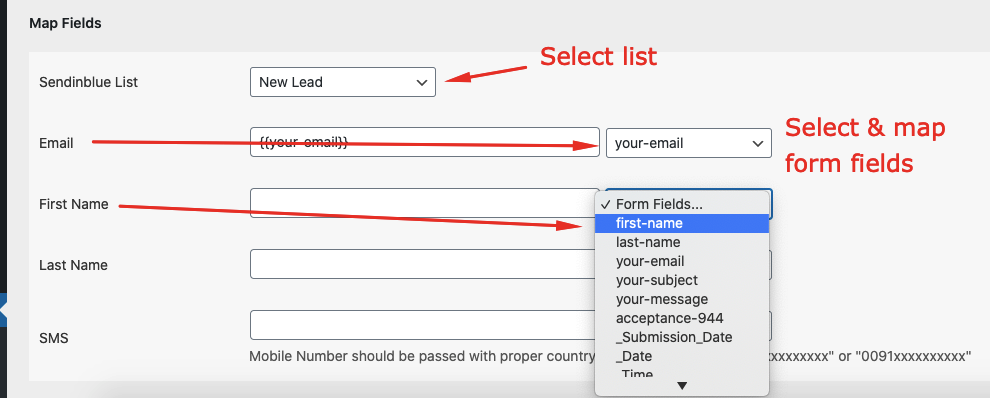
Available contact lists will be auto-populated. Select the desired one. Map Email, First Name, Last Name, etc., and other fields that you want. If there are any fields that you don’t need, simply skip them.
Phone Number (SMS)
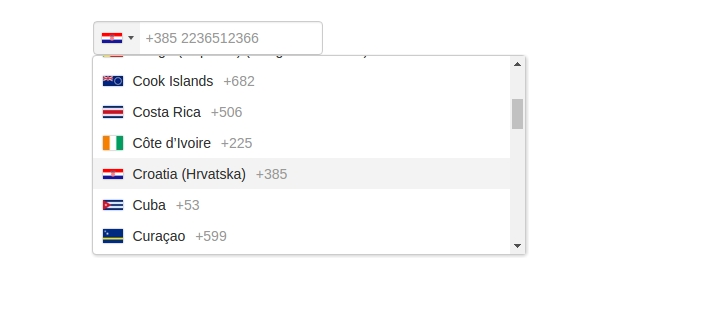
You might want to include phone numbers in your Brevo contact lists. It’s important to keep in mind that Brevo only accepts fully formatted phone numbers that include the country code. To ensure that your phone numbers are properly formatted, there are two ways to achieve this.
Design your forms phone number field in a way that user also enters the country code number. It could be a dropdown where the country is selectable.

Or, If you anticipate visitors from the same country, you may utilize a basic phone number input field within the form. To do this, include the country code prefix when configuring the integration. For instance, if you expect all users to be from Spain, include “+34” before the phone number tag. This will enable the plugin to automatically add “+34” before every phone number submitted.

Doube Opt-In
To implement this feature, you will need to create an email template in Brevo and provide the template ID. When a user agrees to be added to the mailing list, they will receive a confirmation email, and upon clicking the confirm button, they will be redirected to a URL that you provide. Therefore, please ensure that a redirect URL is also provided.
To enable double opt-in, please follow these steps:
- Check the “Double Opt-In” box
- Create an email template in Brevo and save its ID
- Provide a redirect URL
We also recommend reading this article from Brevo, which explains the process in detail: https://www.brevo.com/blog/double-opt-in/
Save Integration
Finally, click the Save Integration button and you are done. Now you can start testing.
Log
Once the integration has been established, the plugin will initiate the process of transmitting the data to the configured platform when users complete and submit the form. Additionally, it saves a log that details the data it attempted to send and the response it received from the platform. Therefore, if you encounter an integration issue, your first step should be to review the logs. Navigate to the AFI > Log menu and check the most recent logs.
Troubleshooting
Integration not working, contact not saving on Brevo account
If you encounter an issue where an integration has been established but no contact was added to Brevo during testing, please review the following items:
- It is important to always conduct tests using actual email and phone numbers, rather than using test@test or a@b, as modern platforms can recognize these as fake and ignore them.
- If you are transmitting a phone number, ensure that it is fully formatted with the country code as described in the phone number section above.
- Navigate to the Log menu, where you will likely find that certain errors have been logged. Review the error messages and make an effort to resolve the issue accordingly.
If you remain unable to make progress, please send an email to [email protected], including relevant screenshots and a copy of the error log. We would be pleased to assist you.


