 AFI
AFI
Constant Contact
Constant Contact is a long-running email-marketing platform popular with small businesses. Advanced Form Integration sends every form submission to Constant Contact as a new contact, with list assignment and custom field mapping.
What you’ll need
- An active Constant Contact account.
- The Advanced Form Integration plugin installed and activated.
Connect Constant Contact to AFI
- In WordPress, go to AFI → Settings → Constant Contact.
- Click Connect with Constant Contact.
- The OAuth screen opens. Sign in and authorize.
- AFI returns showing Connected.
Create the integration
- Go to AFI → Add New.
- Configure the trigger.
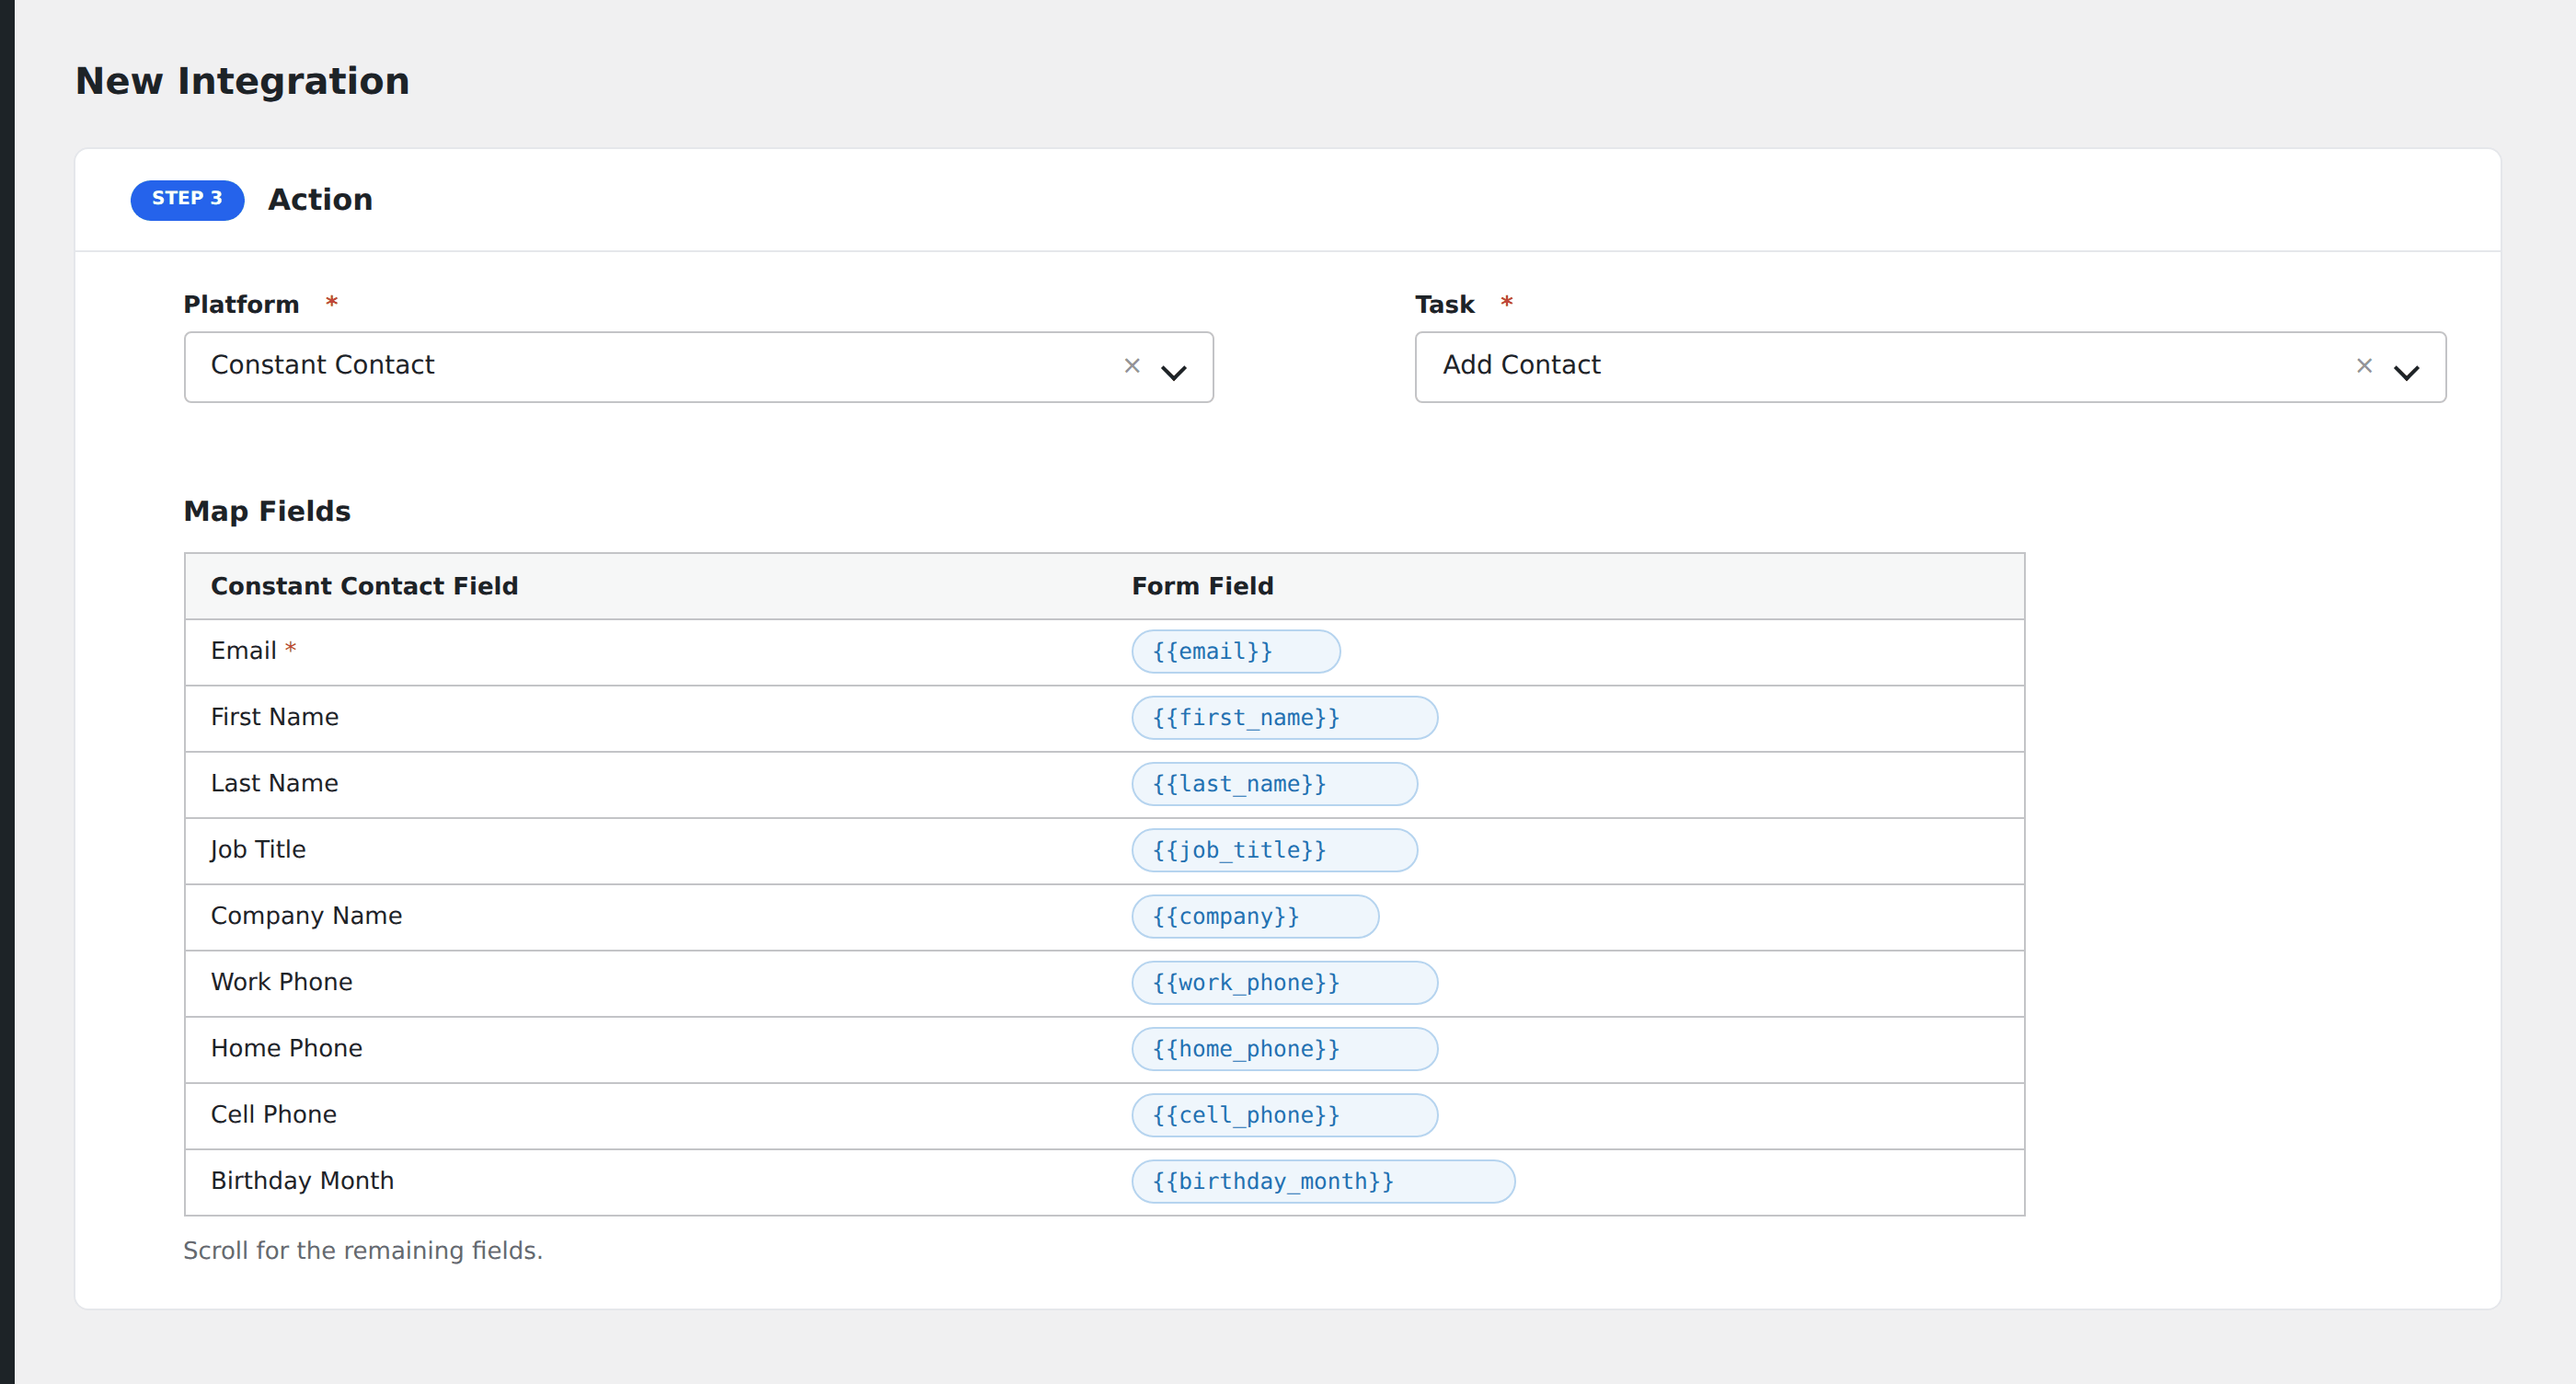
- In Action → Platform, select Constant Contact.
- In Task, choose Add Contact.
- Pick the List from the dropdown.
- Map the form fields:
- Email (required).
- First Name, Last Name, Company, Job Title, Phone.
- Address sub-fields (street, city, state, zip, country).
- Custom fields by name.
- Optional: configure Conditional Logic.
- Click Save Integration.
Troubleshooting
Contact not added
Common Constant Contact errors:
401 Unauthorized: token expired. Re-authorize.409 Conflict: email already exists. Constant Contact updates the existing contact rather than creating a duplicate.403 SCO_REPLY_TO_EMAIL_NOT_VERIFIED: your Constant Contact account hasn’t verified the from-email used in the connected app.