 AFI
AFI
EmailOctopus
EmailOctopus is an affordable email marketing platform. Advanced Form Integration subscribes form submitters to your EmailOctopus lists from WordPress form submissions, with support for double opt-in, custom fields, tags, and contact management.
What you’ll need
- An active EmailOctopus account.
- An EmailOctopus API Key (see below).
- The Advanced Form Integration plugin installed and activated.
Get your EmailOctopus API key
- Sign in to your EmailOctopus dashboard.
- Go to API & Webhooks (see the API documentation).
- Copy your API key.
- In WordPress, go to AFI → Settings → EmailOctopus.
- Click Add Account, paste the API key, and give the account a name.
- Click Save.
Create the integration
- Go to AFI → Add New.
- Give the integration a name, for example
Newsletter signup to EmailOctopus. - Under Trigger, pick the form plugin and the specific form.
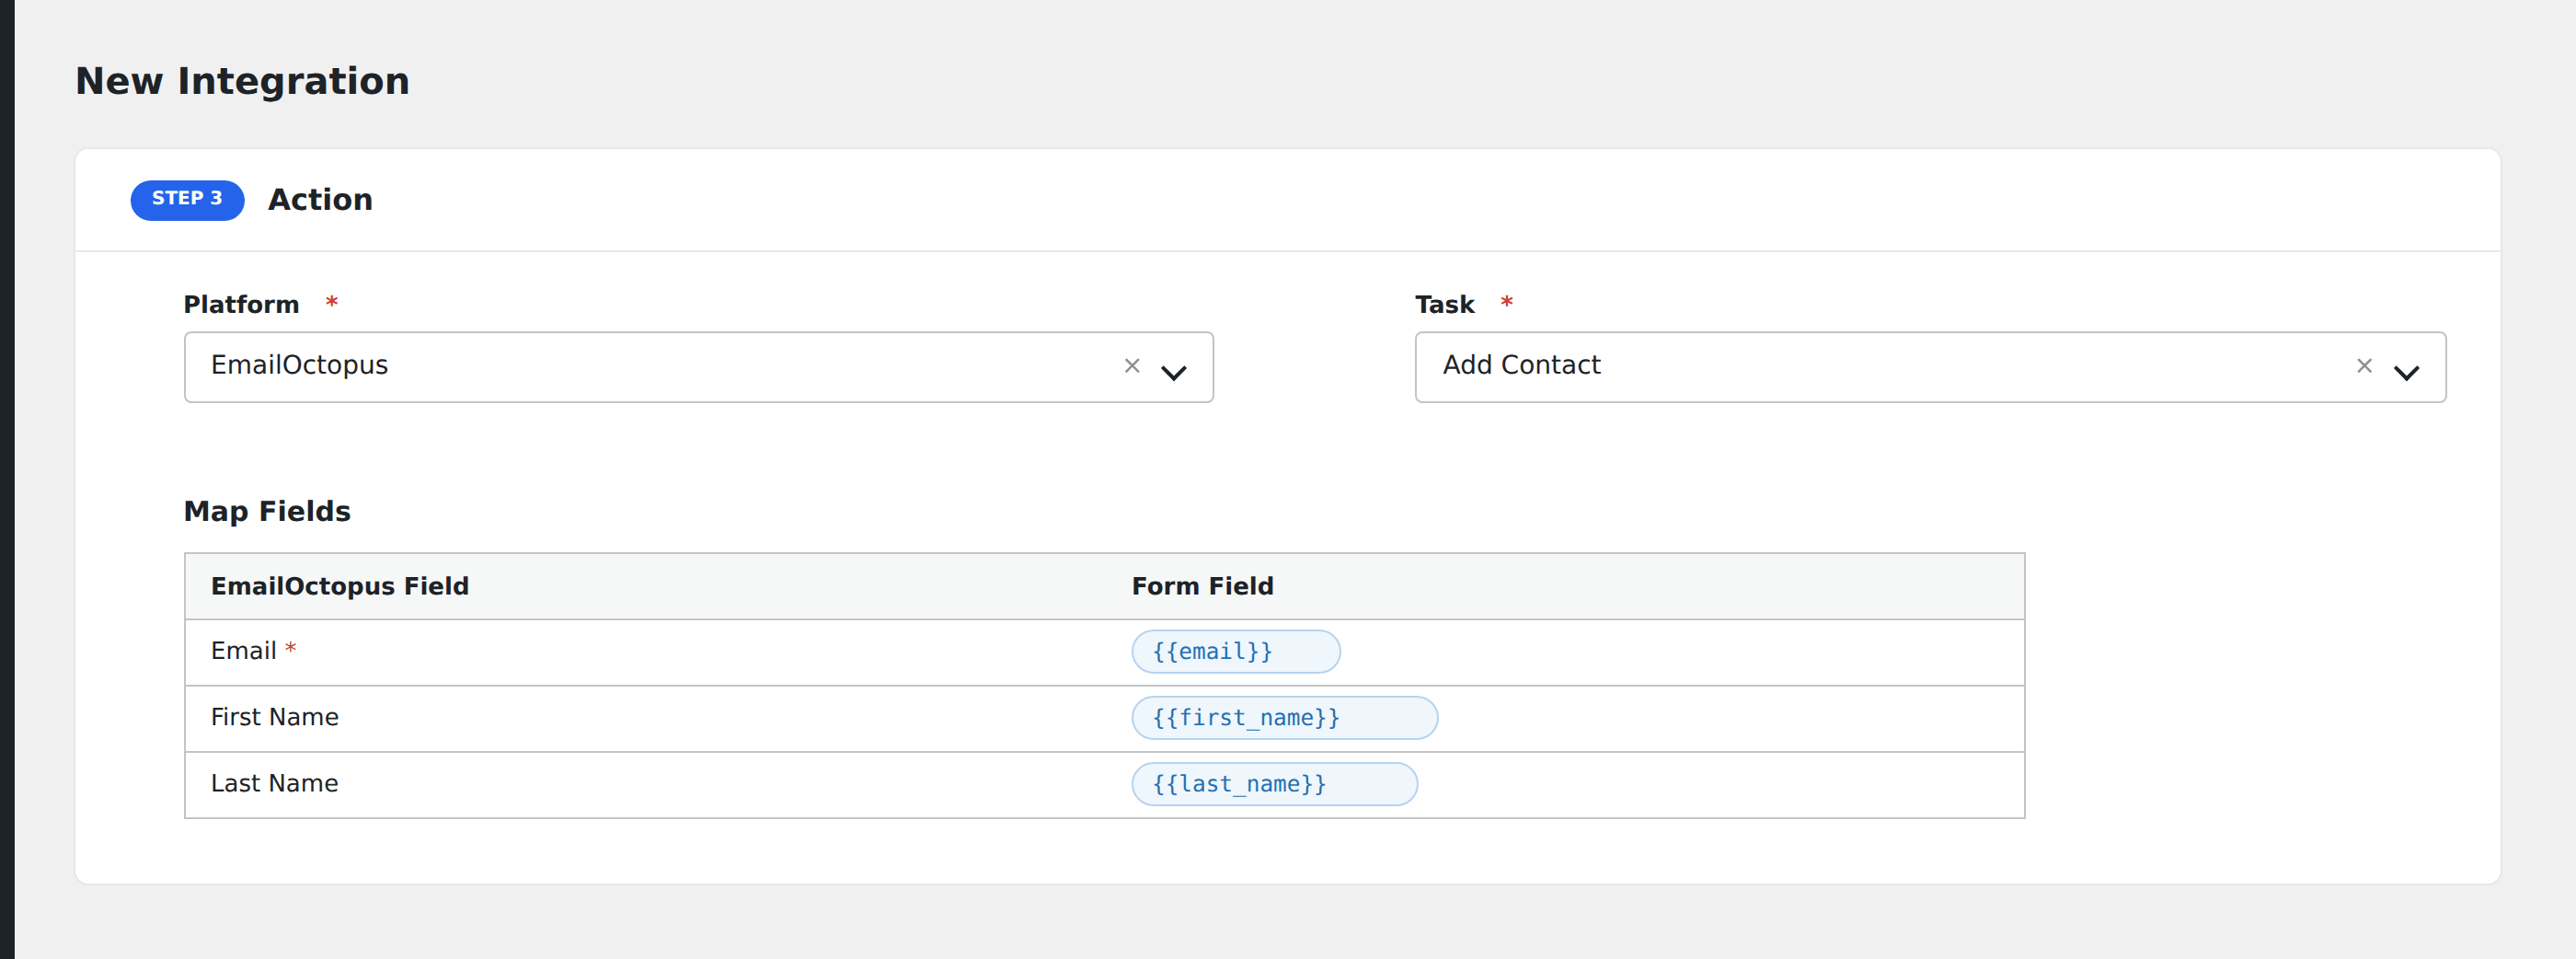
- Under Action → Platform, select EmailOctopus.
- In Task, choose Subscribe To List.
- Pick the saved account in the EmailOctopus Account dropdown.
- Select a List. AFI loads your lists from the API.
- Check Double Opt-in if you want subscribers to receive a confirmation email before being added.
- Map your form fields onto the EmailOctopus fields listed below.
- Optional: open Conditional Logic to limit which submissions are sent.
- Click Save Integration.
Tasks supported
Subscribe To List
Subscribes the contact to the selected list via POST /lists/{id}/contacts. If double opt-in is checked, the subscribed parameter is set to false, which triggers EmailOctopus to send a confirmation email. Otherwise, the contact is subscribed immediately.
| Field | Field key | Required | Notes |
|---|---|---|---|
email |
Yes | Subscriber email address | |
| First Name | FirstName |
No | |
| Last Name | LastName |
No | |
| Double Opt-in | doubleoptin |
No | Checkbox; sends confirmation email when checked |
Pro features
The Pro integration extends the free version with auto-loaded custom fields, tags, smart contact management (create-or-update), and two additional tasks. Pro uses the same EmailOctopus API key connection.
Custom fields (auto-loaded)
Pro fetches custom field definitions from your EmailOctopus list via GET /lists/{id}. Each custom field appears in the mapper with its label and type. Values are formatted by type: numbers are cleaned to numeric, dates are converted to ISO 8601 (YYYY-MM-DD), text is trimmed. You can also enter custom fields manually using key=value|key2=value2 in the legacy Custom Fields input.
Tags
Pro adds tag support. Enter tags as a comma-separated string. They are sent as an array in the API payload.
Smart upsert
When a contact already exists (HTTP 409), Pro automatically switches to PUT to update the contact instead of failing. When the update checkbox is enabled, Pro checks if the contact exists first, then uses PUT or POST accordingly.
Additional Pro tasks
- Unsubscribe Contact: sets the contact’s status to
unsubscribedviaPATCH /lists/{id}/contacts/{hash}. The contact ID is the MD5 hash of the lowercase email. - Delete Contact: hard-deletes the contact via
DELETE /lists/{id}/contacts/{hash}.
Feature comparison
| Feature | Free | Pro |
|---|---|---|
| Subscribe to list | ✅ | ✅ |
| Email + First/Last Name | ✅ | ✅ |
| Double opt-in | ✅ | ✅ |
| Custom fields (auto-loaded with type formatting) | No | ✅ |
| Tags | No | ✅ |
| Smart create-or-update (409 auto-retry) | No | ✅ |
| Unsubscribe contact | No | ✅ |
| Delete contact | No | ✅ |
Conditional logic example
Only subscribe contacts to your “Webinar Attendees” list when the form’s event_type field is “webinar”. Other signups go to a general list via a separate integration.
Troubleshooting
Nothing arrives in EmailOctopus
Open AFI → Log and find the most recent entry. AFI stores the request URL, JSON body, and raw response.
Rate limited (HTTP 429)
EmailOctopus enforces per-token rate limits. AFI automatically retries once after a short back-off, honoring the Retry-After header.
409 Conflict
In the free version, a 409 means the contact already exists. Use the Pro version to auto-update existing contacts, or remove the duplicate subscriber from your EmailOctopus list first.