 AFI
AFI
Dotdigital
Dotdigital is an enterprise customer-experience platform with email, SMS, and marketing automation. Advanced Form Integration sends form submissions to Dotdigital as new contacts in a chosen address book. the Pro version adds custom data-field support.
What you’ll need
- An active Dotdigital account.
- A Dotdigital API user (Settings → Access → API users → New user) with username (starts with
apiuser-) and password. - Your Dotdigital regional API endpoint (e.g.,
r1,r2,r3, shown next to the API user). - The Advanced Form Integration plugin installed and activated.
Connect Dotdigital to AFI
- In WordPress, go to AFI → Settings → Dotdigital.
- Enter the API user username, password, and region.
- Click Save Changes.
Create the integration
- Go to AFI → Add New.
- Configure the trigger.
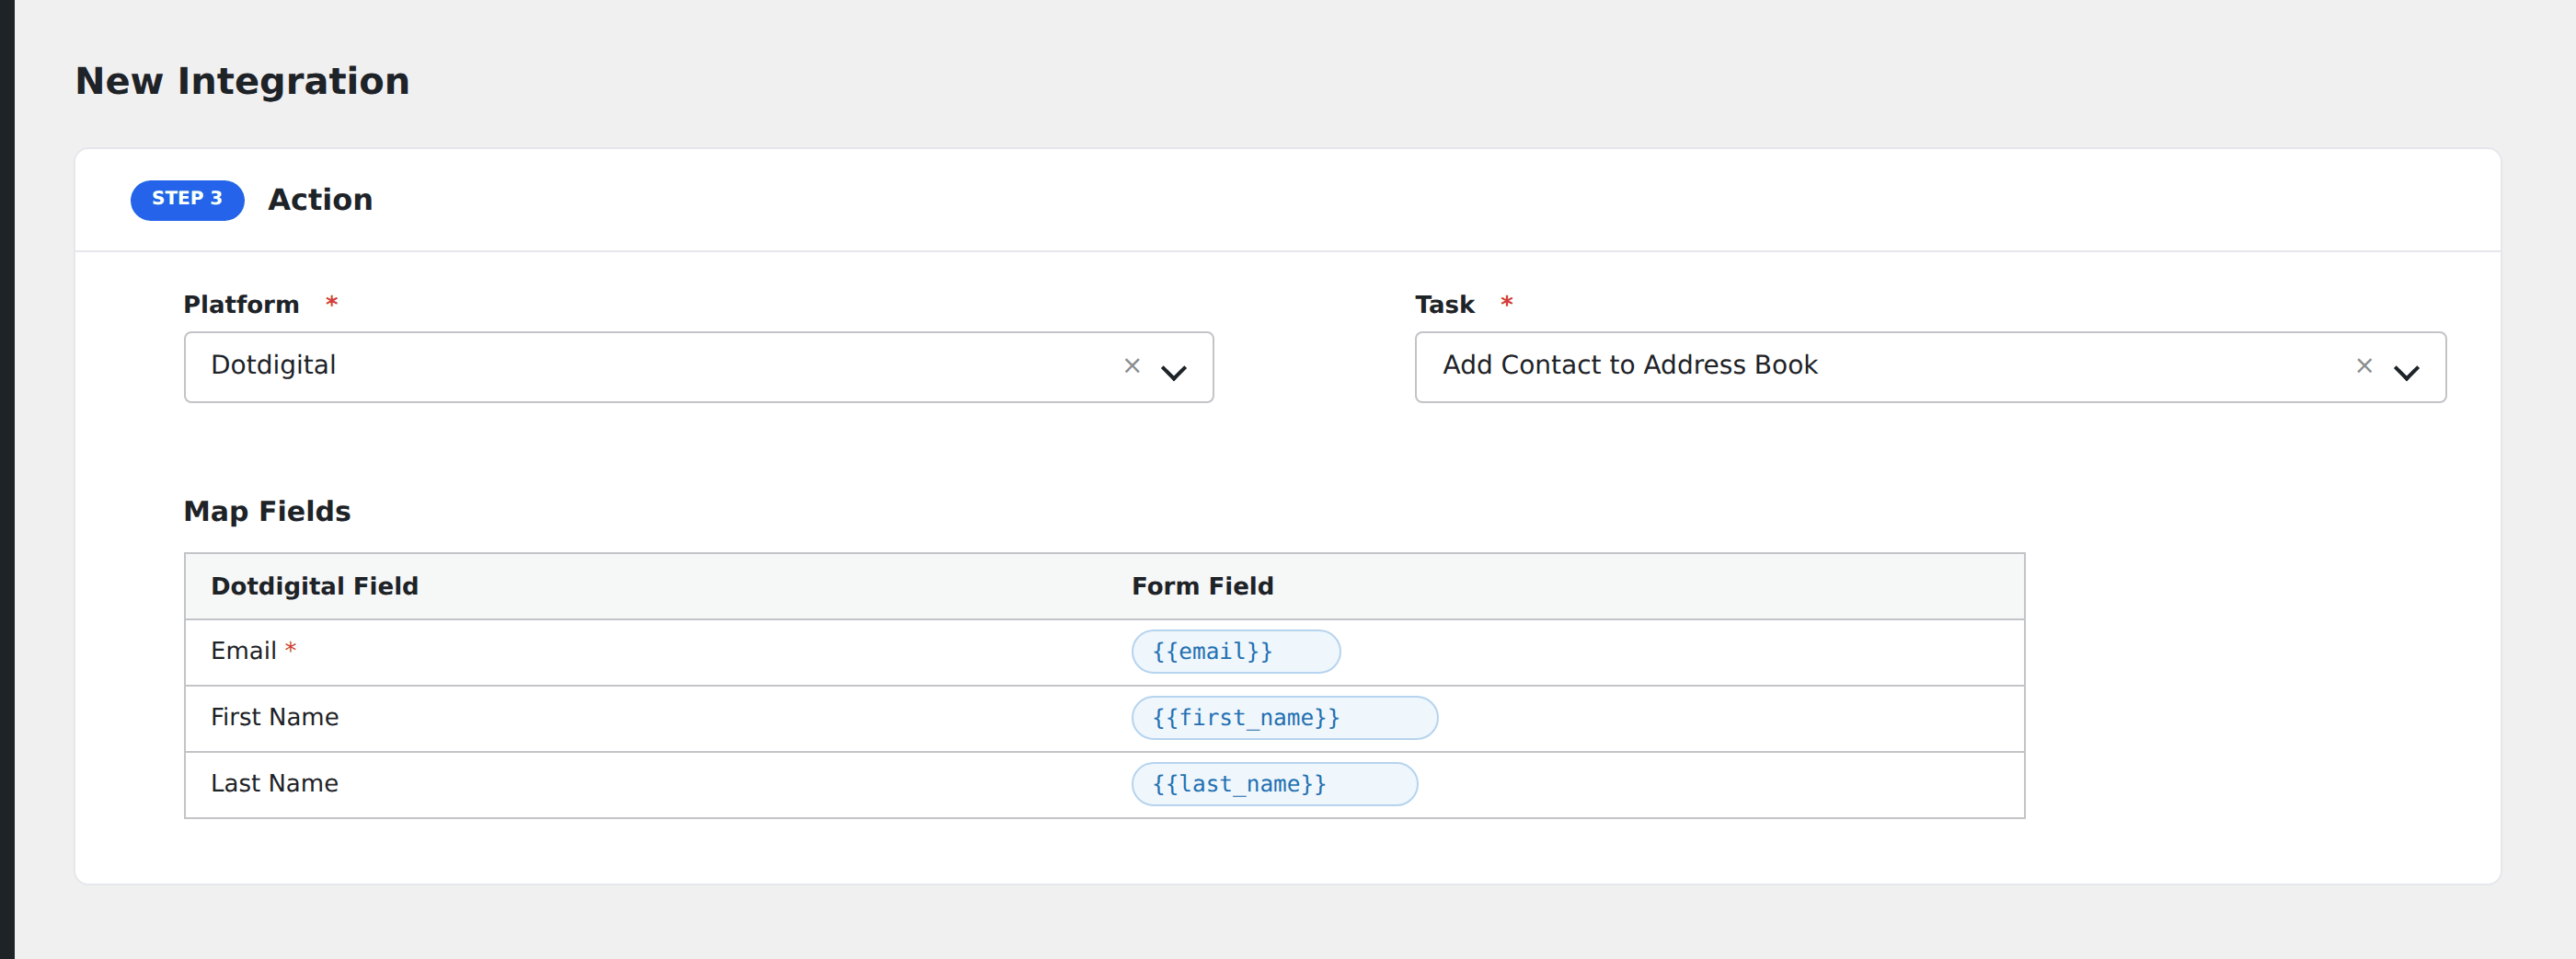
- In Action → Platform, select Dotdigital.
- In Task, choose Add Contact to Address Book.
- Pick the target Address Book.
- Map the form fields:
- Email (required), First Name, Last Name.
- Opt-In Type (Single, Double, VerifiedDouble).
- Custom data fields by name.
- Optional: configure Conditional Logic.
- Click Save Integration.
Pro features
The Pro Dotdigital integration adds full data field mapping (custom contact attributes) and the ability to enroll the contact into a Dotdigital program (automation campaign) right after creation.
Conditional logic example
Add to your “Trade-show leads” address book only when the form’s source hidden field equals “tradeshow-2026”. Other source values go to the general address book.
Troubleshooting
“Invalid credentials”
Dotdigital API users have a separate login from your account login. Make sure you’re using the API user username (the one starting with apiuser-), not your dashboard email.
Region mismatch
Dotdigital hosts accounts on regional endpoints. The region prefix (r1, r2, r3) must match your account’s region or all calls return 404.