 AFI
AFI
Pushover
Pushover delivers push notifications to your phone, tablet, and desktop. The AFI integration sends one every time a connected form is submitted, which makes it a fast way to know about a new lead or enquiry without watching your inbox.
What this integration can do
| Action | What it does |
|---|---|
| Send Push Message | Sends a notification to your Pushover devices |
Before you start
You need:
- a User Key, shown on your Pushover dashboard after you log in
- an API Token, created at pushover.net/apps by registering a new application
The application name you register is what appears as the notification’s source on your devices, so name it something recognisable like your site name.
Connecting your account
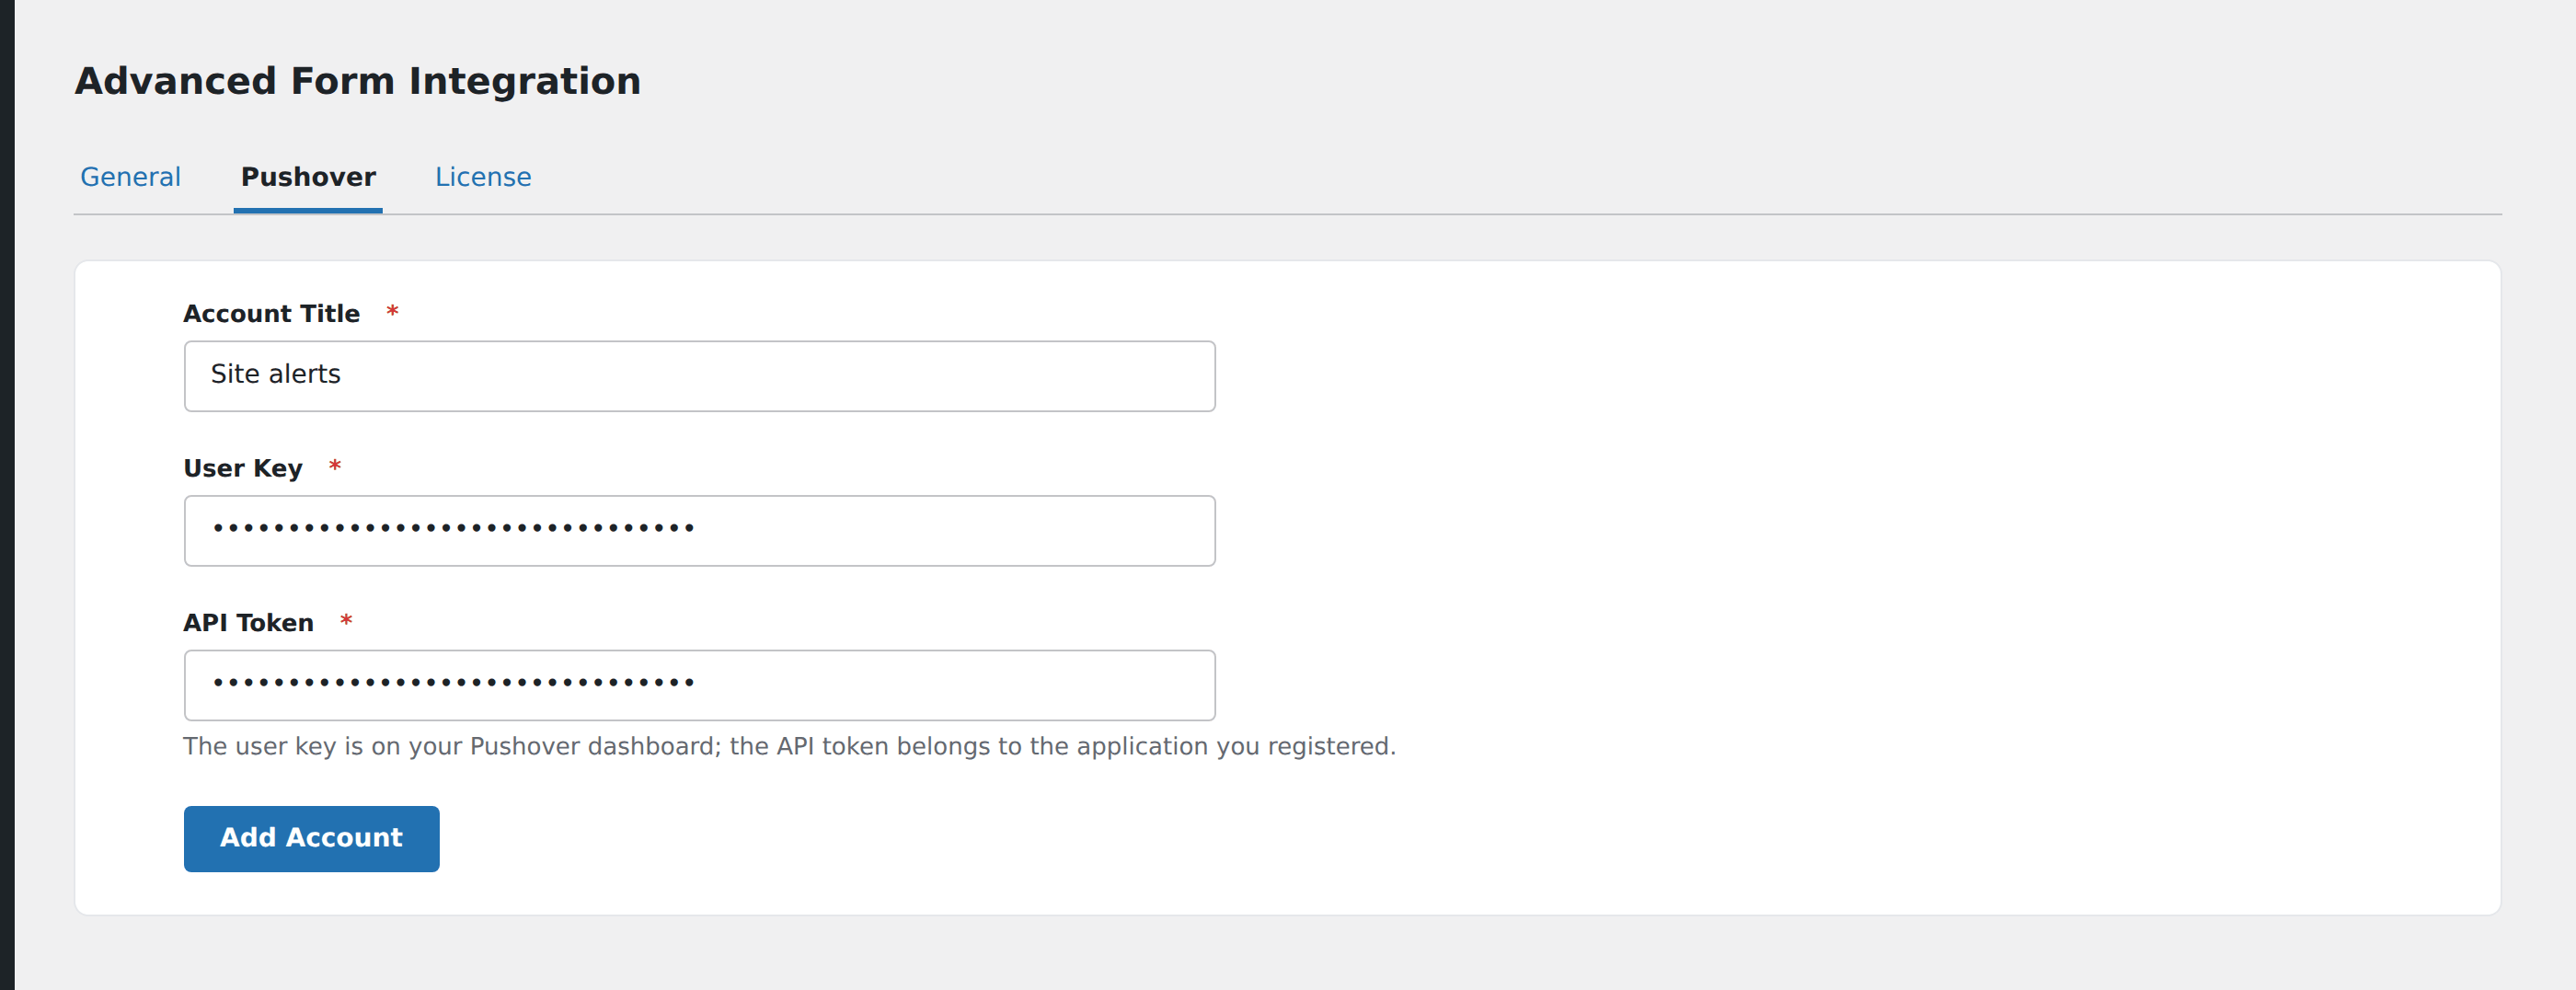
- In WordPress, go to AFI → Settings → Pushover.
- Enter a title for the account.
- Paste your User Key and API Token.
- Click Add Account to save.
Both values are masked after saving and are stored on your own server.
You can register several accounts (one per site, per team member, or per notification channel) and choose between them per integration.
Creating the integration
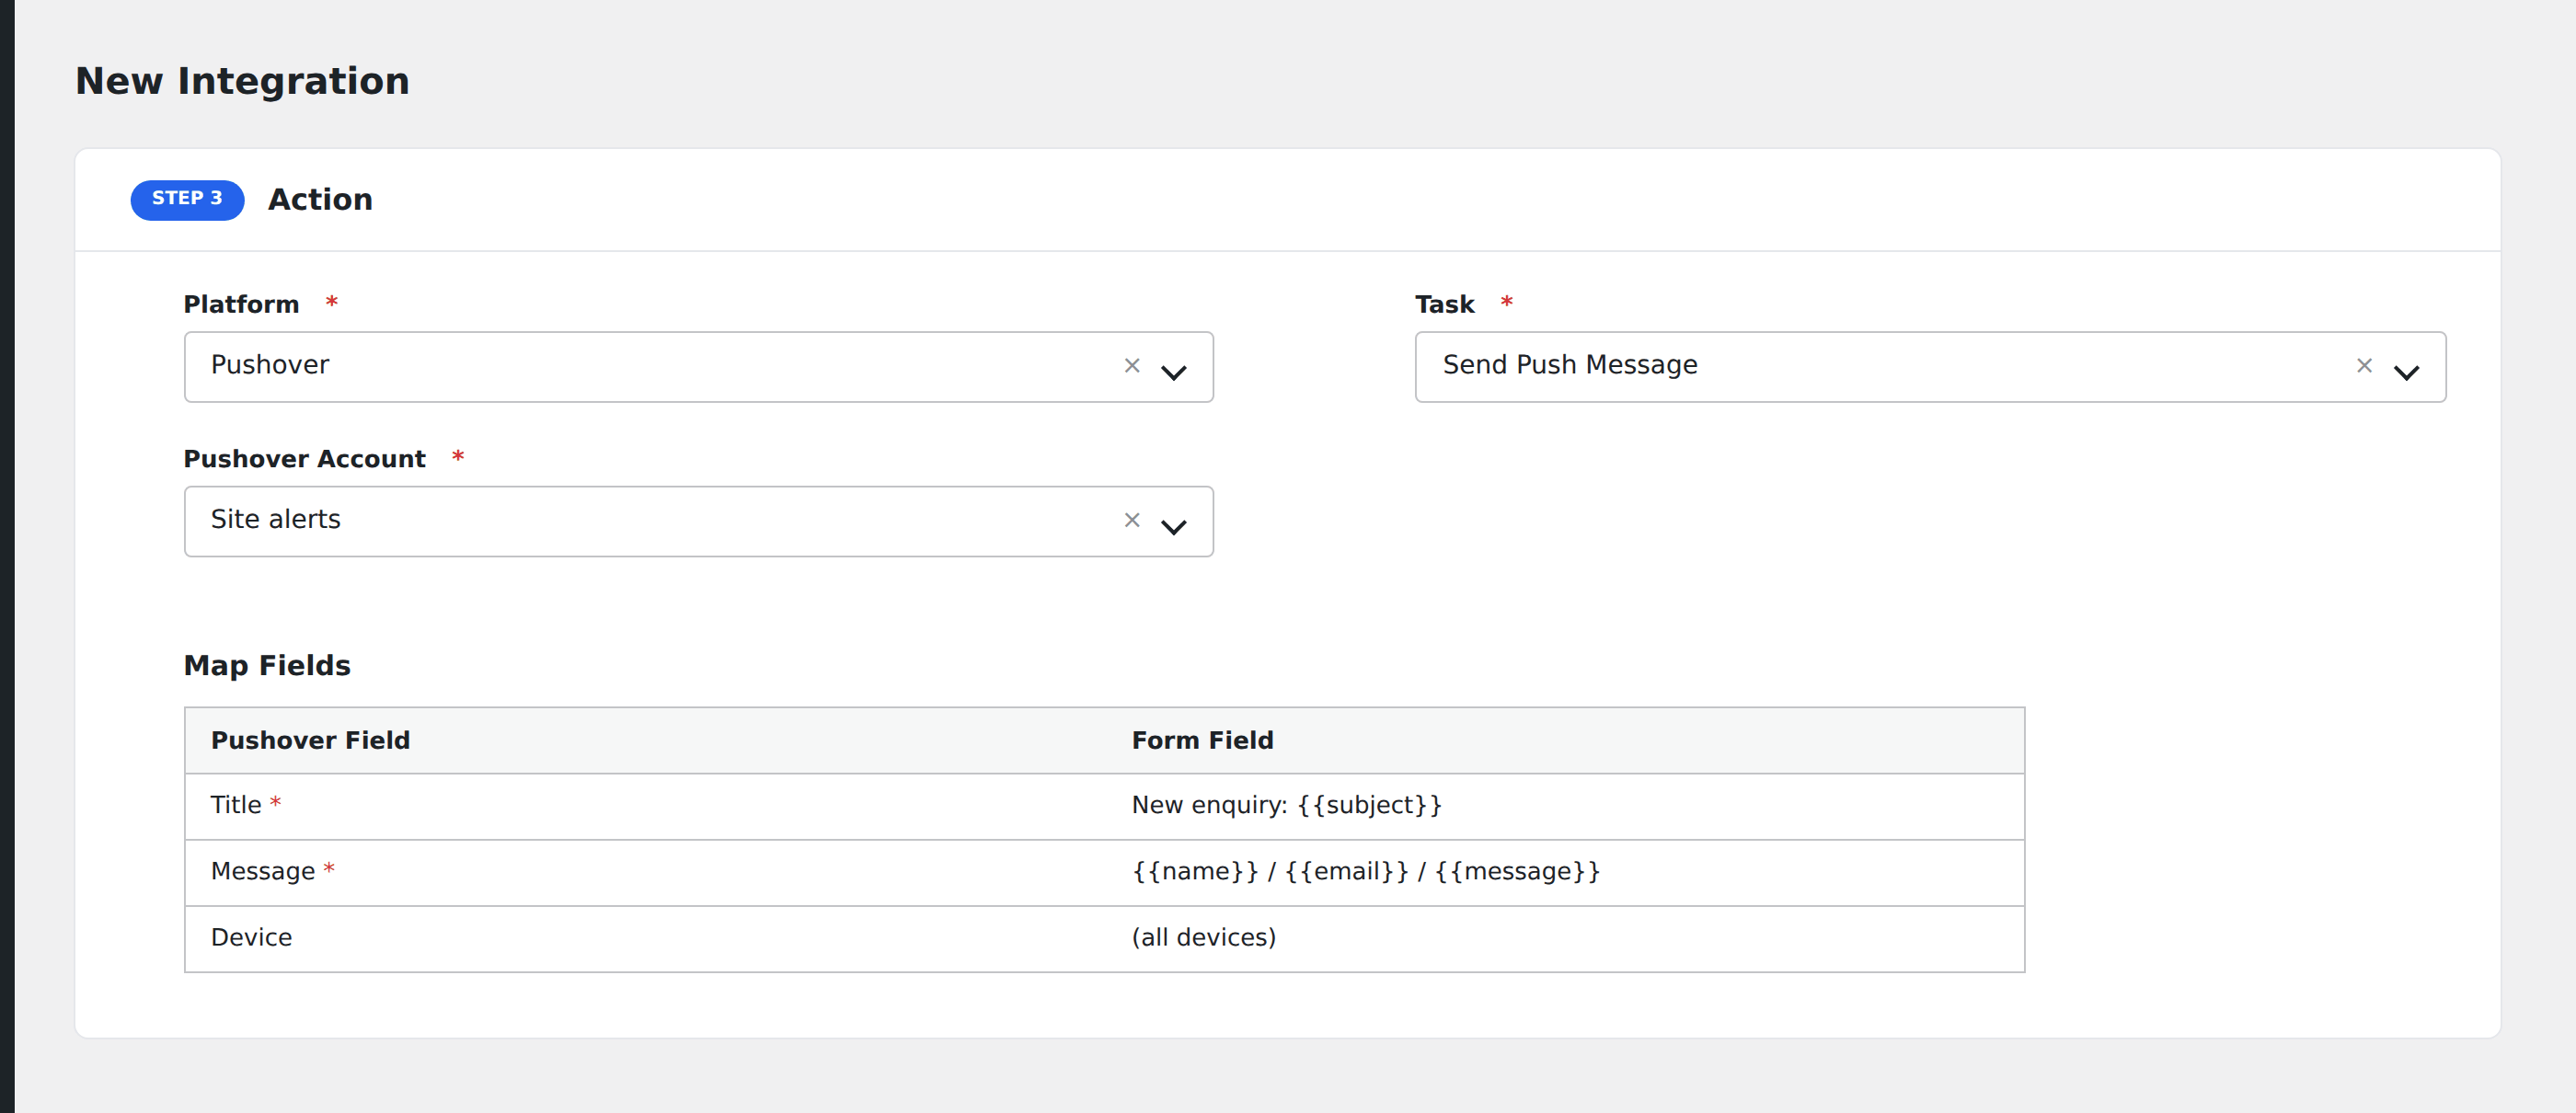
- Go to AFI → New Integration.
- Choose your form plugin and the specific form as the trigger.
- Choose Pushover as the action, and Send Push Message as the task.
- Pick the Pushover account.
- Fill in the fields below.
- Save and submit a test entry.
Title
The notification headline. Keep it short, because it is what you read on a lock screen. A static title such as New contact form enquiry works well, or map a field for something more specific:
New enquiry: {{subject}}Message
The notification body. Mix plain text with mapped fields and special tags:
{{name}} / {{email}}
{{message}}
Page: {{_post_title}}
Pushover truncates very long notifications, so lead with what you need to see at a glance.
Device
Optional. Leave it blank to notify every device on the account, which is what most people want. To target one device, enter the device name exactly as it appears in your Pushover account.
Testing
Submit the form yourself. The notification should arrive within a second or two. Check AFI → Logs either way. A successful send records Pushover’s {"status":1} response, and a failure records the reason.
Common issues
No notification and no log entry. The trigger did not fire. Confirm the integration is active and that the trigger form matches the one you submitted.
Log shows “invalid token”. The API Token is wrong, or the application was deleted from your Pushover account. Create a new application and update the token.
Log shows “user identifier is not a valid user”. The User Key is wrong. Copy it again from your Pushover dashboard. It is the key on the main page, not the API token.
Log shows “device name is not valid”. The device name does not match any device on the account. Names are case-sensitive; leaving the field blank notifies everything.
Notifications arrive but are empty. The mapped fields resolved to nothing. Check the field names in your mapping against what the form actually submits.
Notifying selectively
Most sites do not want a push for every submission. Pair the integration with Conditional Logic so only the notable ones interrupt you. For example, {{order_total}} Greater than 500, or {{urgency}} Is one of High, Critical.