 AFI
AFI
Salesforce Marketing Cloud
Salesforce Marketing Cloud (formerly ExactTarget) is Salesforce’s enterprise marketing-automation platform. Advanced Form Integration sends form submissions to Salesforce Marketing Cloud as new rows in a Data Extension.
What you’ll need
- An active Salesforce Marketing Cloud account.
- A Server-to-Server installed package with API integration (Setup → Apps → Installed Packages → New).
- Client ID, Client Secret, and REST API Base URI from the package.
- A Data Extension to write into, with at least an Email column.
- The Advanced Form Integration plugin installed and activated.
Connect Salesforce Marketing Cloud to AFI
- In WordPress, go to AFI → Settings → Salesforce Marketing Cloud.
- Enter the Client ID, Client Secret, and REST API Base URI (the auth endpoint, e.g.,
https://mc6...auth.marketingcloudapis.com/). - Click Save Changes.
Create the integration
- Go to AFI → Add New.
- Configure the trigger.
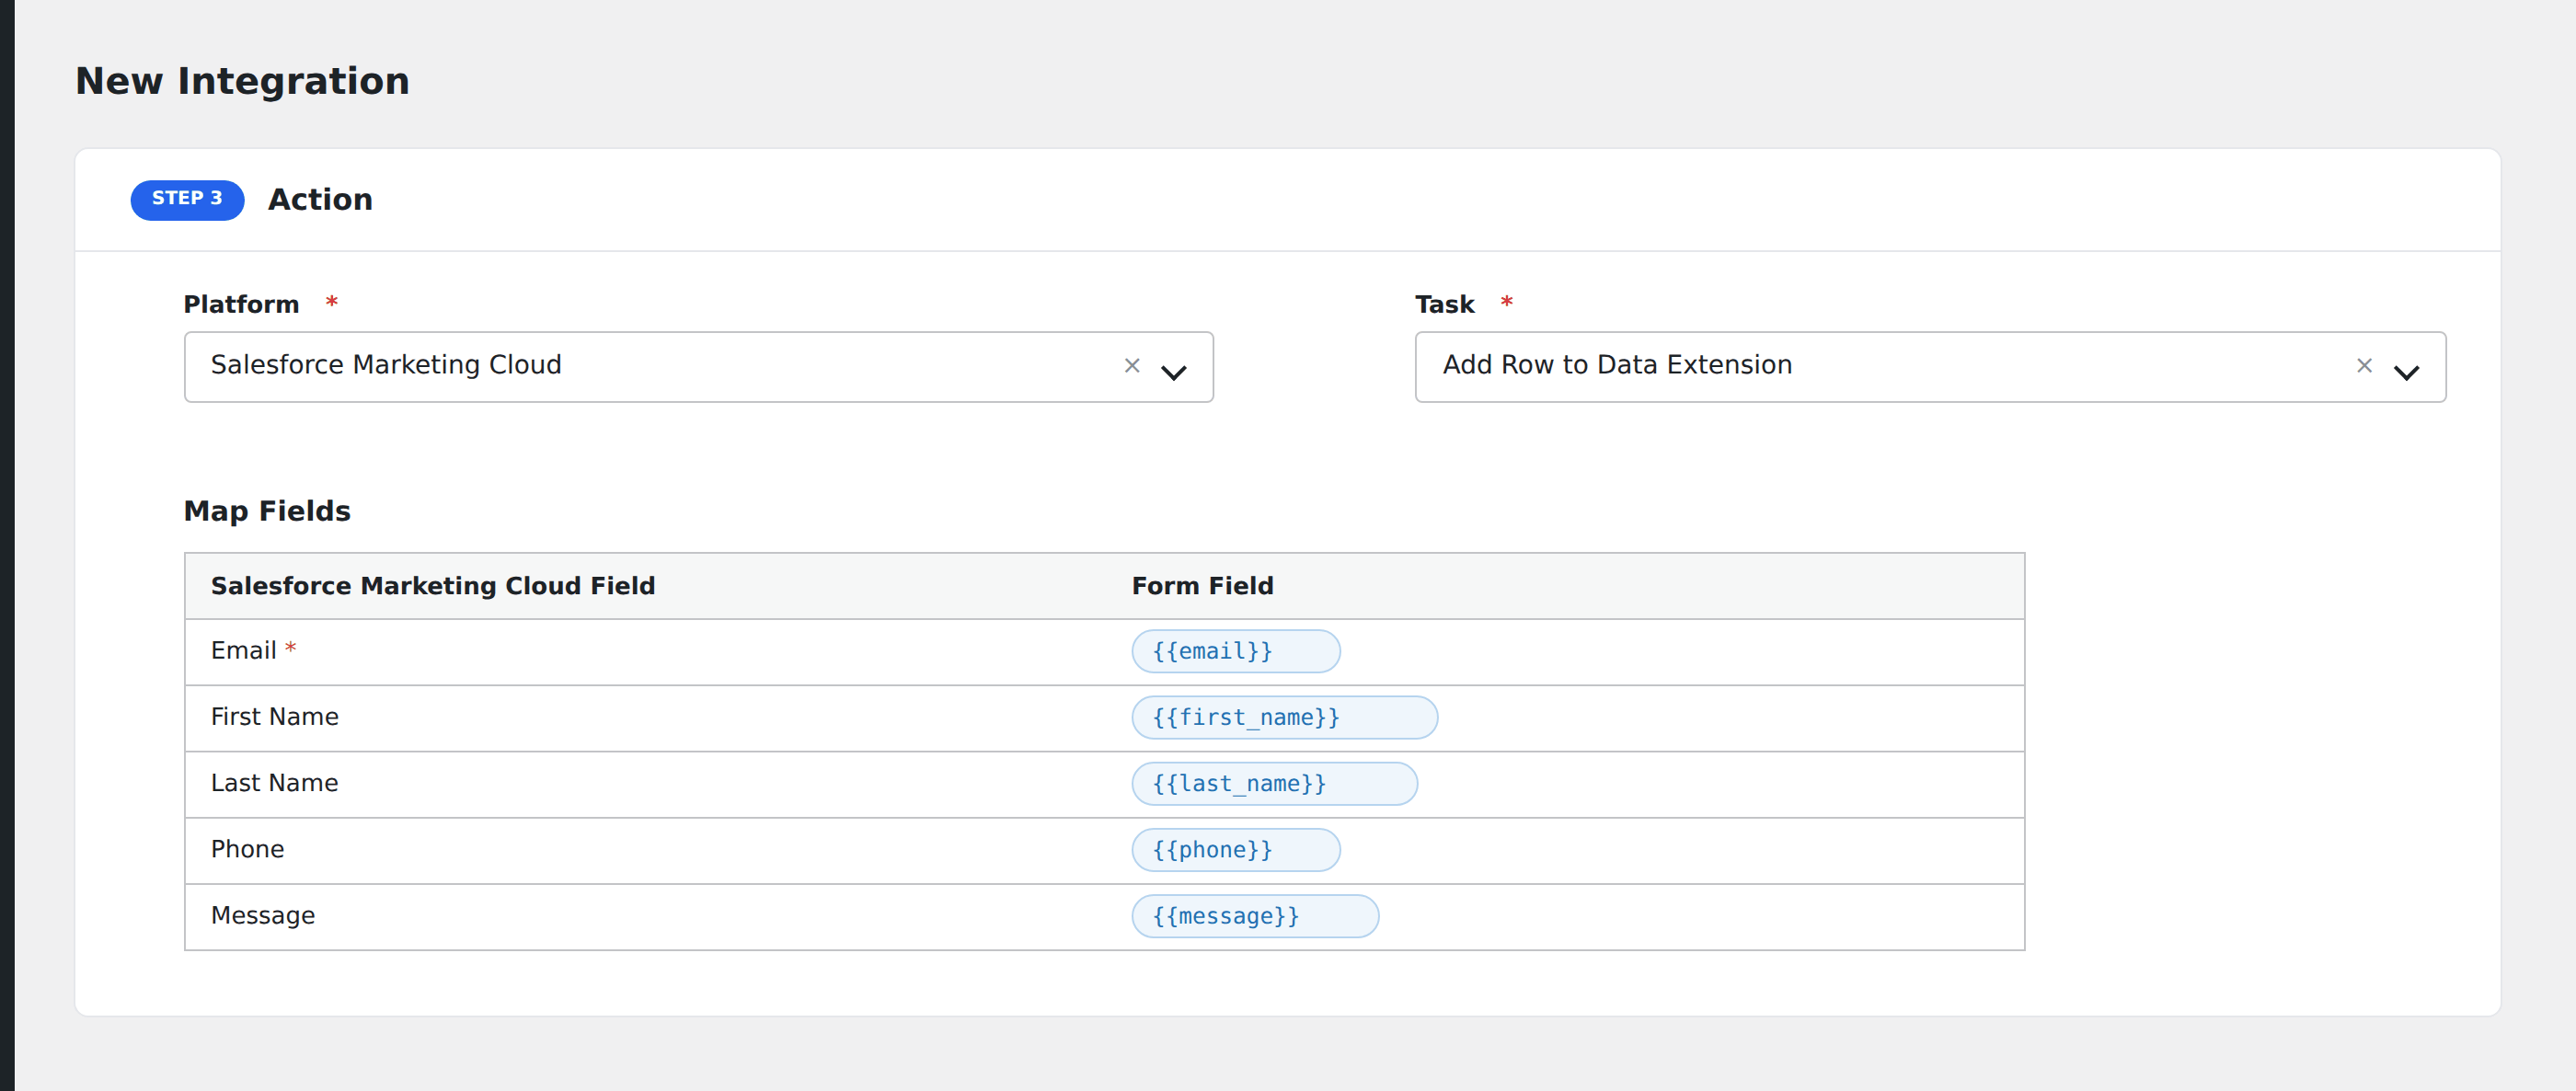
- In Action → Platform, select Salesforce Marketing Cloud.
- In Task, choose Add Row to Data Extension.
- Enter the Data Extension External Key (find it in Marketing Cloud under the Data Extension’s properties).
- Map the form fields to Data Extension columns. Column names must match exactly (case-insensitive).
- Optional: configure Conditional Logic.
- Click Save Integration.
Conditional logic example
Add the row to your “VIP customers” Data Extension only when the form’s customer_tier field equals “VIP”. Standard customers go to a separate Data Extension via a different integration.
Troubleshooting
“Unauthorized”
Marketing Cloud’s installed package must include the right scopes. At minimum Data Extensions: Read, Write. Re-edit the package to add missing scopes if calls return 401.
“Data Extension not found”
The External Key is case-sensitive and is different from the Data Extension Name. Find it under Email Studio → Subscribers → Data Extensions → click the DE → Properties.
Column name mismatch
Marketing Cloud column names match by case-insensitive string. Trailing spaces or special characters break the match. Keep DE column names alphanumeric and short.