Dokan

Estimated reading: 4 minutes

Dokan turns your WooCommerce store into a multivendor marketplace. When you connect Dokan to Advanced Form Integration (AFI), marketplace events become automations. You can add every new vendor to a Mailchimp list, log refund requests in Google Sheets, or push withdraw requests into your CRM so your finance team never misses one.

What You’ll Need

  • The Dokan plugin installed and active (some events need Dokan Pro, see below)
  • Advanced Form Integration (free version is enough for this trigger)
  • An account on the receiving platform, such as Google Sheets, Mailchimp, or a CRM

How to Create the Integration

  1. Go to AFI > Add New.
  2. AFI fills in a default Integration Title. Rename it to something recognizable, such as “New Dokan Vendors to Mailchimp”.
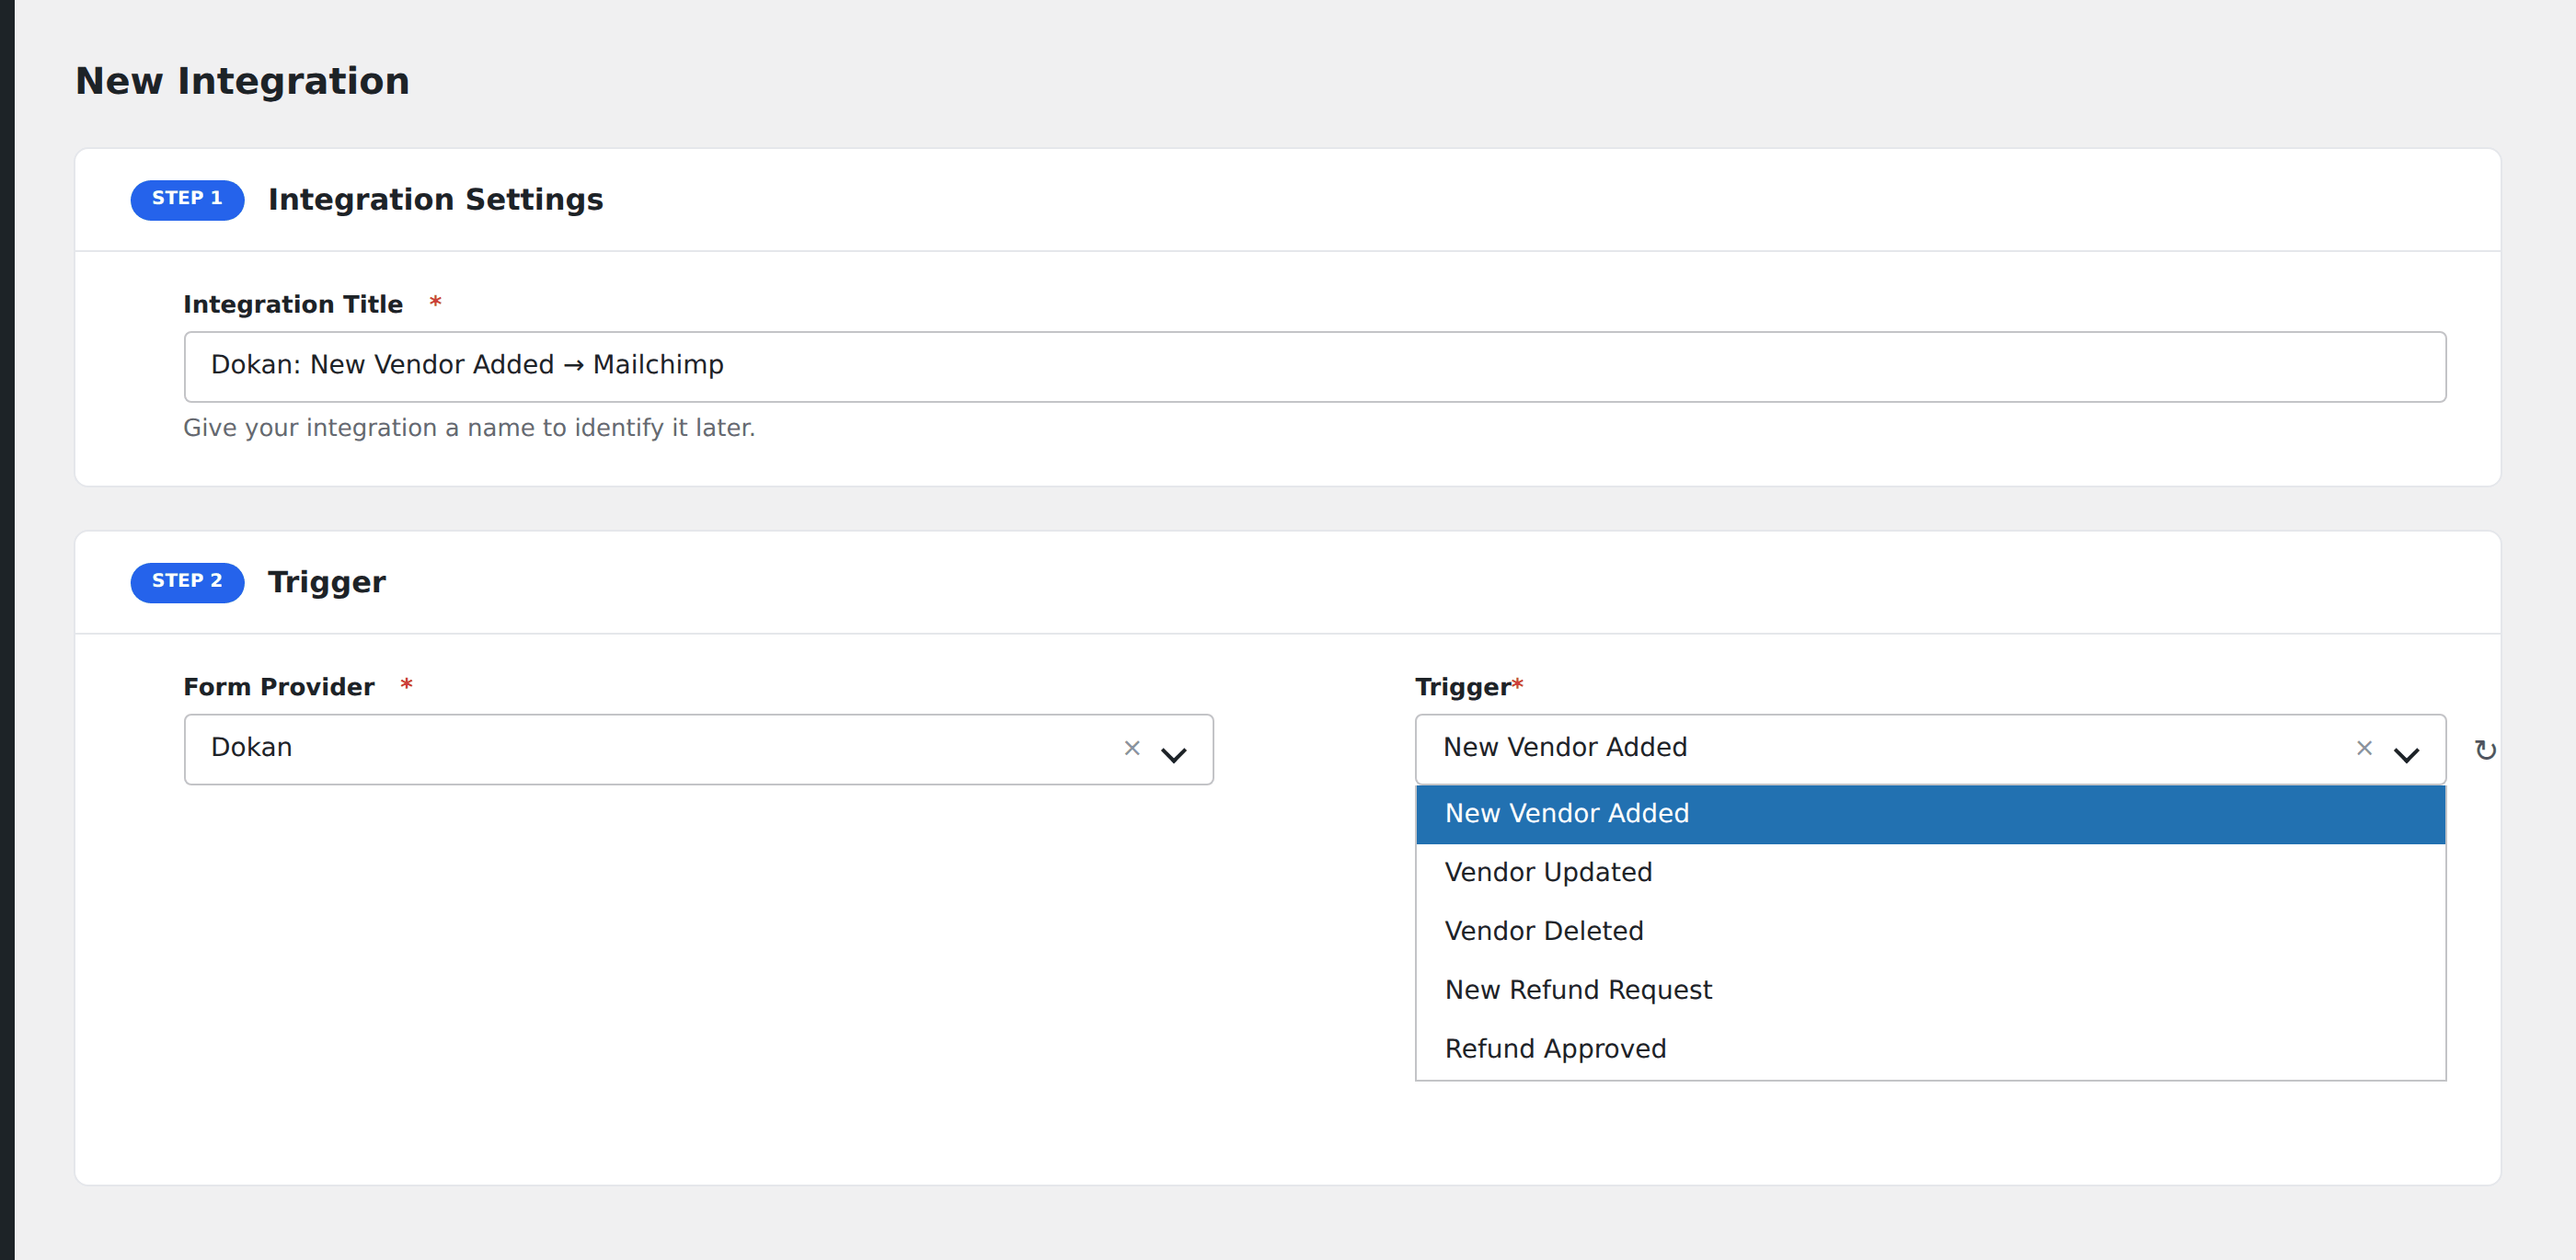
  3. In the Trigger section, select Dokan from the Form Provider dropdown. Dokan must be active on your site or the provider will not appear.

AFI Add New screen with Dokan selected in the Form Provider dropdown

  1. In the Form/Task Name dropdown, choose the event, for example New Vendor Added.
  2. Under Action, select your receiver platform and connect your account.
  3. Map the Dokan fields to the receiver fields. For a new vendor you would typically map Store Name, Vendor Email, and Vendor First Name.

field mapping panel showing Dokan vendor fields mapped to receiver fields

  1. Click Save Integration.
  2. Test by creating a vendor or triggering the event you selected.

Available Events

  • New Vendor Added: fires when a vendor account is created in Dokan.
  • Vendor Updated: fires when a vendor profile is updated.
  • Vendor Deleted: fires when a user with the seller role is deleted.
  • New Refund Request: fires when a vendor submits a refund request.
  • Refund Approved: fires when a refund is approved. This event relies on a Dokan Pro hook, so the Dokan Pro plugin must be active.
  • Refund Cancelled: fires when a refund is cancelled. Also relies on a Dokan Pro hook.
  • New Withdraw Request: fires when a vendor requests a withdrawal.
  • User Becomes Vendor: fires when an existing user registers as a seller.

Fields You Can Send

Fields depend on the event you pick.

Vendor events (New Vendor Added, Vendor Updated, Vendor Deleted)

Field Description
Vendor ID Vendor user ID
Store Name Name of the vendor’s store
Store URL / Shop URL Link to the vendor’s storefront
User Login Vendor username
User Nicename Vendor nicename
User Email / Vendor Email / Email Vendor email address
Phone / Vendor Phone Vendor phone number
First Name / Vendor First Name Vendor first name
Last Name / Vendor Last Name Vendor last name
Enabled Whether the vendor is enabled for selling
Trusted Whether the vendor is marked trusted
Featured Whether the vendor is featured
Banner URL / Banner ID Store banner image
Gravatar URL / Gravatar ID Store profile image
Account Name, Account Type, Account Number Bank account details
Bank Name, Bank Address, Routing Number Bank details
IBAN, SWIFT/BIC International bank details
PayPal Email Vendor PayPal email
Street 1, Street 2, City, ZIP/Postcode, State/Province, Country Store address

If Dokan Pro’s Germanized (EU Compliance) module is active, the enabled EU fields also appear: Company Name, Company ID/EUID Number, VAT/TAX Number, Name of Bank, and Bank IBAN.

Refund events (New Refund Request, Refund Approved, Refund Cancelled)

Field Description
Refund ID Refund record ID
Refund Amount Amount requested
Refund Reason Reason the vendor entered
Refund Date Date of the refund request
Order ID, Order Status, Order Currency Related order basics
Order Subtotal, Order Total, Order Total Tax Order amounts
Payment Method Title How the order was paid
Transaction ID Payment transaction ID
Amount Already Refunded Total refunded so far on the order
Vendor ID, Store Name, Shop URL Vendor summary
Vendor First Name, Vendor Last Name Vendor name
Vendor Email, Vendor Phone Vendor contact details

New Withdraw Request

Field Description
Withdraw Amount Amount the vendor wants to withdraw
Withdraw Method Payment method chosen
Vendor ID, Store Name, Shop URL Vendor summary
Vendor First Name, Vendor Last Name Vendor name
Vendor Email, Vendor Phone Vendor contact details

User Becomes Vendor

Field Description
Vendor ID New vendor user ID
Vendor First Name, Vendor Last Name Vendor name
Store Name Store name entered at registration
Shop URL New storefront URL
Vendor Phone, Vendor Email Vendor contact details

Enabled EU registration fields from Dokan Pro’s Germanized module are appended here too.

Send Only Large Refund Requests

Use conditional logic to keep noise out of your CRM:

  1. Create an integration on the New Refund Request event.
  2. Enable Conditional Logic.
  3. Set the condition to: Refund Amount greater than 100.
  4. Save the integration.

Now only refund requests above 100 reach the receiver.

Troubleshooting

Dokan is not in the Form Provider dropdown

Confirm Dokan is installed and active. AFI only lists providers whose source plugin is running.

Refund Approved or Refund Cancelled never fires

These two events use hooks that exist in Dokan Pro. On Dokan Lite, use New Refund Request instead, or upgrade to Dokan Pro.

The integration is not firing

Check AFI > Log for entries after triggering the event. If the log is empty, verify you picked the right event. For example, Vendor Deleted only fires for users who have the seller role.

EU fields are missing

The Company Name, VAT/TAX Number, and related fields only show up when Dokan Pro is active, the Germanized module is enabled, and those fields are turned on for sellers in the module settings.

Related Docs