GetResponse
Overview
The Advanced Form Integration plugin allows creating connections to GetResponse from many popular WordPress forms. When a user fills a form on your website, the plugin will instantly send the data to your GetResponse account and create a contact in the preferred list. You will be also able to update contact and add custom fields.
Supported Features
- Create a new contact with basic fields (First Name, Last Name, Email). It also allows adding the contact to a preferred list.
- Update contact [direction]Pro[/direction]
- Add all fields including custom fields.[direction]Pro[/direction]
How To Setup
Obtaining GetResponse API Key
At first, you are required to save the API Key in the plugin settings.
- Go to the [direction]WordPress admin area > AFI > Settings[/direction] menu and activate GetResponse.
- Select the GetResponse tab.
- Click on the link and you’ll be taken to the Integrations & API page. Click on Generate API Key.
- Copy-paste the Key in the API Key input box and click Save Changes.
Create New Integration
After the API Key is saved you can start creating new integration. Click on Add New under the AFI menu, New Integration page will appear.
Title
A default title will be auto-generated with an auto incremental number. You can rename it to something related to the task. It will help you to quickly recognize the correct one if multiple integrations are created.
Trigger
Select the sender form in the Form Provider dropdown. For example, Contact Form 7 or Gravity Form, or the Elementor Pro Form which you want to connect. After selecting the form provider, all forms built under that will be fetched and auto-populated in the Form/Task Name dropdown. Select the form that you want to integrate.
Action
Select GetResponse in Platform dropdown. In the Pro version, you’ll get another option called GetResponse [PRO]. Select that one. Then select Subscribe To List in the Task dropdown.
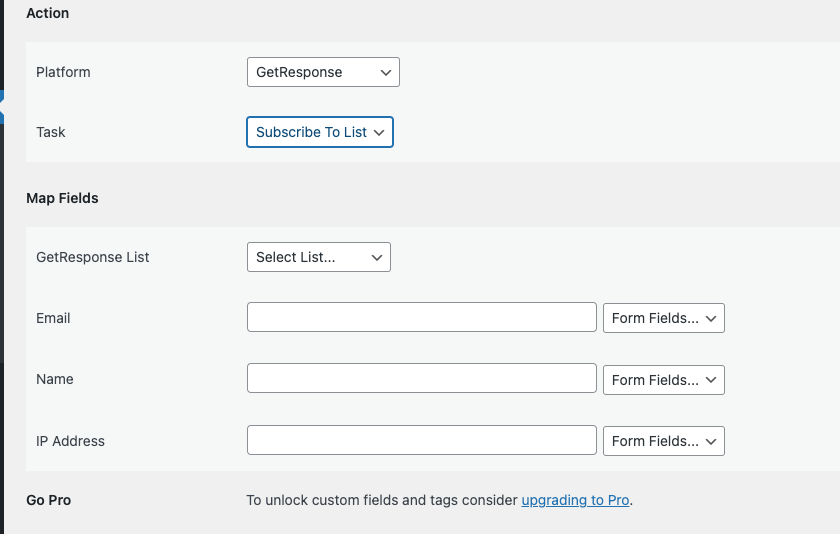
The basic free version of the plugin will have the GetResponse contact list, email, name fields available.
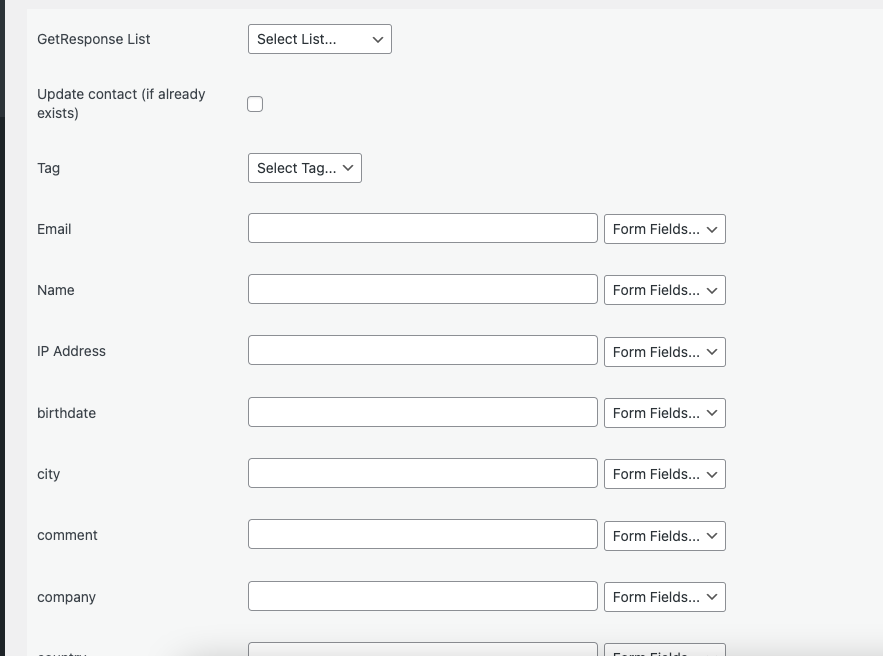
The Pro version of the AFI plugin will allow you to update contacts, add tags and custom fields.
Map Fields
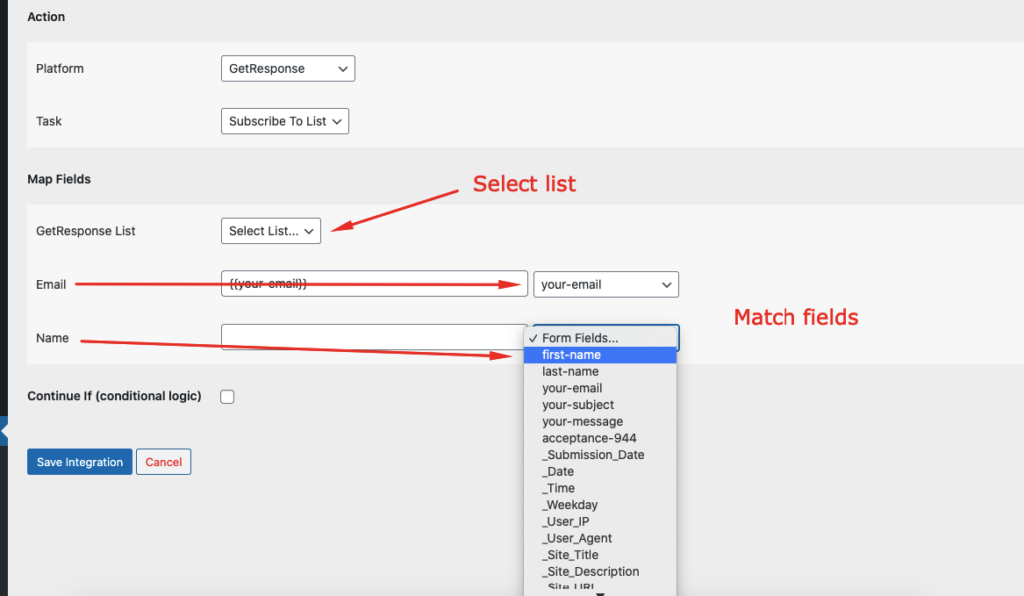
Available contact lists will be auto-populated in the list drop-down. Select the desired one. You will find GetResponse fields on the left side and form fields dropdown on the right. This form field dropdown will contain the field titles of the form you selected in the trigger area. Map Email, Name, etc., and other fields that you want. Skip the fields that are not needed.
Update Contact: By default, the plugin will only add new subscribers to a GetResposne list. If the contact already exists before in the list and your want to update it, check this box.
Tag: A list of all tags that you created inside GetResponse will appear here. Select the one you want to add to the contact.
Custom Fields: Map custom fields along with the regular fields. Currently, the plugin supports plain number and text fields only. So use custom field types like Line of text or Paragraph.
Save Integration
Finally, click the Save Integration button and you are done. Now you can start testing.
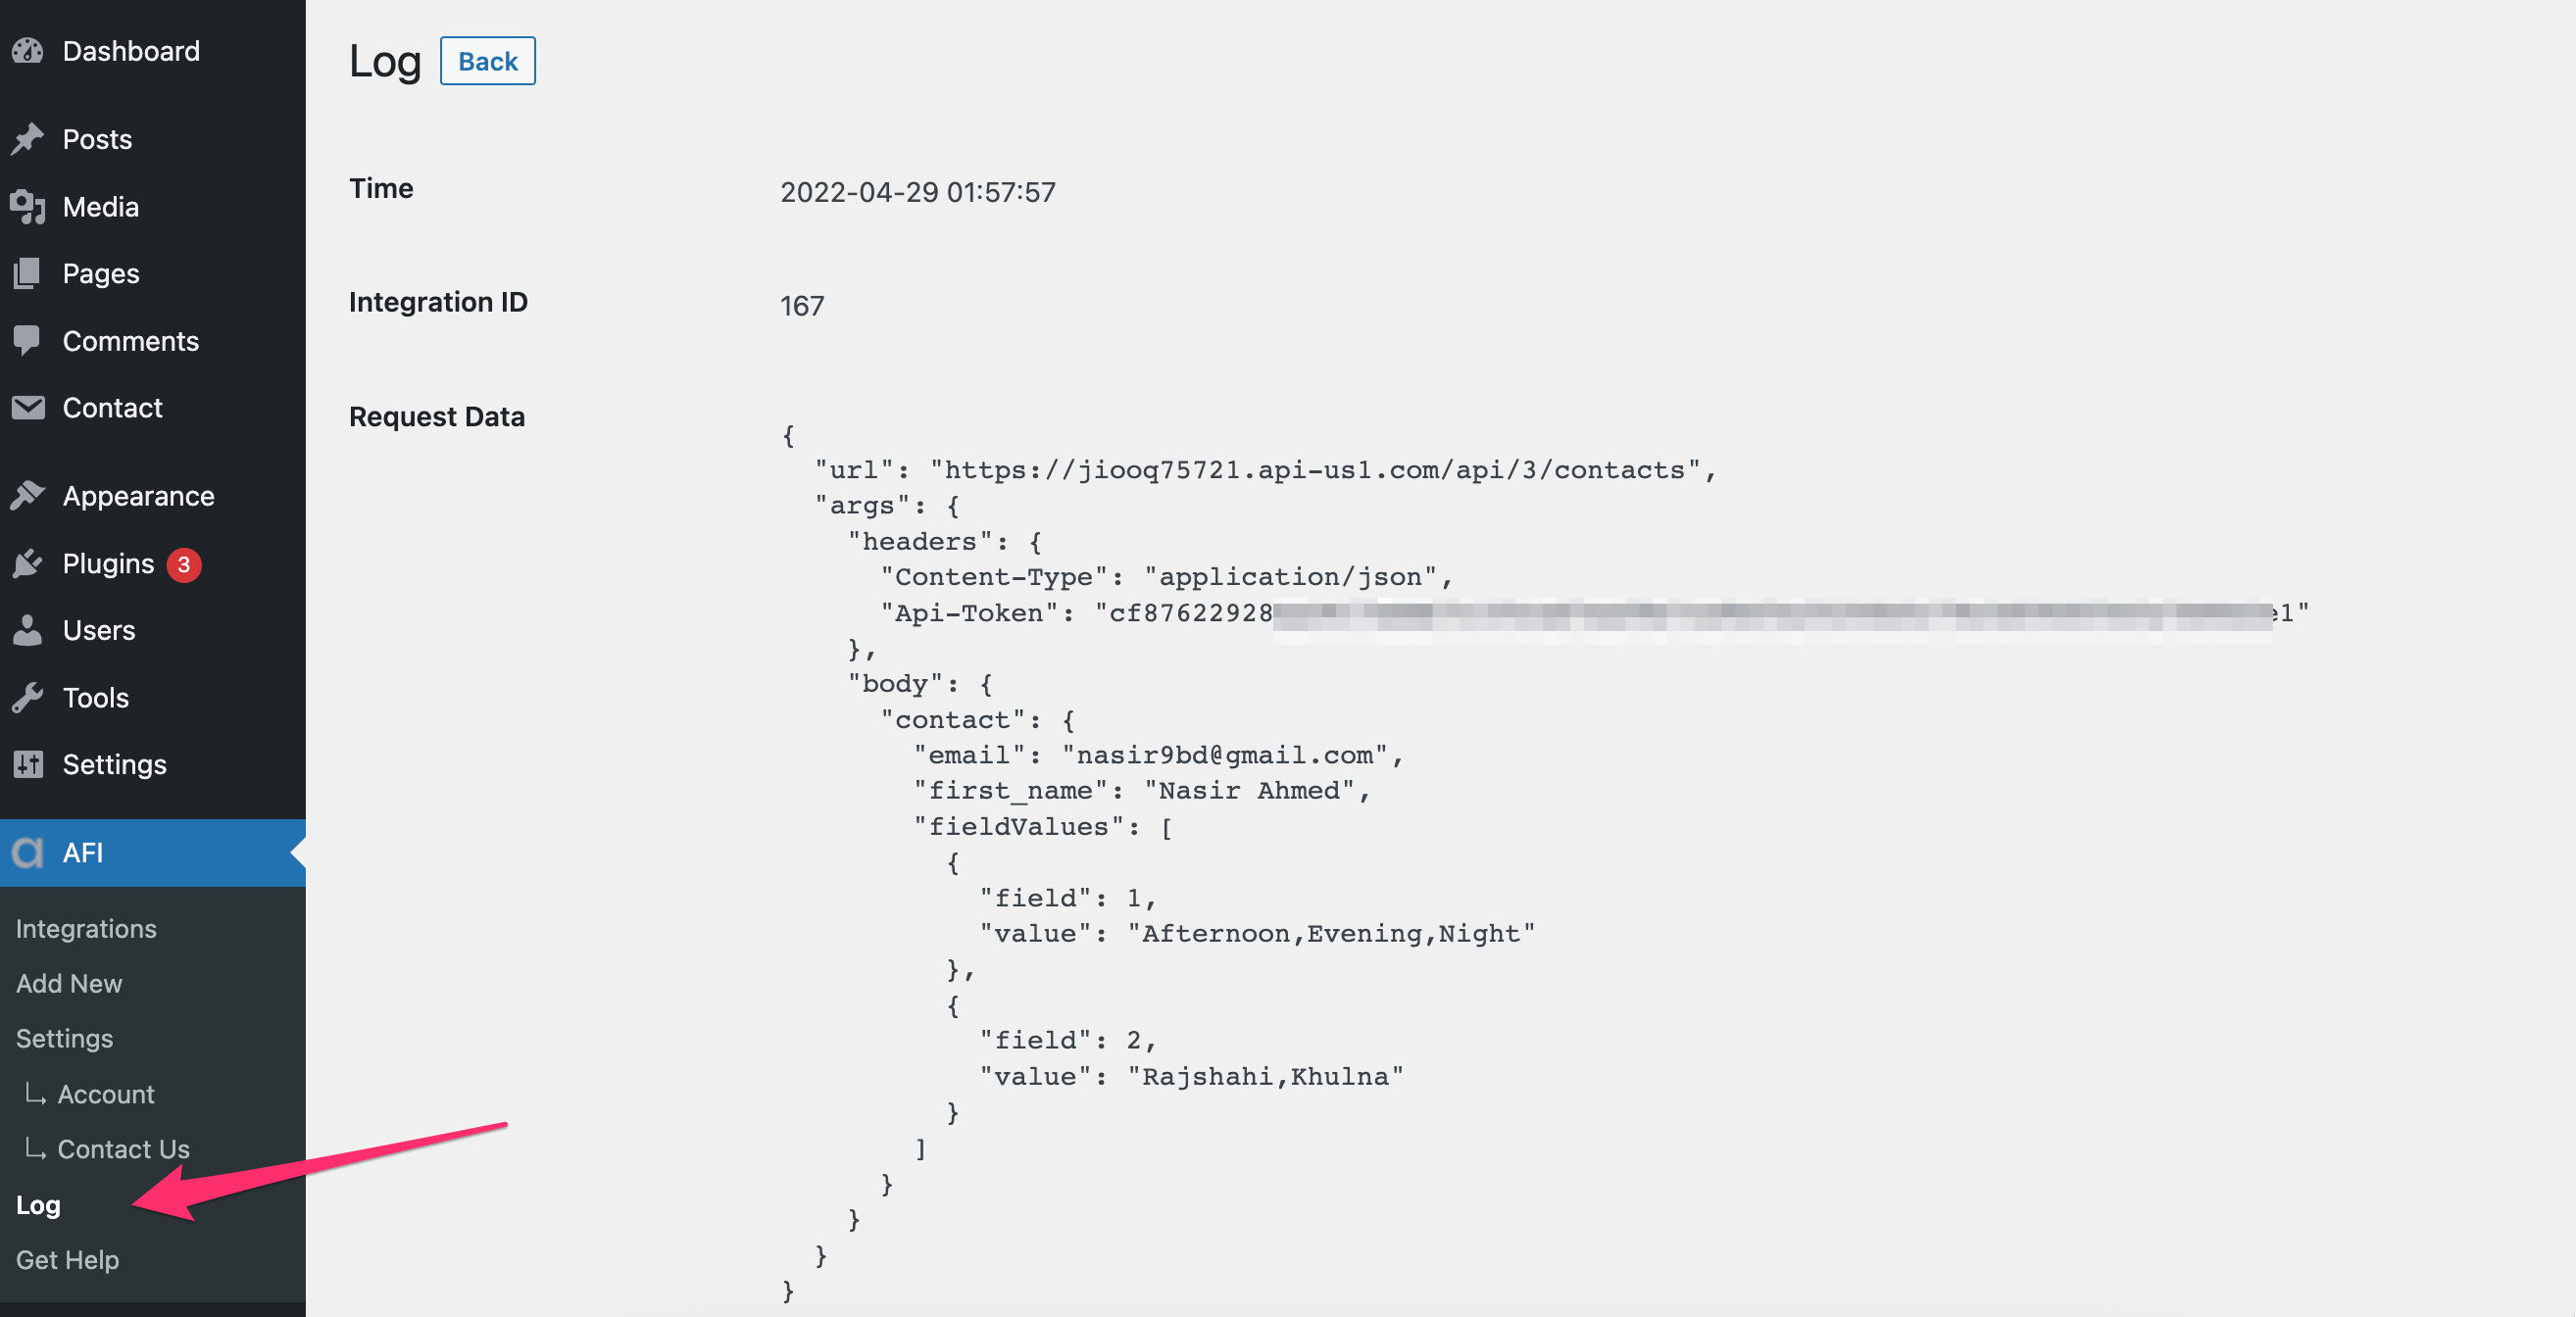
Troubleshooting
After the integration is made, when users fill up the form and submit it, the plugin initiates the process of sending data to the configured platform. It also saves a log that includes what data it tried to send, and what it got in response from that platform. So if you find an integration is not working, your first task is to check the logs. Go to [direction]AFI > Log[/direction] menu and check the recent logs.
Related Links
Contact Form 7 to GetResponse | Elementor Pro Form to GetResponse | Gravity Forms to GetResponse | Ninja Forms to GetResponse | WPForms to GetResponse | Formidable Forms to GetResponse | Forminator to GetResponse | FormCraft to GetResponse | Caldera Forms to GetResponse | Everest Forms to GetResponse | weForms to GetResponse | Happy Forms to GetResponse | Smart Forms to GetResponse | PlanSo Forms to GetResponse