 AFI
AFI
AWeber
AWeber is a long-running email-marketing platform. Advanced Form Integration sends every form submission to AWeber as a new subscriber, with optional tag and custom field mapping.
What you’ll need
- An active AWeber account.
- The Advanced Form Integration plugin installed and activated.
Connect AWeber to AFI
- In WordPress, go to AFI → Settings → AWeber.
- Click Connect with AWeber.
- AWeber’s OAuth screen opens. Sign in and authorize.
- AFI returns showing Connected.
(AWeber’s OAuth flow doesn’t require you to create a custom developer app; AFI uses a shared OAuth client.)
Create the integration
- Go to AFI → Add New.
- Configure the trigger.
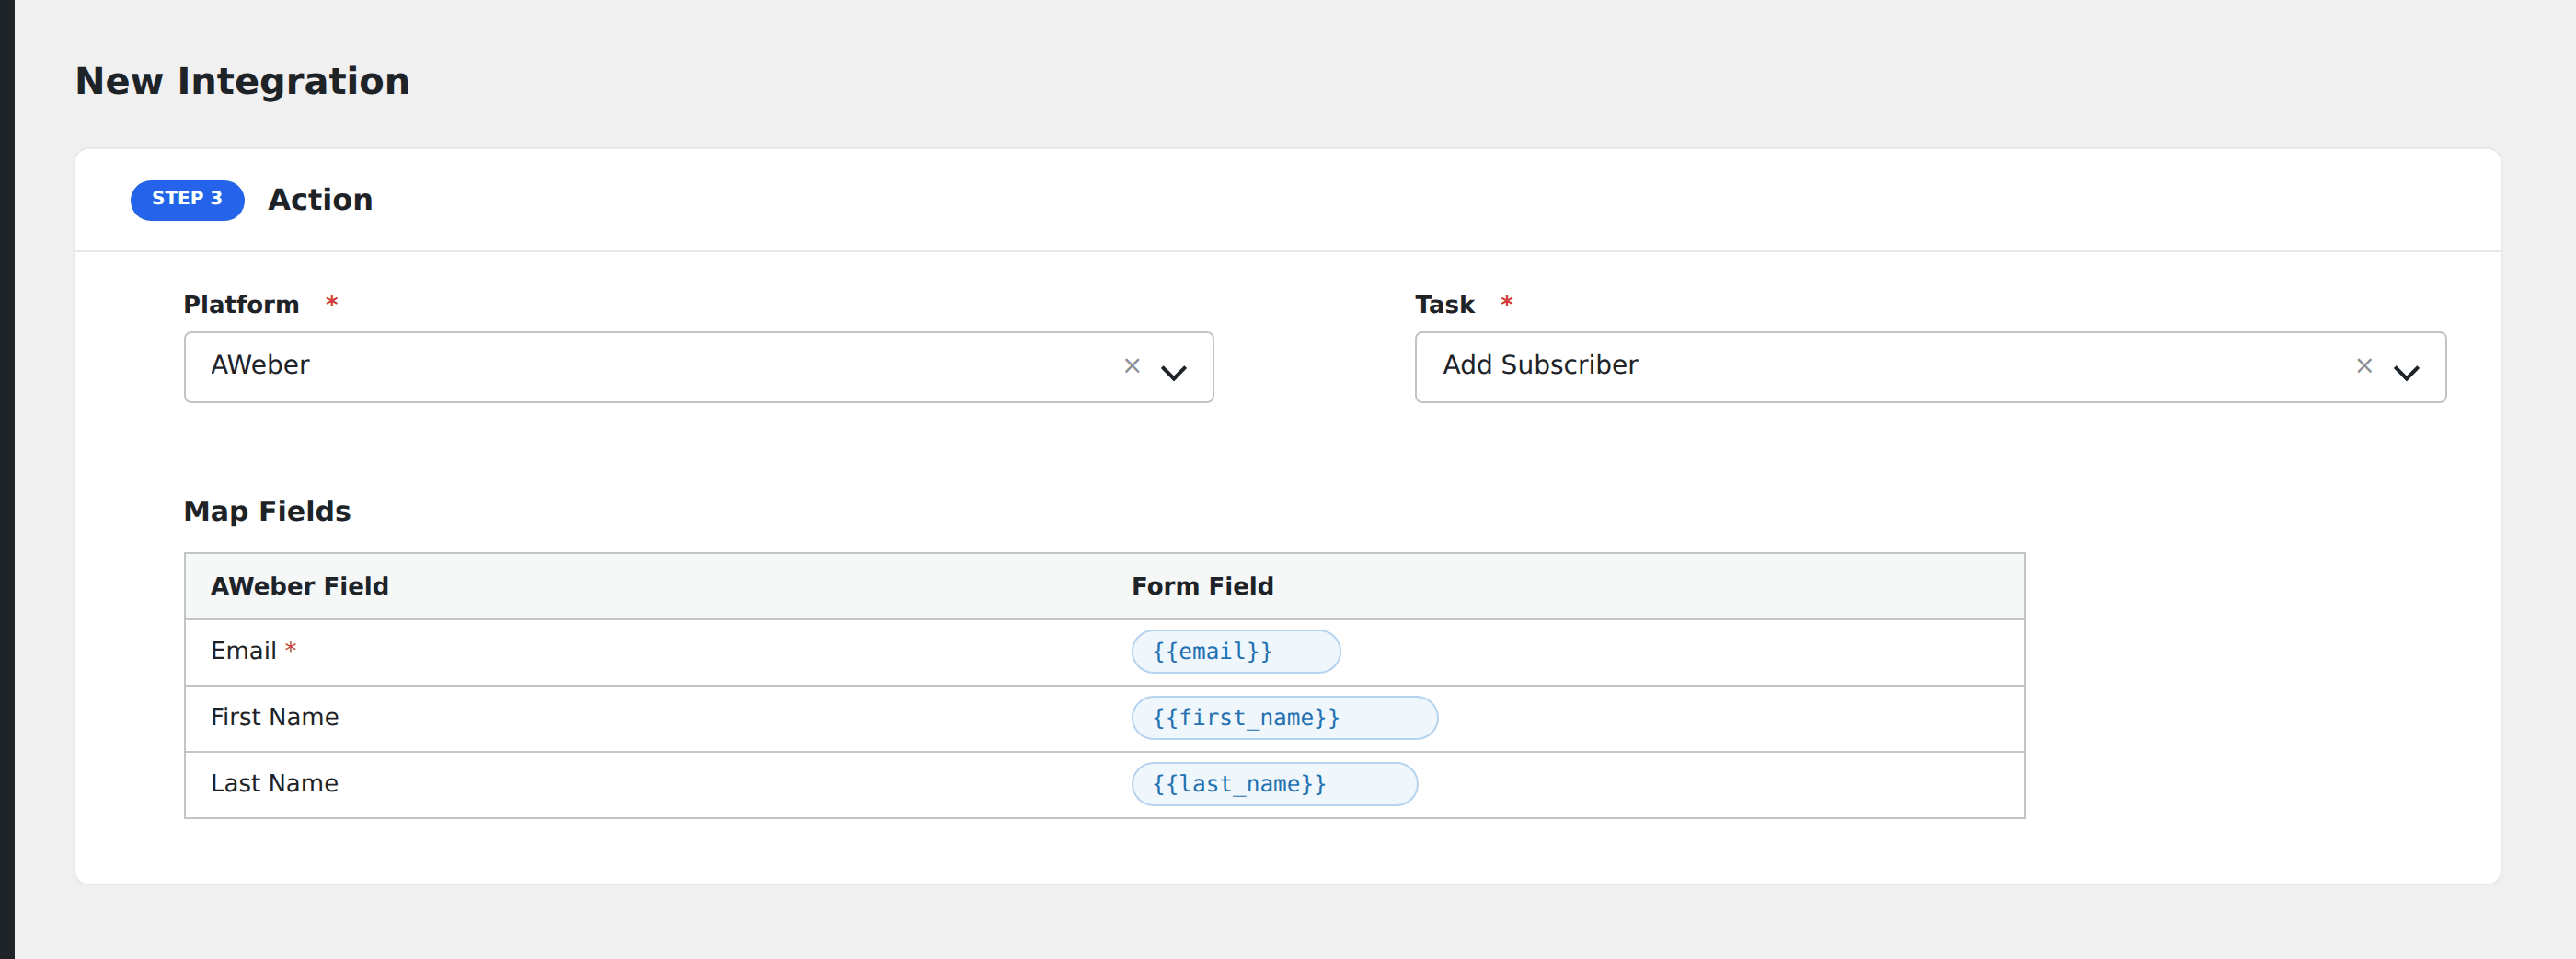
- In Action → Platform, select AWeber.
- In Task, choose Add Subscriber.
- Pick the List from the dropdown.
- Map the form fields:
- Email (required).
- Name.
- Custom fields appear by their AWeber name.
- Tags: comma-separated tag names.
- Optional: configure Conditional Logic.
- Click Save Integration.
Conditional logic example
Goal: route enterprise leads to a “B2B Prospects” AWeber list, individual signups to the “Newsletter” list.
Create two integrations on the same form, each pointing at a different AWeber list. Add the matching Equal To condition on each.
Troubleshooting
Subscriber not added
Common AWeber errors:
Authorization required: re-authorize via AFI Settings → AWeber.Subscriber already on the list: AWeber treats duplicates as no-op by default.- AWeber requires double opt-in by default; new subscribers are
unconfirmeduntil they click the confirmation email.