AFI
AFI
How to Send Contact Form 7 Submissions to ClickUp


ClickUp is an all-in-one productivity platform with tasks, docs, goals, and time tracking.
Getting Contact Form 7 data into ClickUp does not require Zapier, webhooks, or custom PHP. Advanced Form Integration handles the connection natively, and this guide shows every step.
Why connect directly?
Third-party automation tools charge per task and route your data through their servers. Advanced Form Integration runs entirely on your WordPress site. No per-task fees, no external dependencies, and every request is logged for troubleshooting.
What you will need
- A WordPress site with Contact Form 7 installed and at least one form.
- A ClickUp account.
- The Advanced Form Integration plugin (free from WordPress.org).
Connect ClickUp to AFI
- Log in to your ClickUp account.
- Go to Settings → Apps → API Token and copy your token.
- In WordPress, go to AFI → Settings → ClickUp.
- Paste the token and click Save Changes.
Setting up the integration
1. Create a new integration
Go to AFI → Add New. Give it a name that helps you identify it later, like Contact Form to ClickUp.
2. Choose your trigger
Select Contact Form 7 as the form provider. Pick the specific form you want to connect. AFI reads the form fields automatically.
3. Choose ClickUp as the action
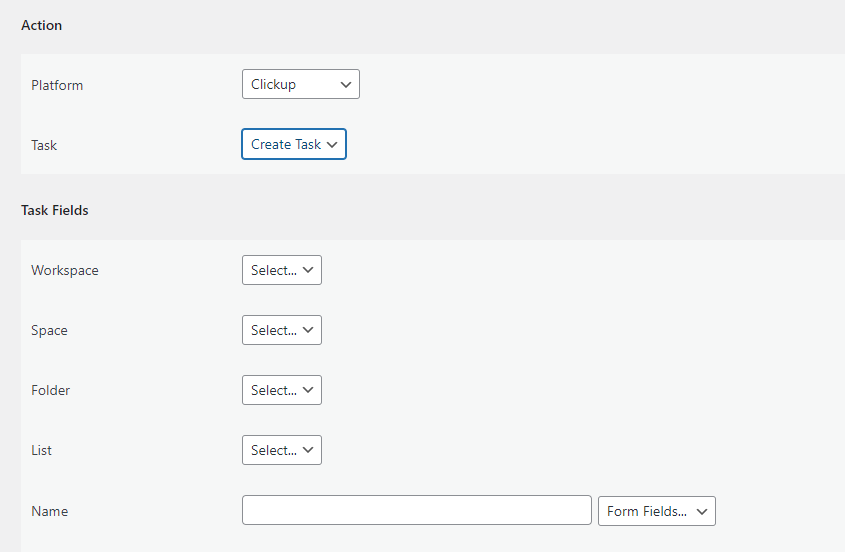
Select ClickUp from the platform dropdown, then pick Create Task. This creates a task in a ClickUp space.
4. Map your fields
For each ClickUp field on the left, choose the matching Contact Form 7 field on the right. Map email to email, name to name, and so on. You can also add static text or dynamic tags like {{_submission_date}} and {{utm_source}}.
5. Add conditions if needed
Want to send only certain submissions? Add a conditional logic rule. For example, only create a contact when the form includes a valid email address, or route different form values to different ClickUp lists.
6. Save and test
Hit Save Integration. Submit a test entry on your Contact Form 7 form. Check ClickUp to confirm the data arrived. If something is off, open AFI → Log to see the exact request and response.
Free vs Pro
The free version handles task name, description, and due date with unlimited submissions. The Pro upgrade unlocks custom field mapping and status assignment. There are no per-submission fees on any plan.
Frequently asked questions
Will this slow down my Contact Form 7 form?
No. AFI processes the data asynchronously after the form submission completes. The visitor sees the normal success message with no delay.
Can I connect multiple forms to ClickUp?
Yes. Create a separate integration for each form. You can also send one form to multiple platforms by stacking integrations.
What happens if ClickUp is temporarily unavailable?
AFI queues the data in the background and retries. You can also manually resend from the log if needed.
Get started
Install Advanced Form Integration free from WordPress.org and connect Contact Form 7 to ClickUp in five minutes. No code, no Zapier, no per-task fees.